


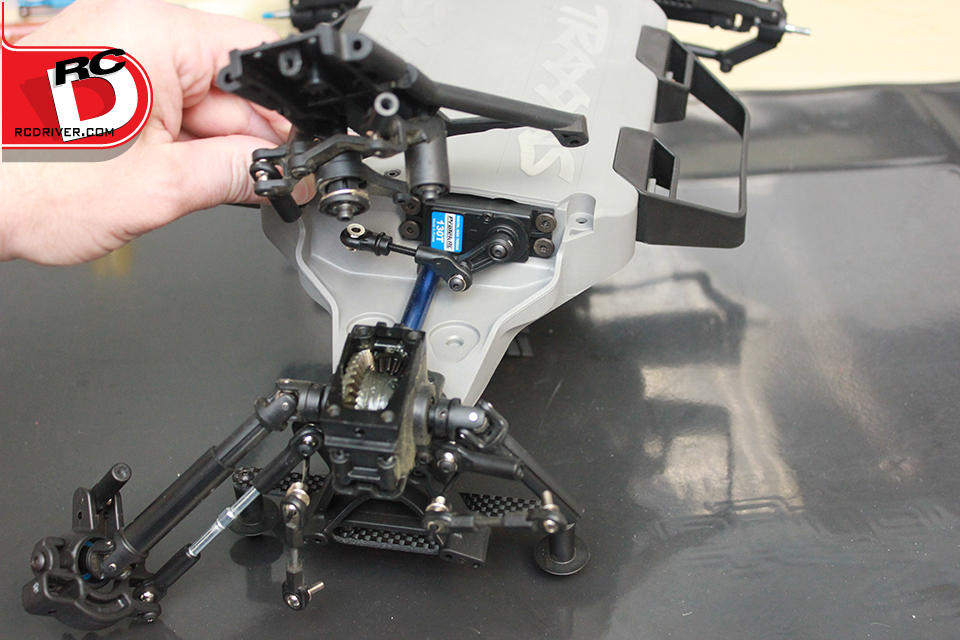
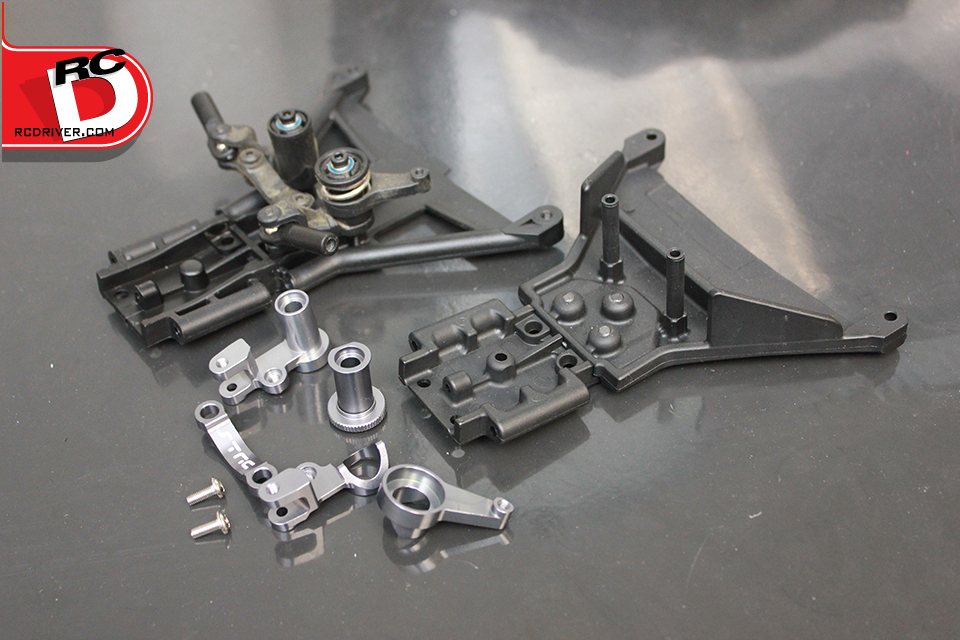
We have a number of goodies to install on this build including some RPM parts and STRC hop-ups. Here we are stripping down the front end to swap out some parts.
One of the new parts to be installed is an STRC center shaft. To swap it you’ll need to pull the front clip or gearcase. We’ll also swap out the drive hub with an aluminum STRC hub.
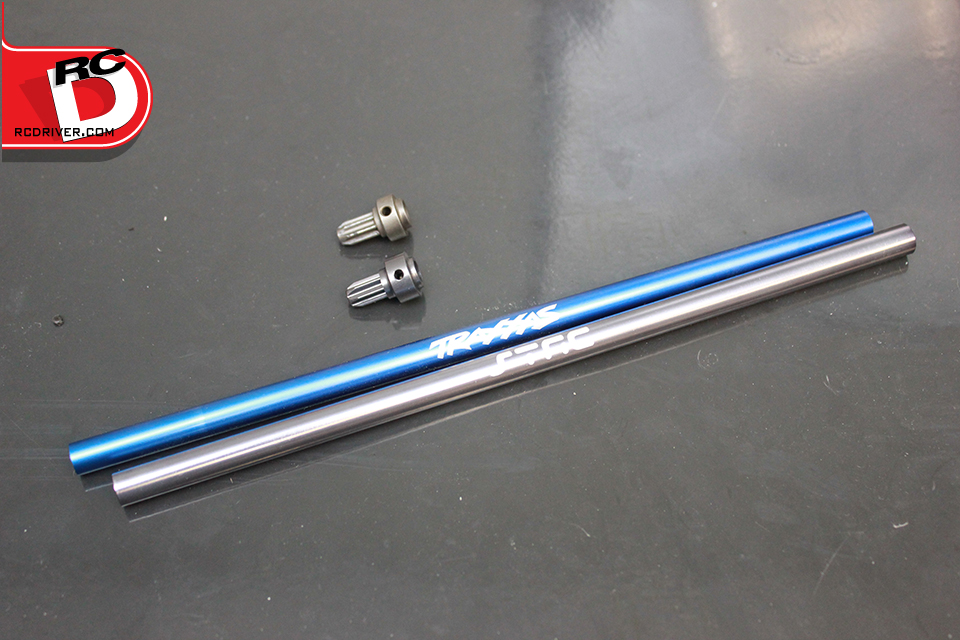
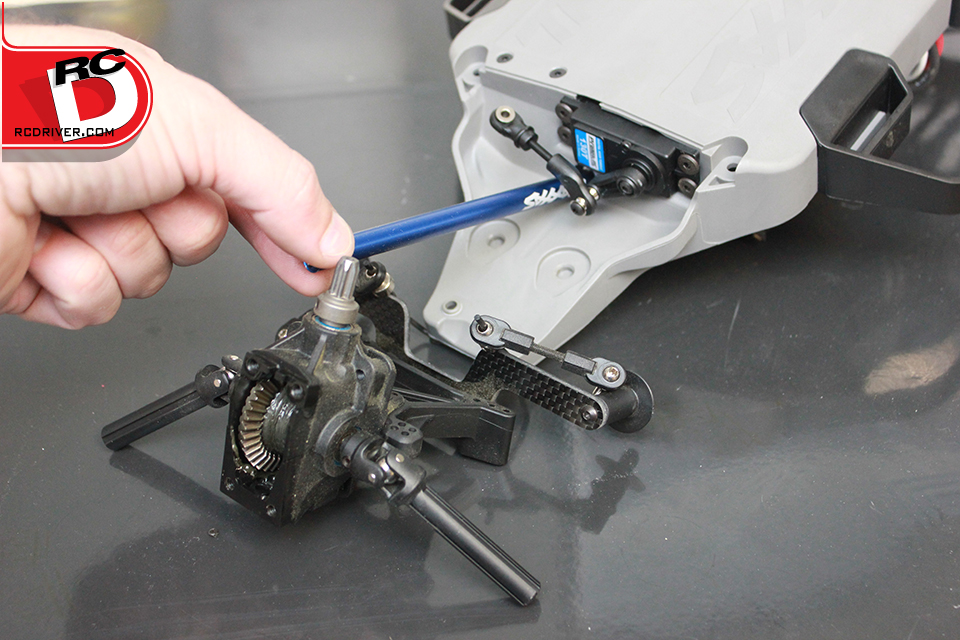
We’re swapping the stock main driveshaft for a gunmetal-anodized Main Driveshaft from STRC. The only major difference here is the color and logo; it fits with our Stealthy theme. The front cast metal drive hub is also getting swapped out with a gunmetal-anodized STRC Front Drive Hub.
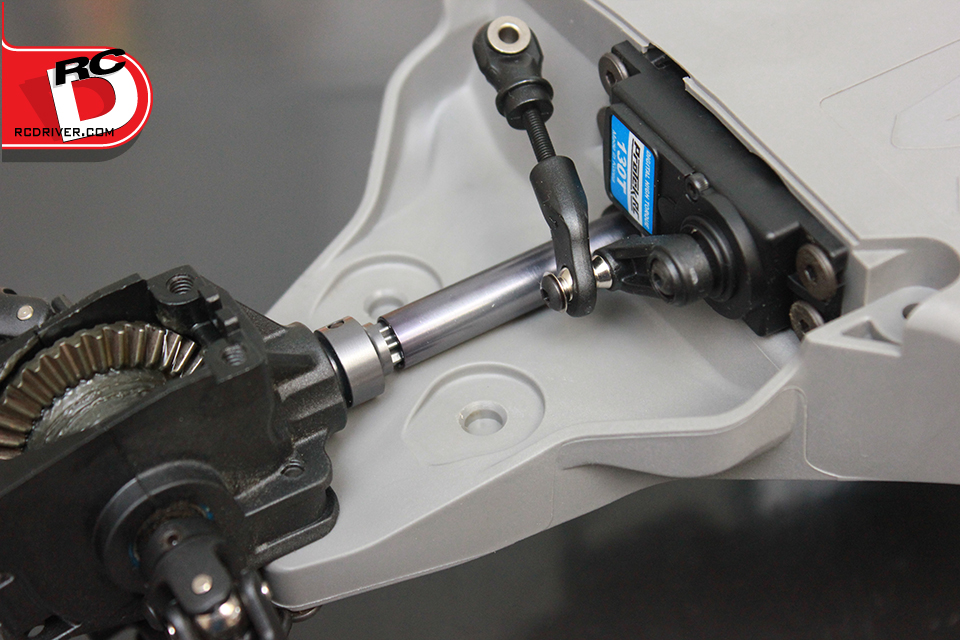
The STRC drive parts installed look cool but unfortunately, this area will be mostly hidden once the front lower plate is reinstalled.
Lots to do here; we’re installing a new RPM LCG Front Bulkhead. This bulkhead makes maintenance easier and also helps deflect debris with some extra shielding. Plus its RPM tough! While the nose is apart, we’re also swapping out the plastic steering cranks for STRC CNC Aluminum Cranks that include an adjustable servo saver.
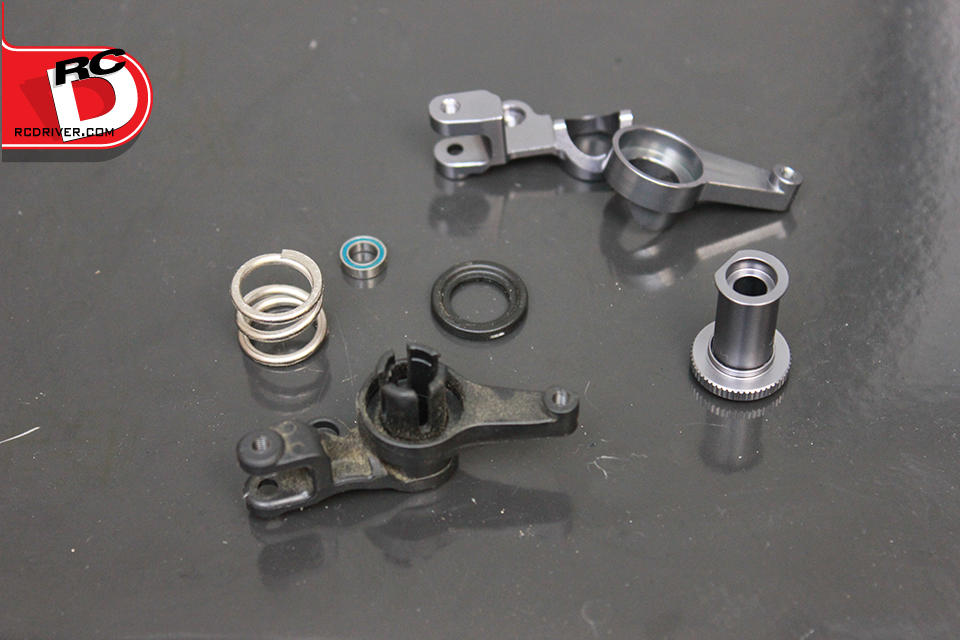
A few parts from the stock Traxxas cranks will need to be swapped over to the new STRC cranks like the spring, bearings and screws. To get the spring out, first remove the upper bearing and then push in the tabs that secure the large plastic spring washer. The washer will pop off and you can move the spring and bearings over to the new cranks.
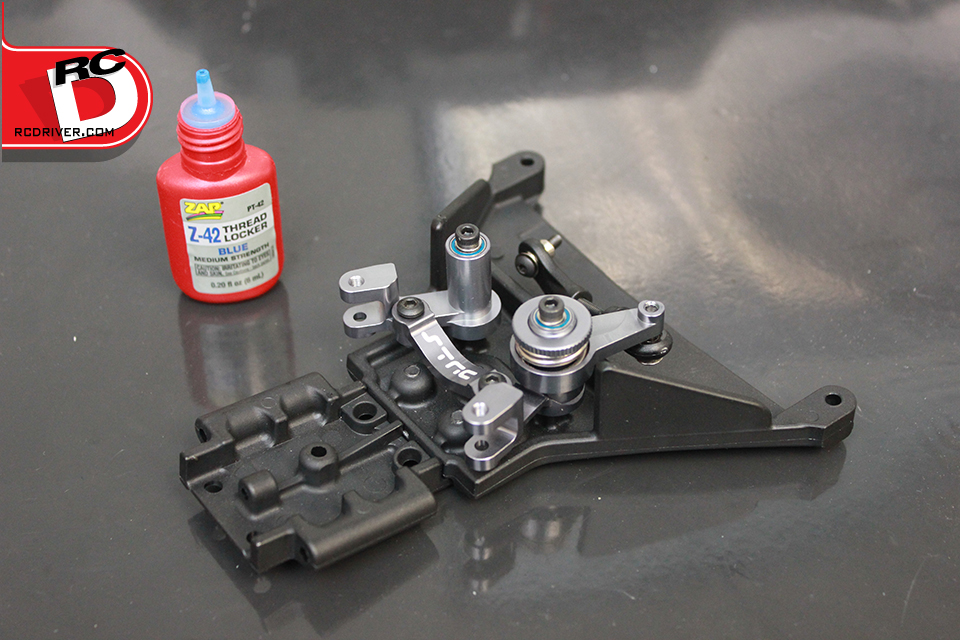
Here we have the new STRC steering assembly mounted to the RPM bulkhead. Remember to use a good thread locking compound such as ZAP Z-24 to secure the spring nut and drag link screws.
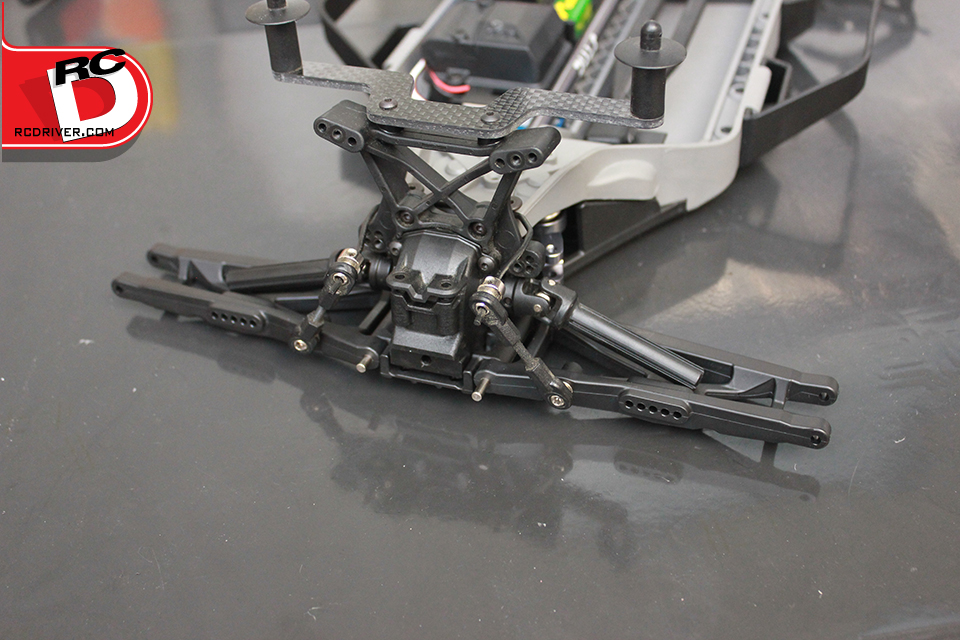
Now that the lower bulkhead and steering have been reinstalled, it’s back to installing the arms from our Pro-Line ProTrac Suspension Kit. Just slide the stock hinge pin into the arms and in this case, we screwed the Traxxas optional Swaybar kit to the arms.
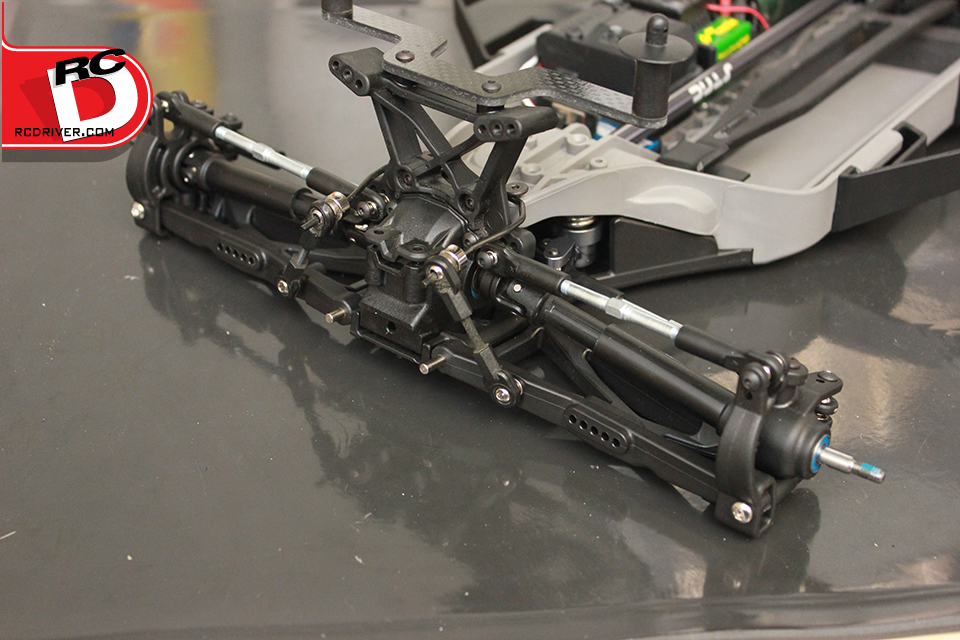
The front end is coming together nicely. The parts all fit well together even though they are from different manufacturers. The Proline tie-rods that were included with the Protrac Kit have been installed and we had already installed RPM’s Caster and Spindle Blocks on this donor car’s previous life.

Before we wrap up part three, we took out our Pro-Line Power Stroke Shocks to install on the car.
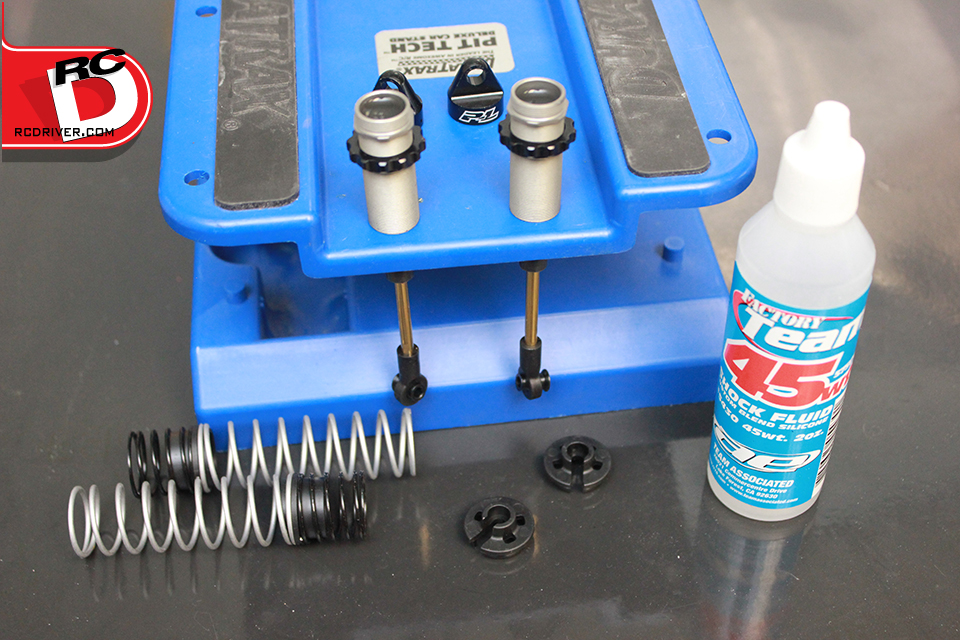
The Proline Power Stroke Shocks do not come with oil and have a nifty little note on the shocks to let you know. Here we’ve filled the shocks with oil and are waiting for the air to rise out after we’ve cycled the piston a few times. We’ll cap them and install them in the next part of our Project Stealth Rally series.
WRAP UP
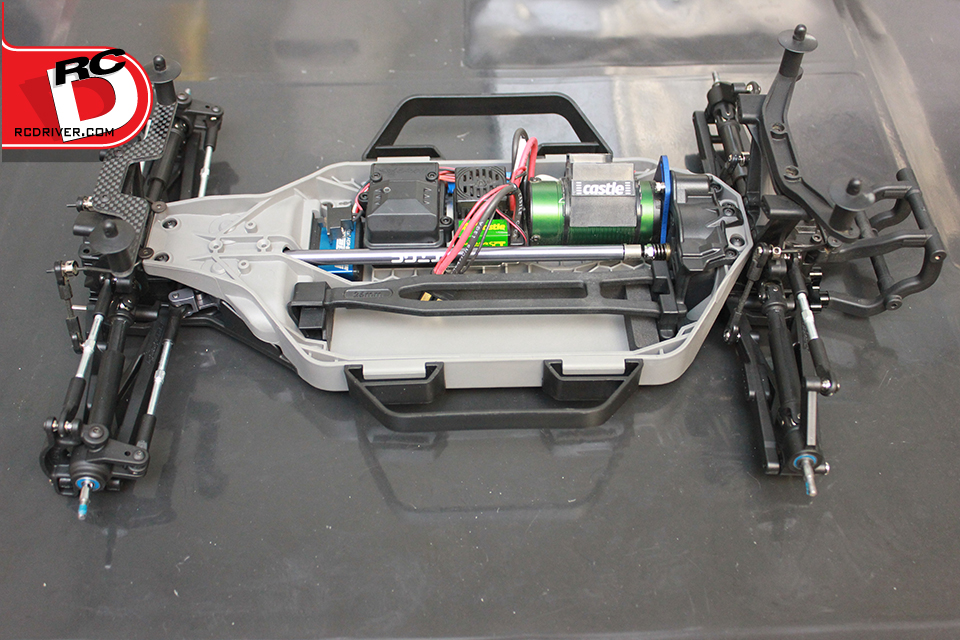
Here’s how the project looks near the middle of the build. We’re getting pumped to run this beast!
LINKS


