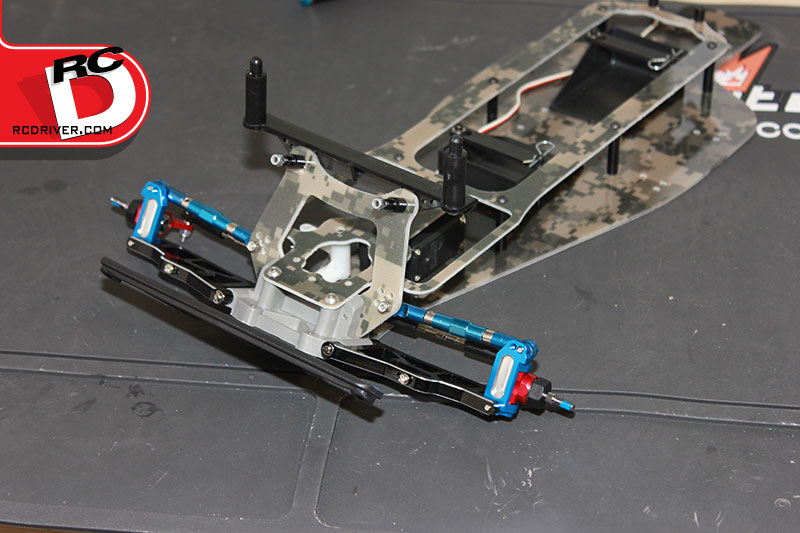
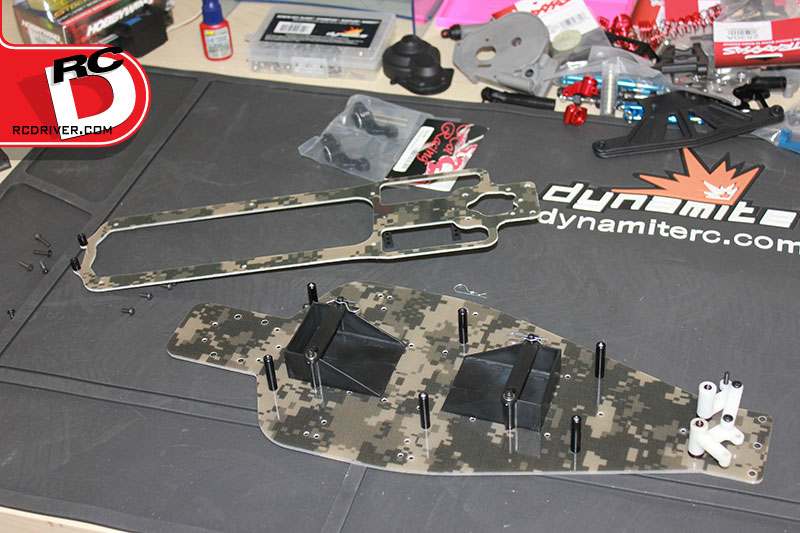
UT Chassis- Really to start this project we need to put together the foundation and then build off of it. We had a complete spare Xtreme Racing Low CG Slash chassis kit on hand from another defunct project. The kit comes with the upper and lower fiberglass plates, battery cups, stand-offs and hardware. The kit is offered in a variety of materials and finishes. Ours is obviously the digital camo version (Part: 10619DC). The kit goes together easily, but we were missing one countersunk screw. Luckily we have plenty of screws on hand in our spare parts bin.
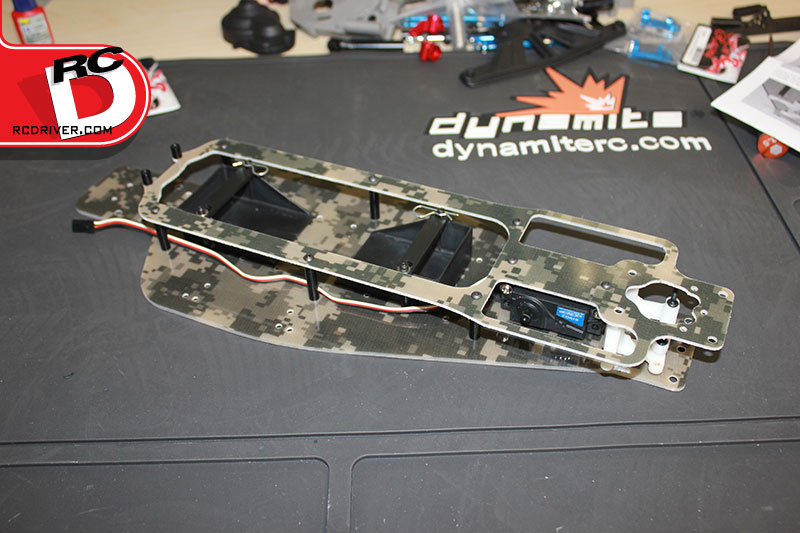
UT Steering- We found a stock Traxxas Slash steering crank assembly in our parts collection and slid it onto the steering posts that came with the Xtreme chassis. Xtreme includes RPM servo mounts to secure the servo to the top deck. A Team Associated S1903 servo is bolted to the mounts for steering. It’s a standard servo and will get the job done.
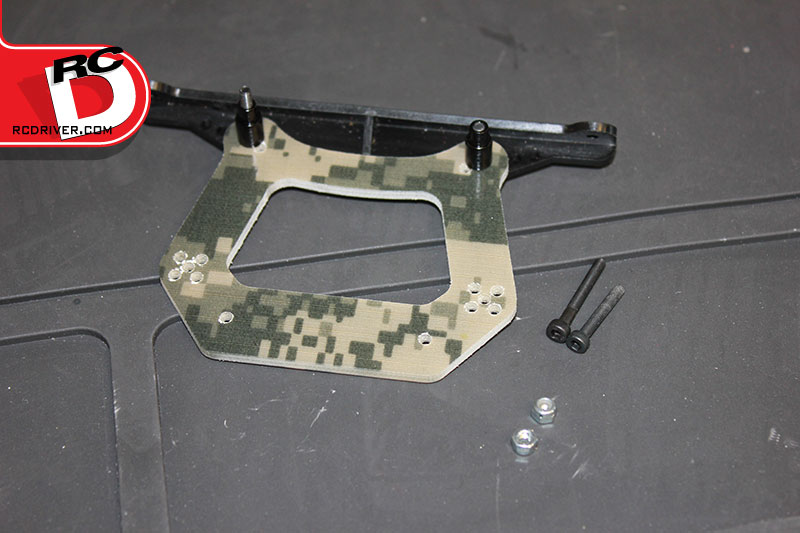
UT Tower- Luckily when we ordered the chassis, we had also ordered a matching digital camo front shock tower (Part: 10601DC). At least something on this beast matches the chassis. A Traxxas front body mount was placed on the back and then screws from the Xtreme tower kit were screwed into the Xtreme aluminum shock stand-offs. That’s when we realized the screws were too short. See the photo. We found longer screws that allow us to put the shock retaining nuts on.
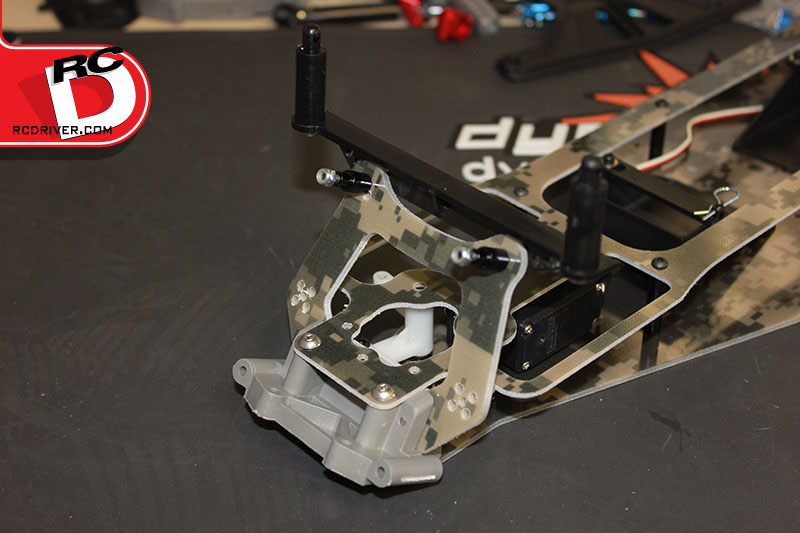
UT Bulkhead- The front bulkhead is just a stock Traxxas bulkhead, but we dipped into the Dynamite screw kit (Part: DYN7901) to assemble the tower to the bulkhead and the bulkhead to the chassis.
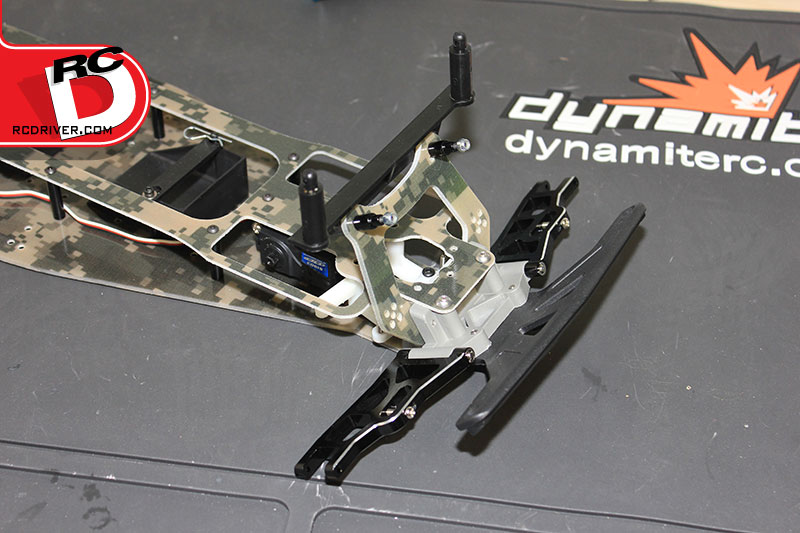
UT Arms- Fresh aluminum arms, black anodized with a jeweled edge, these are from Hot Racing and look awesome. They came in a set with rear arms. If you want them individually, you’ll have to settle for blue arms (Part: TE5506). The front end protection comes from a wide RPM bumper (Part 81162).
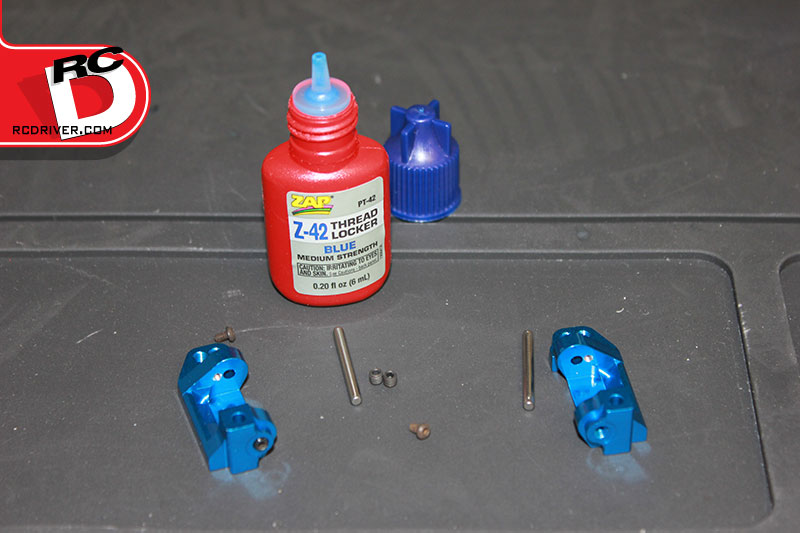
UT Caster Blocks- In the big bin dig, we unearthed some Hot Racing blue anodized aluminum caster blocks (Part: TE1906). These are pretty cool; they come with hinge pins that are secured from the top with a button head screw and set-screws pinching them in place from the bottom. Don’t forget the thread lock compound; ZAP offers great stuff (Part: PT-42).
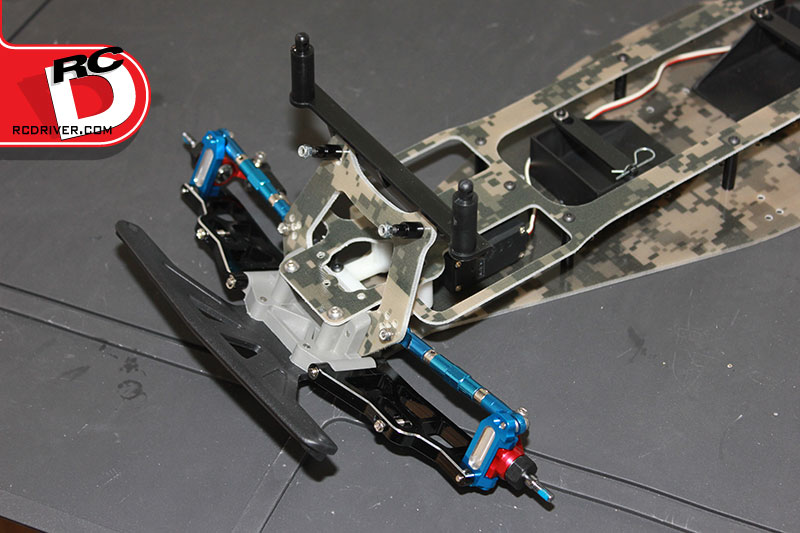
WRAP-UP
That’s the end of the project build for this week. Project Ugly Truck is shaping up to look like a pretty wild machine. Remember to keep checking back for updates every Friday. At some point we’ll be announcing when you can enter to win this truck!
 RC Driver The Best In RC Car & Truck News, Reviews & Video


