The Build – Part 6
Time to build the center shock. We’ll also be attaching the upper deck in this step as well.
Build Notes:
 Since we’ll be building the center shock at this time, have a few clean rags available in case of any spills.
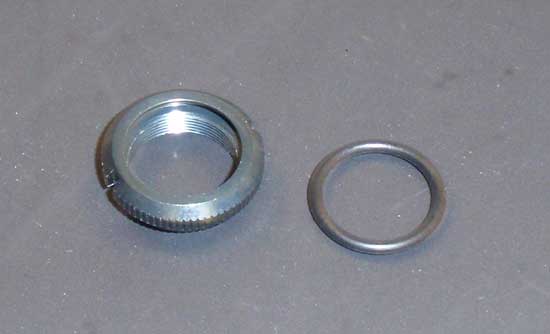
Start off by installing the o-ring into the spring retainer. I suggest washing your hands prior to this step. Installing slippery o-rings (because of oil on your fingers) is really no fun.
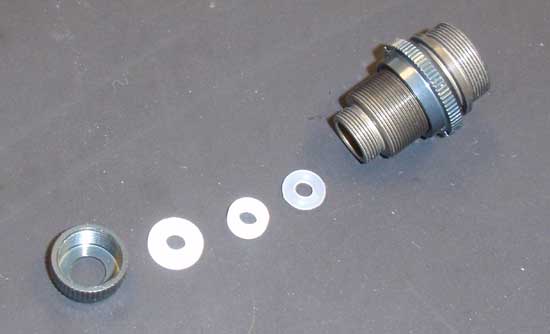
Build the center shocks cartridge. Install the o-ring followed by the plastic spacer, shaft guide and lower cap. Add a small drop of shock oil to the o-ring when installing.
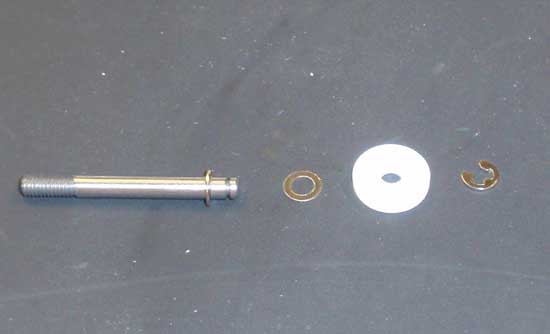
Next, build the shock shaft. Install and e-clip, the piston shim, the piston and then the 2nd e-clip.
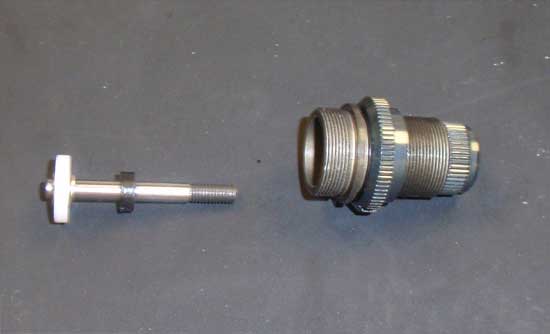
Slide a black spacer onto the shaft. Add a small drop of oil to the threads on the shaft and feed it through the shock body. Press it SLOWLY through the lower shock cartridge to avoid tearing the o-ring.
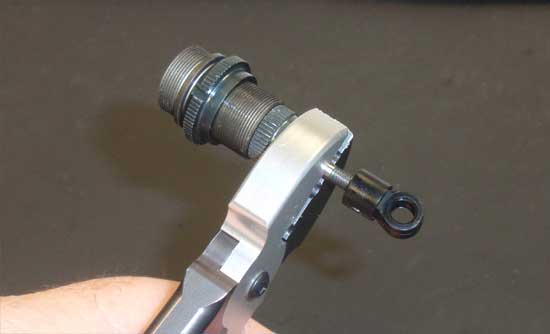
Using a pair of these awesome STRC Shock Shaft Pliers, grab the shaft and thread on the shock end. If you don’t have some of these trick pliers, go get some. I’ll wait. If you don’t me to wait that long, use a pair of sidecutters to hold the shaft…just make sure you grab down near the threads.
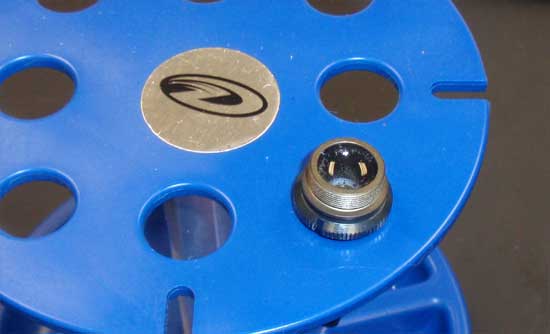
Fill the shock with oil and pump the shock shaft up and down a few times to release any air in the shock. Place it in a suitable holder (I use Duratrax’s Shock Building Stand) for a few minutes to allow all the bubbles to rise to the top.
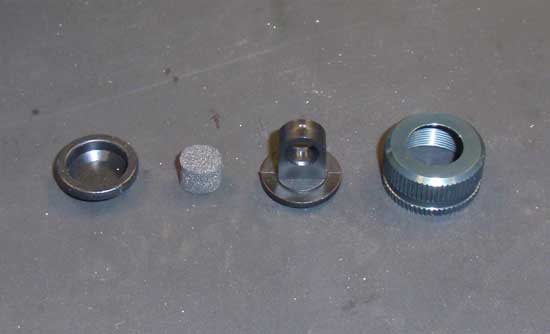
Time to cap it off, but before we do, get all the parts ready; the bladder, rebound bushing, shock head and damper cap. Fill the shock until the oil is just under the lip of the shock. Place the bladder on top of the shock, letting any excess oil ooze out. Now drop the rebound bushing into place followed by the shock head and damper cap. Screw down all the way. The shock shaft should plunge almost all the way into the shock and rebound almost all the way out.
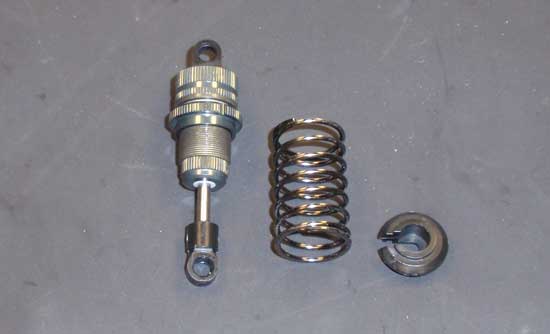
Screw the spring retainer onto the shock followed by the spring and spring cup. We’ll adjust the spring tension at a later time.
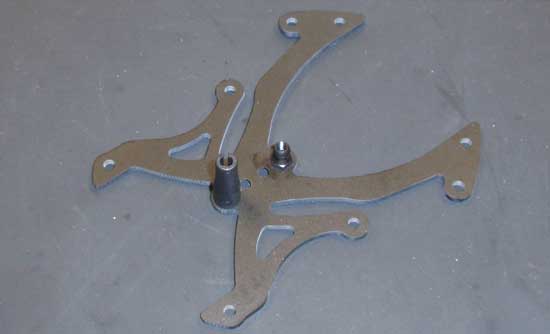
Attach the antenna mount and center shock mount to the upper deck as shown.
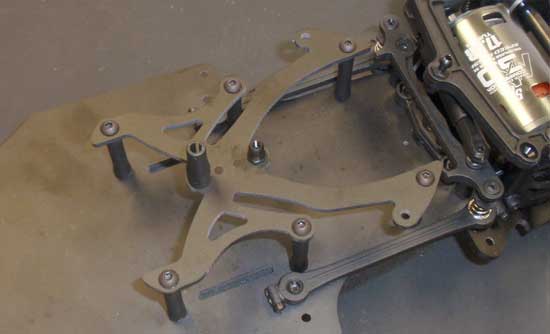
Attach the upper deck to the LM-1.
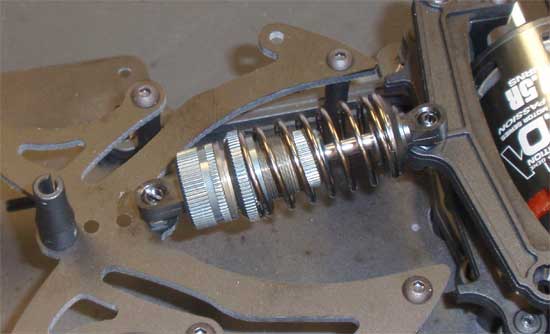
Finally, pop the shock into place. The manual shows the addition of a screw and o-ring over the front mount. I didn’t add it, but you can for a little extra security.
 Part 7 – Attaching the body mount, wheels and tires.
 RC Driver The Best In RC Car & Truck News, Reviews & Video


