The Build – Part 8
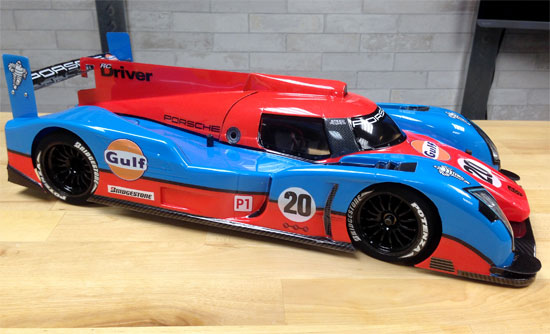
The final step to the Speed Passion LM-1 LeMans involves installing the electronics and the absolutely stunning LM-1 body. Big props to Brad Palmer at F1 RC Labs for his amazing paint work!
Build Notes:
 Nothing odd or crazy for this step.

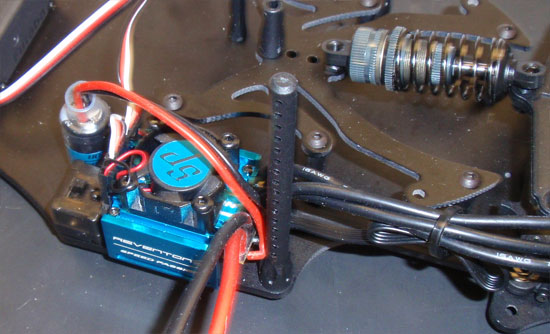
The first step is to install the ESC. As I mentioned in an earlier step, attaching the wires to the motor (once installed) was a bear, so I cut some 16g wire to length and installed them on the motor first. Now that it’s time to install the ESC, I soldered the 16g wire to the ESC. Really, it’s much easier than it sounds. Tape the ESC in place and route the power leads, switch and capacitor to their mounting locations.

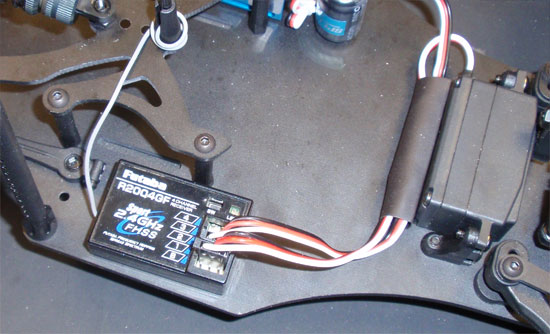
Attach your receiver to the other side of the chassis. I routed the servo/ESC power leads through some shrink wrap and mounted that behind the servo. There is still plenty of room for a full-size LiPo battery.

Finally, drop you body into place and admire how absolutely killer it looks. To give my LM-1 a little bit of extra flare, I painted the wheels black and added some tire decals. Love how awesome it looks!
So, that’s it! You should have a fully functional, track-ready LM-1 LeMans car! Thanks for following along.
I’d like to thank the following people once again for their contribution to this build:
• Futaba BLS551 Servo, www.futaba-rc.com
• Speed Passion ReventonS Brushless ESC, www.speedpassion.net
• Speed Passion Competition 3.0 17.5T Brushless Motor, www.speedpassion.net
• Thunder Power Battery, www.thunderpowerrc.com
• Futaba 4PL Radio System, www.futaba-rc.com
• Paint by F1RCLab, www.f1rclab.com
 RC Driver The Best In RC Car & Truck News, Reviews & Video


Awesome news I haven’t had an r/c car in about a year but still love reading about them