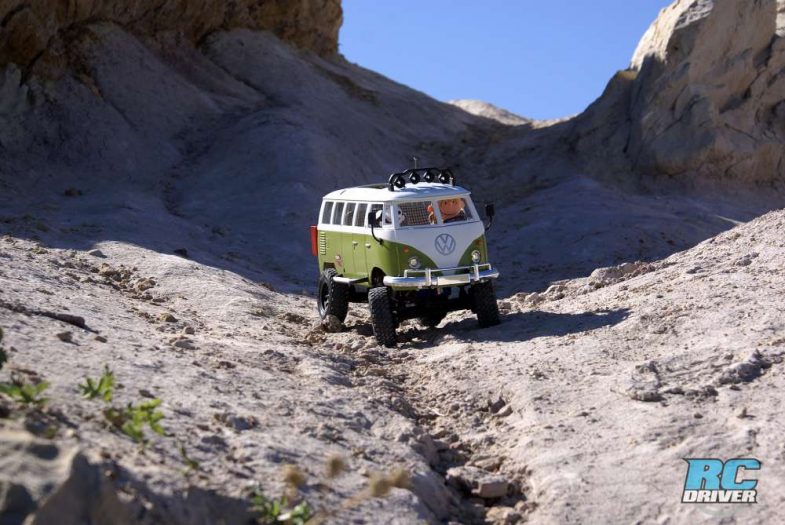
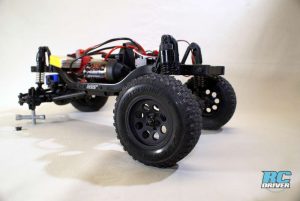
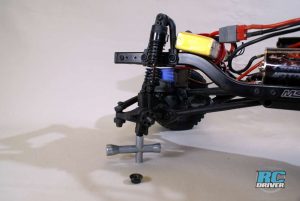
When the Max Speed Technology (MST) CMX was released in January of 2016, I was instantly drawn to its specifications. The rig offered a width and wheelbase that closely aligned to Tamiya CC01 bodies. I could not wait on the kit to hit stores and as soon as it was released I picked one up. As soon as I built the chassis I was hooked and had to decide what body to use! There were plenty of options, but who does not love a classic monster VW? Time for a Project MST CMX!
The Backstory:
If you remember the Herbie movies from Disney back in the day, you can remember falling in love with a friendly VW bug who had a personality all its own. Fast forward 40 years and the movie Cars was released and one of the fun-loving characters was Fillmore, the 1960 VW Bus. While I may have been born a few years too late to be a VW guy when the Type I and Type II rigs were all the rage, my parents and grandparents all drove VWs while I was going up and the first car I ever drove was a VW bug. From there forward, I have had an unhealthy obsession with VWs, real or RC! Somehow my son picked up on this obsession and at the age of 6 he is in love with all classic VW’s. One day we were at a local swap meet and there it was, a VW Bus that had been turned into a rig resembling something out of Mad Max. The price was right, so to help satisfy this craving we picked up the Samba and our VW bus was on the path to epic.
The Foundation:
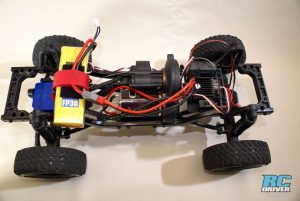
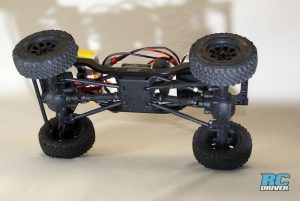
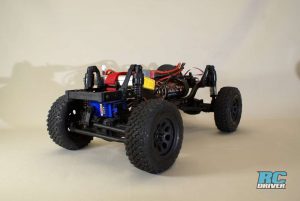
The MST CMX crawler with the base for this build, and the overall quality of the kit was top notch. The parts all fit together very well and the instructions were very clear and easy to follow. The kit allows for three different wheelbases: 242mm, 252mm, and 267mm. This adjustability in wheelbases makes simple to run a large number of bodies from short wheelbase jeeps to longer wheelbase trucks.
The transmission is a fairly typical 3-gear setup with no slipper clutch. Without a slipper, care must be taken when driving if the wheels get bound up as parts could break if too much torque is applied. If you do not buy the kit with the motor, then the pinion gear is not included and it is important to note the kit requires a 48-pitch metric pinion gear (similar to Tamiya rigs) and not the ones commonly found on a majority of the vehicles on the market. Additionally, the pinion gear range is from a 17-tooth to 38-tooth pinion. The stock motor that came with the kit was way to peppy, even with the lowest pinion gear and so I opted to swap it out with a 45-turn motor to achieve the torque and speed I needed.
The axles and driveline went together without issue. The lockers look decent and the gears mesh well without having to shim the pinon and ring gears. When you are assembling the driveshafts, pay attention when lining up the two pieces to ensure the driveline smooth. The steering is amazing, providing 40 degrees of steering angle. A realistic C-channel steel frame is the foundation of the beast. The oil filled shocks are smooth and provide ample articulation. Finally, the tires and wheels have good details and plant the vehicle to the ground.
VDub or Bust:
When I picked up the body second hand, it had been tricked out in flat black with wire mesh over the windshield and what looked like gun turrets on the side windows. The details had been added to the body using what seemed like 2-3 tubes of Shoe Goo. Fortunately, with patience and a trusty hobby knife, I was able to take the body down to an empty shell without breaking any parts.
The painted proved to be another problem but it gave me a good opportunity to try different products on the market to take it back to the original surface. In the past, I have used DOT 3 brake fluid or EasyOff Oven Cleaner (yellow lid) to remove paint from plastic bodies with acceptable results. Personally, I prefer not using gallons of brake fluid to dip a body and try to remove paint. The problem was the EasyOff did not attack the paint as good as other bodies in the past. I tried Krud Kutter Graffiti Remover and the formula did a good job on the type of paint that had been used to on the body. It did take considerably longer than brake fluid, but it was slightly more friendly than other methods. I would still recommend the use of the proper personal protective equipment, such as rubber gloves and safety glasses. Also ensure your work are is adequately ventilated.
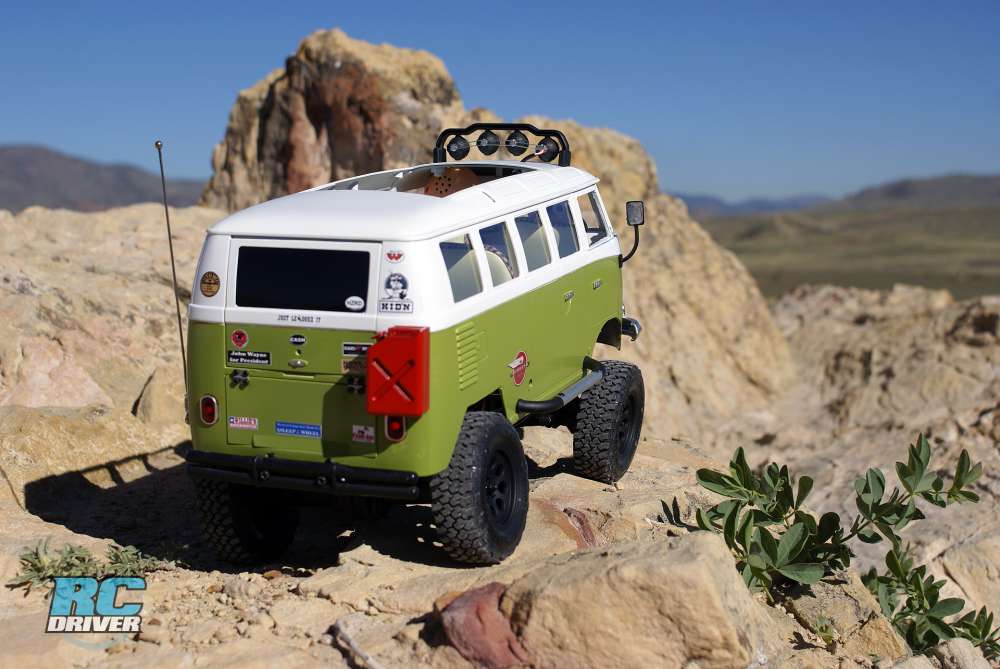
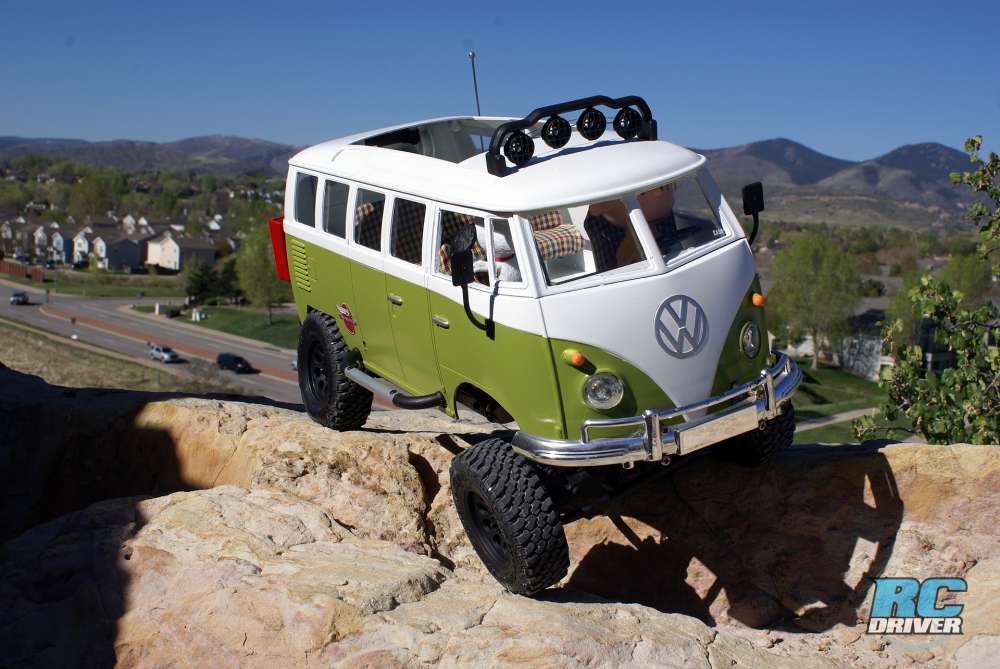
With the paint removed, I had a blank canvas. My boy had flashbacks to Fillmore and I had memories of a VW Bus I had grown up with that belonged to my grandfather. The classic two-tone green on white paint job was added to the exterior with custom bumper sticks, some of which I had grown up with as a kid. Others were just fun, like John Wayne for president and Sun Records logos for the king, the killer, and the man in black. Custom windows were cut from thin plexiglass.
On the interior, the bus got a floor out of styrene that was formed to allow for the transmission and shocks to come up into the floor. This allowed the body to sit as low as possible, trying to reduce the overall center-of-gravity on the rig. The seats were fashioned from aluminum sheet, padded with foam, and then covered in plaid and pleather material. Gear shifters for the transmission and transfer case were machined from aluminum on the lathe, another with the steering column. A 3-d printed milk crate was placed between the front seats for the center console, just like in my grandpa’s bus (growing up I thought that was a factory option!). Headlights, off-road lights, and tail lights were added for late night cruising. Finally, Charlie Brown and Snoopy were added the driver and navigator.
Hitting the Trails and Going Off the Grid:
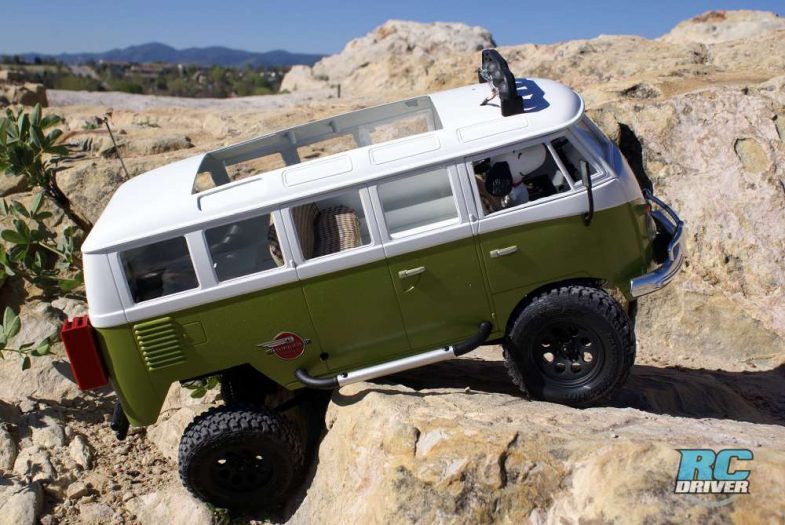
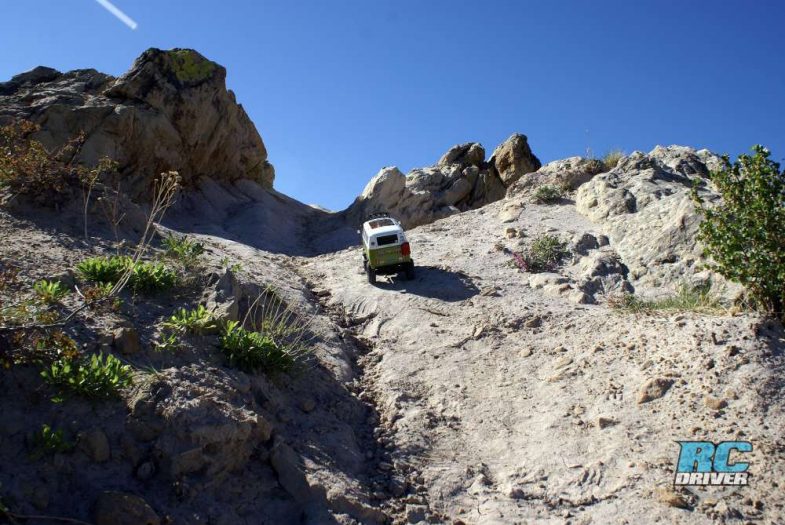
On the trail, the MST CMX is a very nimble and capable rig. The suspension was ample and provided great articulation for the size of the rig. Often short wheelbase trucks have severe driveline angles that can result in binding and increased friction of the driveline. The truck was smooth and easy to control at all speeds and over nearly all obstacles. The large steering angle made it easy to drive a careful line to utilize the full capability of the rig and also to avoid obstacles on the narrowest of trails. Additionally, since the tires are not huge, it does not take an insane torque servo to turn the wheels. A $30 servo provides more than enough torque to turn the wheels over the full movement at a dead stop on high traction surfaces.
With the VW bus hard body, the center-of-gravity of the rig was somewhat high, especially when attempting to traverse side hills. While this did hamper the overall performance, that is the price you pay for a scale rig. This only emphasized the importance of planning your line. Avoiding major side hills and more direct approach angles allowed the rig to shine. The approach and departure angles of 50 degrees allows the rig to easily approach and then climb over most objects. Hands down, this has to be one of the coolest rigs I have put together.
The Last Word:
The Type II VW bus took nearly a year to complete, a lot of time was based trying to conceptualize the build and quite a bit of time was wasted trying to clean up the body to get it back to a usable state. At the end of the build, looking at the rig gave me little goose bumps. I have built a lot of neat builds, but this is one of my absolute favorites. It was nearly at the point that I questioned if I should really give it to my 6-year-old son or hide it in the closet until he turned 25!
The Project MST CMX chassis is an absolute ball to drive. I wish that I could buy 10 of these to build a handful of builds that I have wanted to build for years. The narrow axles fit perfectly under a long list of beautifully scale bodies such as the Tamiya Wrangler, Midnight Pumpkin, Sand Scorcher, and the Lunch Box just to list a few. I have one more kit in the basement and the only reason it is not build is I can’t decide what I want it to be! The MST CMX chassis is very similar to other 4-link rock crawler chassis on the market, but it is smaller scale. While they call the chassis 1/10 scale, I would consider it somewhere between 1/11 and 1/12 scale. Therefore, if you are looking to build a smaller, scale truck, this is a good foundation in which to start. While the CMX chassis was MST’s first crawler, they did a lot of things right. The CFX and CFX-W chassis looks to be the next in line of their rigs with additional improvements and details, but we will leave that for another review.
Items Used:
• Traxxas 2056 Servo
• Flightpower FP30 2S Lipo Battery
• RC4WD 45T Crawler Brushed Motor
• Futaba R2004GF Receiver
Links:
Max Speed Technology, RC-MST.com
Traxxas, traxxas.com
RC4WD, store.rc4wd.com
Futaba, futabarc.com
Flightpower, flightpowerbatteries.com
 RC Driver The Best In RC Car & Truck News, Reviews & Video


