The Build – Part 3 The rear axle is very similar to the front. We’ll just give a brief overview of the build.
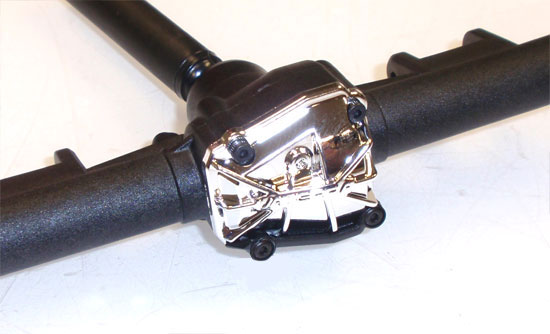
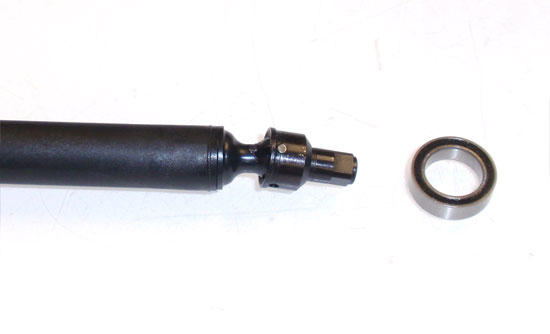
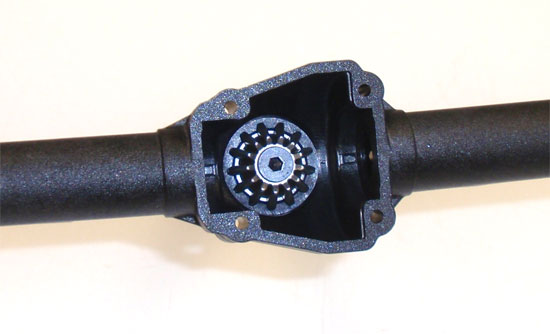
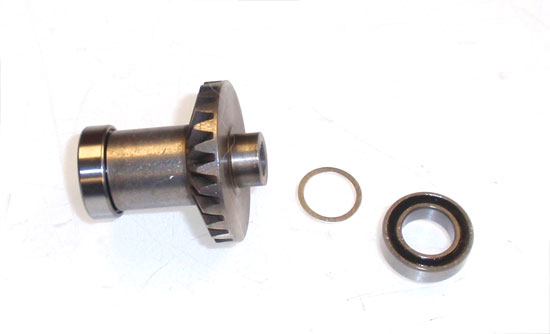
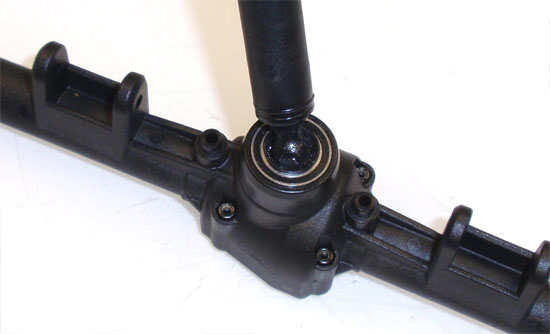
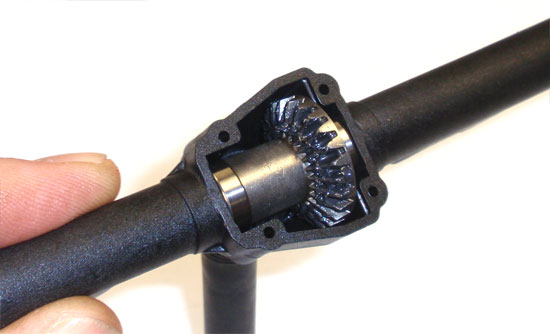
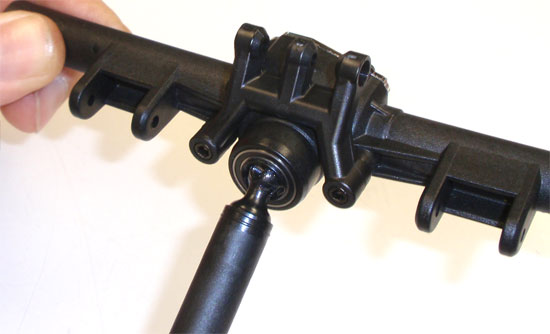
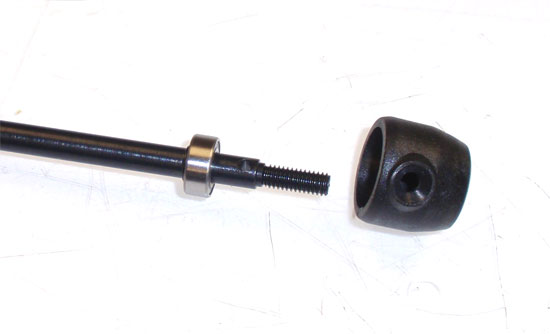
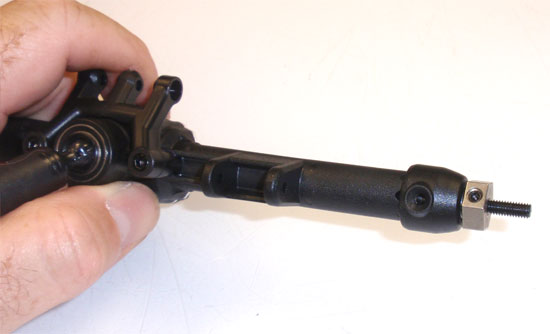
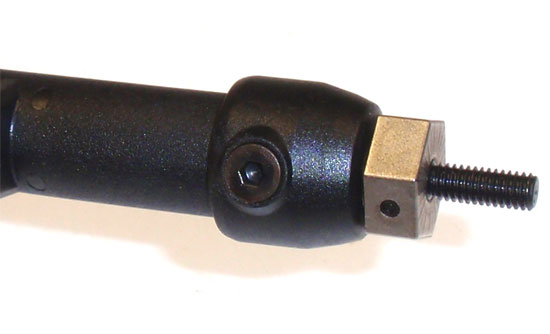
Vaterra 1986 Chevrolet K5 Blazer Ascender Build Step 61 Build the rear center driveshaft like you did the front. Don’t forget to add a little bit of black grease to the inner coupler and threadlock to the coupler screw.Vaterra 1986 Chevrolet K5 Blazer Ascender Build Step 62 Assemble the rear axle using the same steps as you did in Part 2. Don’t forget the threadlocker on the screw securing the sun gear.Vaterra 1986 Chevrolet K5 Blazer Ascender Build Step 63 Slide the shims and the bearings on the rear spool. Again, your instructions might not show the shim but they do need to be on there.Vaterra 1986 Chevrolet K5 Blazer Ascender Build Step 64 Insert the rear driveshaft assembly and the black locknuts into the axle housing.Vaterra 1986 Chevrolet K5 Blazer Ascender Build Step 65 Drop the spool into the rear housing and add some black grease to the gear. Rotate the gear to spread out the grease.Vaterra 1986 Chevrolet K5 Blazer Ascender Build Step 66 Attach the chrome pumpkin cover (and lower brace) to the rear axle. Remember, the shorter screws go up top; the longer ones down low.Vaterra 1986 Chevrolet K5 Blazer Ascender Build Step 67 Attach the multi-link brace to the rear axle.Vaterra 1986 Chevrolet K5 Blazer Ascender Build Step 68 We will be using the same method to install the rear axle as we did the front. I found it much easier to assemble the rear axle prior to sliding it into the axle housing. Start by sliding a bearing onto the shaft followed by the axle housing cap.Vaterra 1986 Chevrolet K5 Blazer Ascender Build Step 69 Slide a second bearing on the axle followed by the wheel hex and through-pin. Build 2 of these.Vaterra 1986 Chevrolet K5 Blazer Ascender Build Step 70 Now slide the axle into the housing. Apply a small amount of pressure to get the axle as far in the housing as possible. Twist the center driveshaft until you feel the axle key into the spool.Vaterra 1986 Chevrolet K5 Blazer Ascender Build Step 71 Finally, use the 2 3x6mm screws to secure the axle cap to the housing. Do this for both sides.