The Build – Part 1
The 22SCT is a pretty free-flowing build. Up front it has us installing the servo and steering rack, so let’s get started.
Build Notes:
 Pay attention to the servo chart on page 12. This will help you decide which shims you will need in order to correctly space your servo.
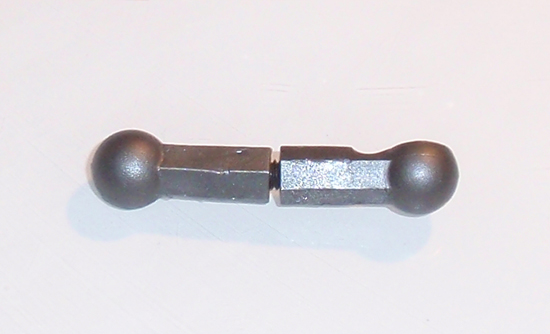
The first step is to build the drag link as shown. While the manual shows the drag link ball ends touching, this actually made my link shorter than 33.7mm. I twisted it out until it measured 33.7mm.
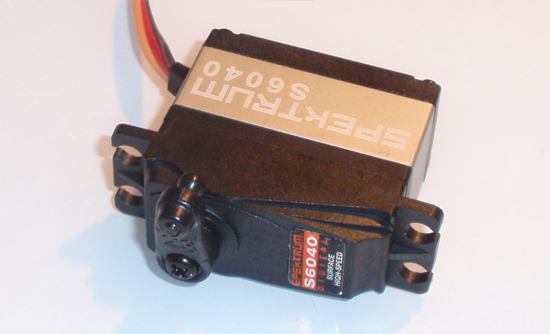
For this build I will be using one of Spektrum’s S6040 servos. This is a high power servo purpose built for racing so it will be perfect for my 22SCT. Attach the ball end to the appropriate servo horn as shown. If you have the ability to, I would suggest running some power to it to make sure the the horn sits at a 90 degree angle to the servo case.
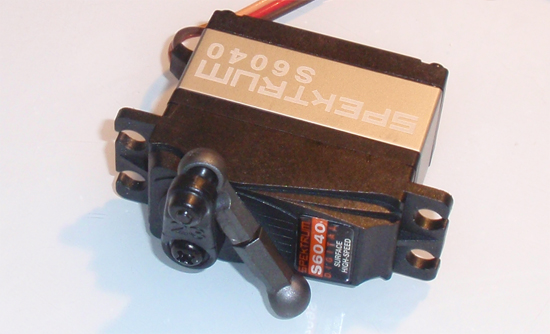
Pop the drag link into place.
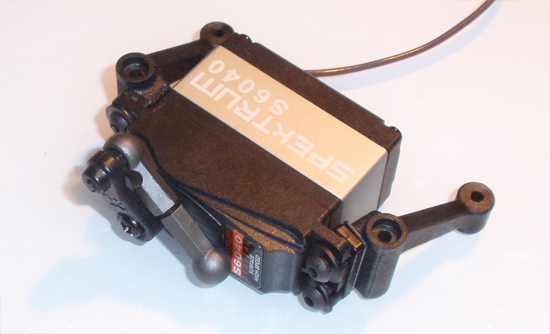
Using the correct shims, attach the servo mounts (and shims) to the servo. Do not tighten down just yet.
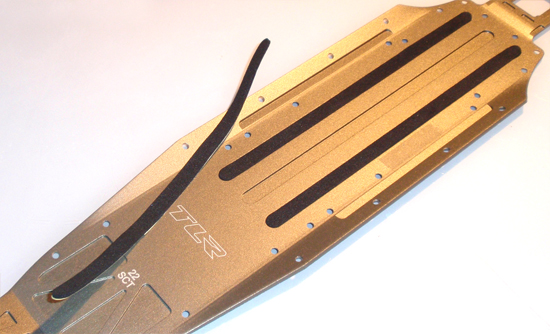
Pull the 3 strips of foam tape and set them into the grooves on the chassis as shown.

Attach the side rails to the chassis.
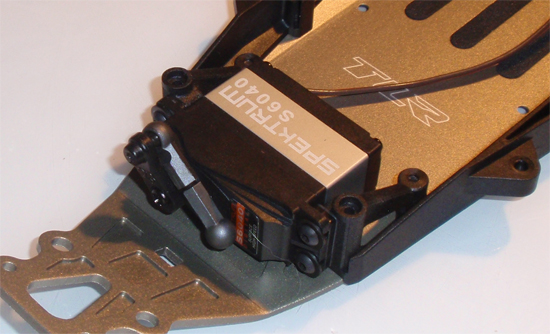
Attach the servo assembly to the chassis. Once you have mounted the servo mounts to the chassis, you can tighten up the screws that hold the servo to the mounts.
 Part 2 – Assembling the front bulkhead.
 RC Driver The Best In RC Car & Truck News, Reviews & Video


