The Build – Part 11
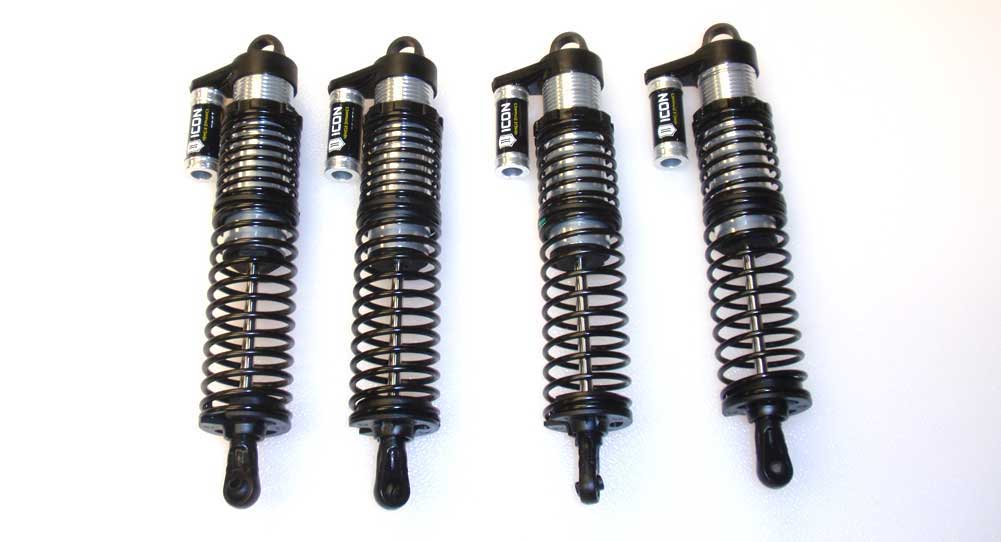
The shocks on the Axial Yeti XL feature a large bore, aluminum threaded bodies, a bolt-on piston design and a bottom load cartridge. They come with dual springs and some cool looking, albiet fake, Icon-logoed reservoirs.
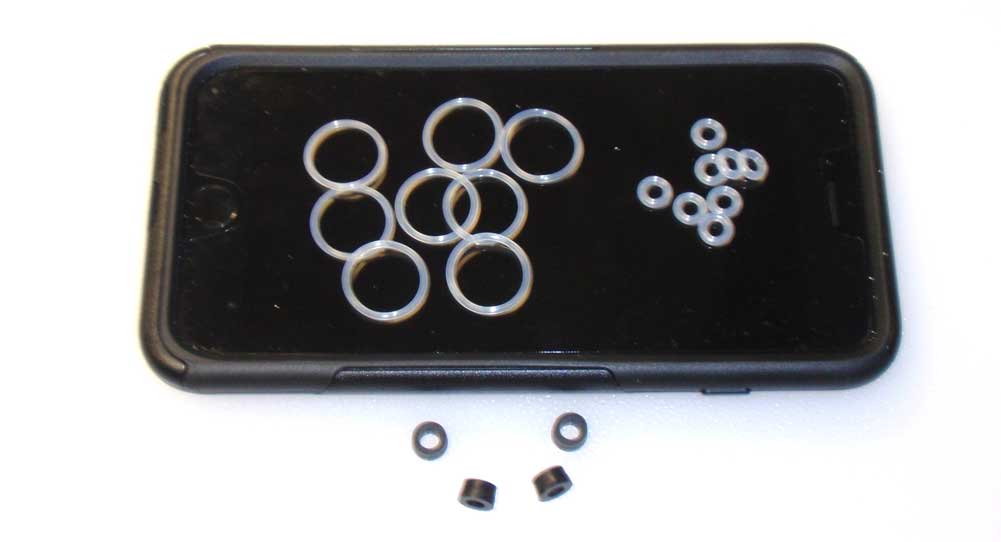
I’ve separated the o-rings and bushings up so you can get a better look at them prior to building. Axial uses the same large o-rings on both the cap and bottom cartridge so there are no worries about mixing them up. The smaller o-rings go inside the cartridge while the black bushings go on the outside of the shock shaft and act as up-travel spacers.
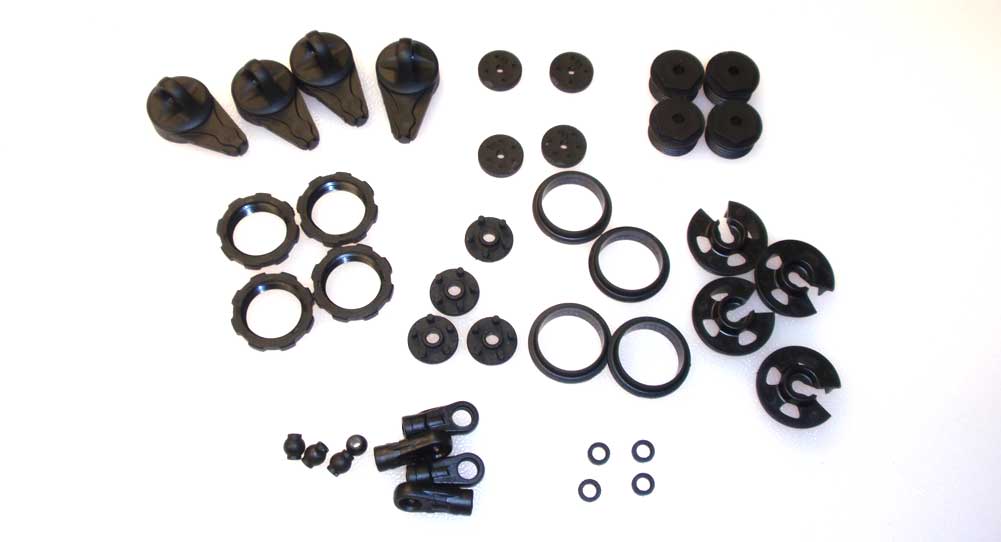
I like to separate all the plastic parts before building. I also like to prep the parts (remove flashing, etc) to make assembly a little smoother.
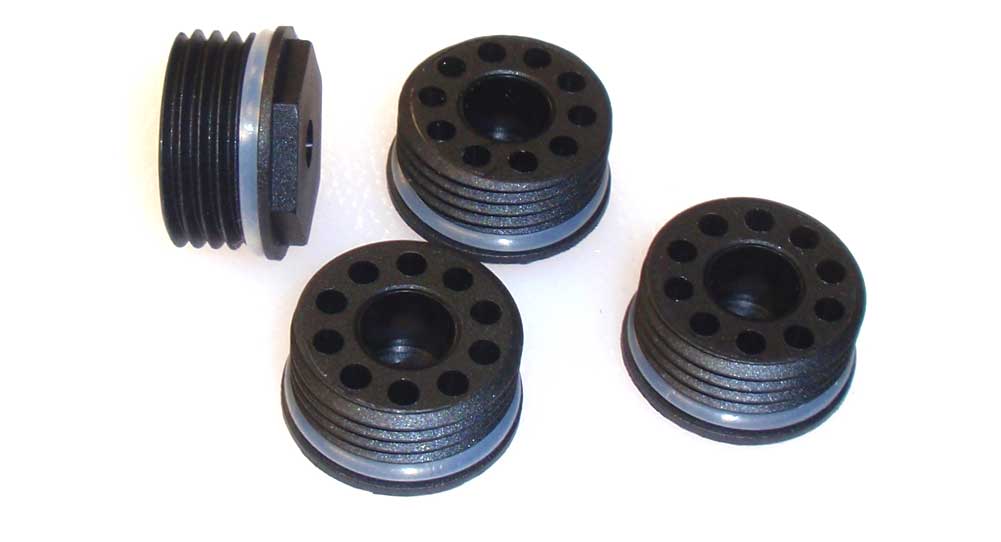
So let’s get to it. Roll a large o-ring over all four cartridges housings.
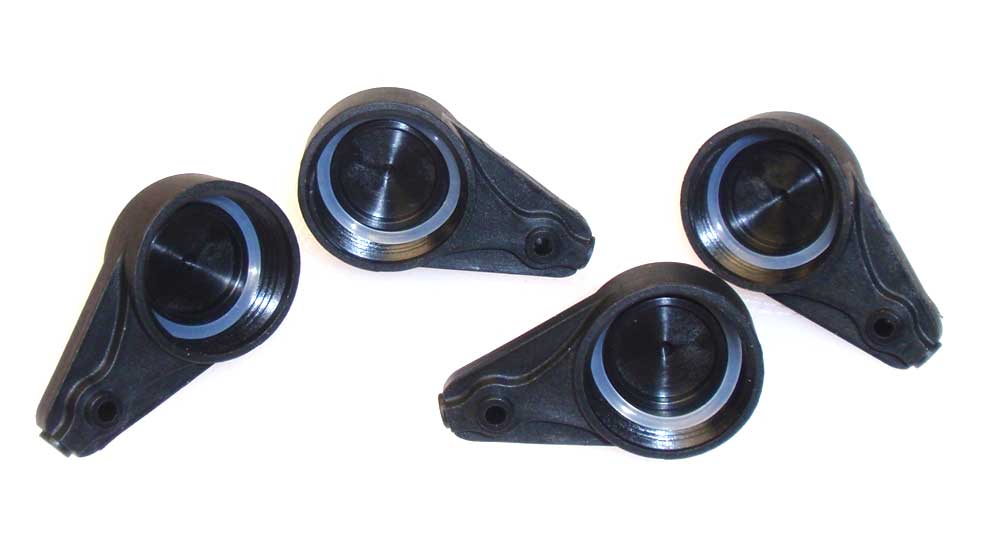
Carefully insert the other four o-rings up into the shock caps.

Build the four cartridges; start by inserting a small o-ring, a black spacer and then another small o-ring. Align the holes and press the cartridge cap into place. It’s not a very tight fit but should stay together with the pressure of the oil once the entire shock is assembled.
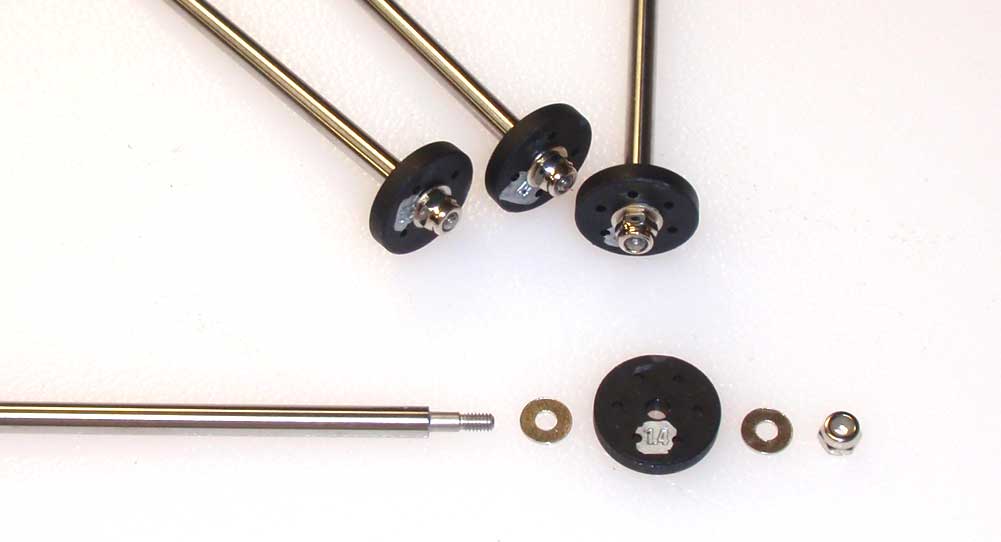
The Yeti uses the same length shafts in each shock; the only difference is the piston used. To help identify the pistons easier, I use a silver Sharpie to highlight the number on it. All four shocks will use the 1.4 pistons, however the front ones will use the piston with 4 holes, the rear shocks will use the piston with 6 holes. Assemble the four shafts as shown.
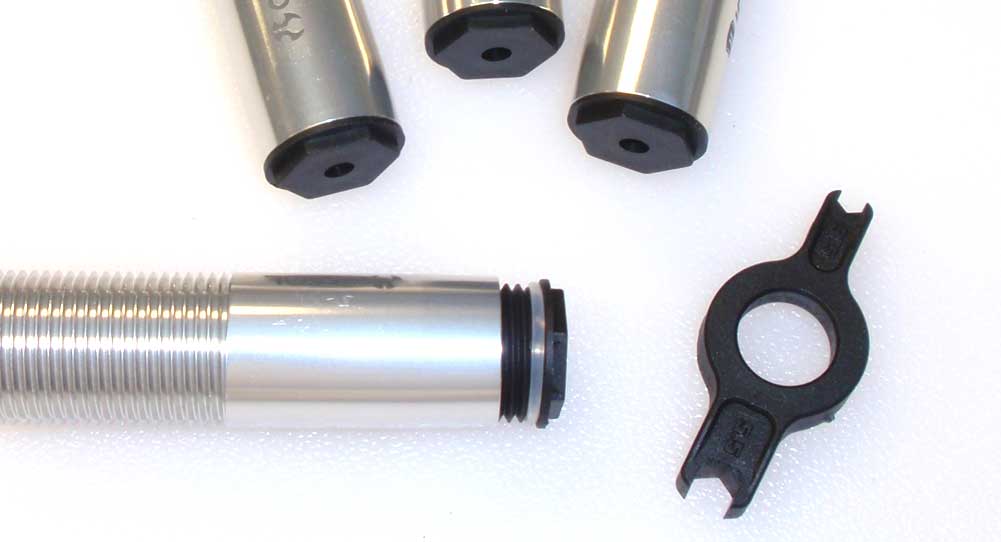
Carefully screw the shock cartridge into the bottom of all four shocks. Use the supplied tool to tighten. Make sure the o-ring feeds completely into the bottom of the shock; don’t pinch it outside of it.
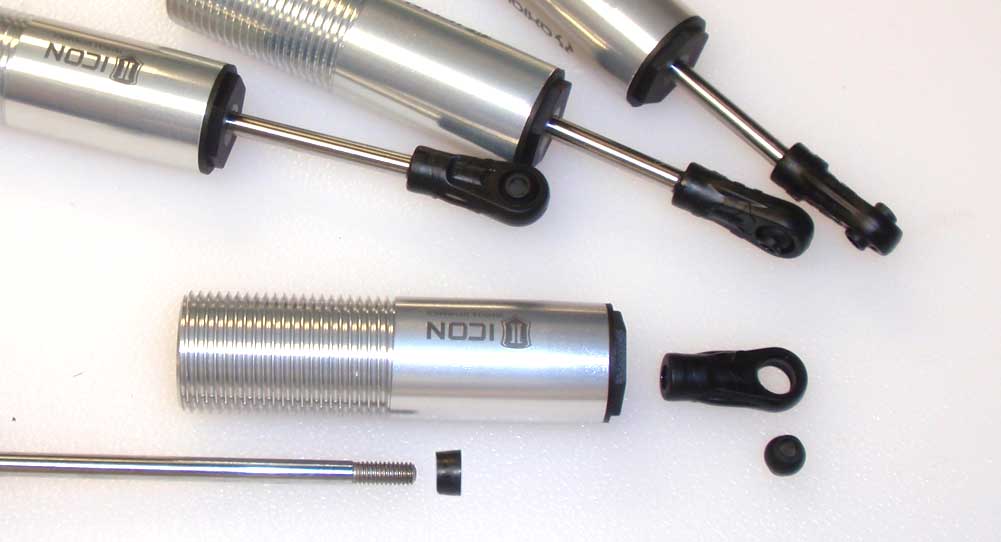
Apply a drop of oil to the shock shaft threads and insert it into the shock body. Slide the bushing onto the shaft, then thread on a rod end. Finally, pop a plastic ball into each rod end.
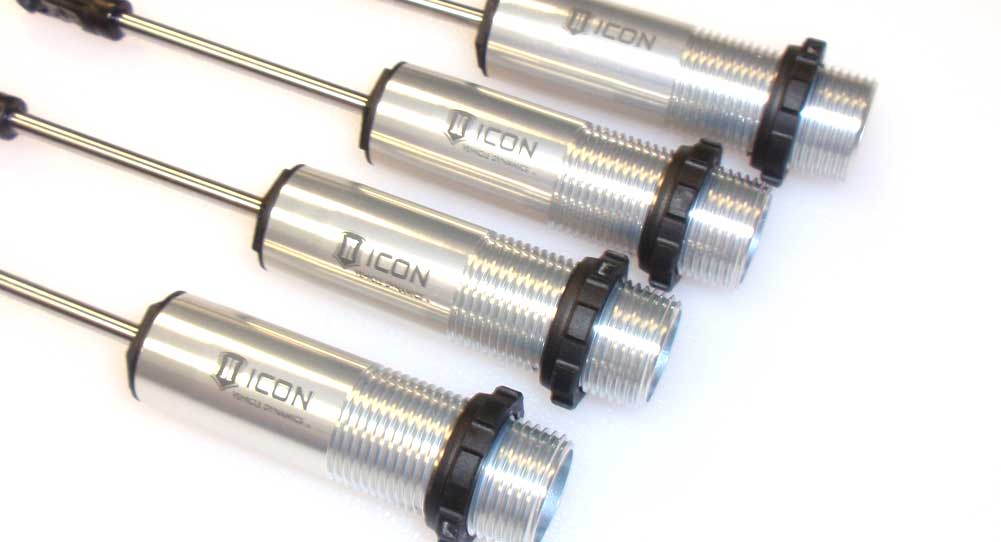
Thread the shock collars onto all four shocks.
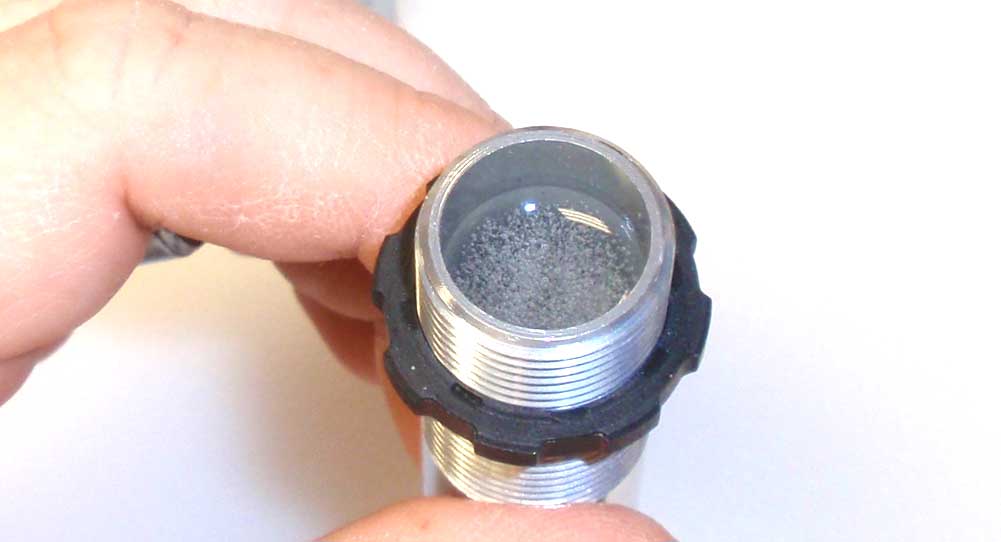
Fill one shock with oil to the top, then slowly plunge the shock shaft up and down a few times to get the air out from under the piston. You should see a lot of bubbles like the picture above. Once you’re confident the bubbles are out (maybe 5-6 plunges), fill the shock back up with oil.
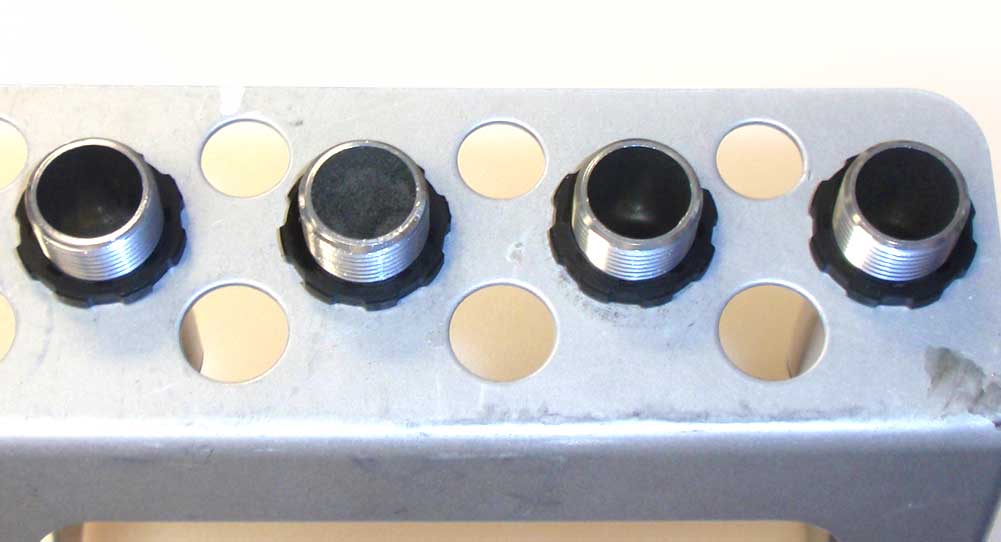
I like to let my shocks sit for a few minutes while the bubbles continue to rise.
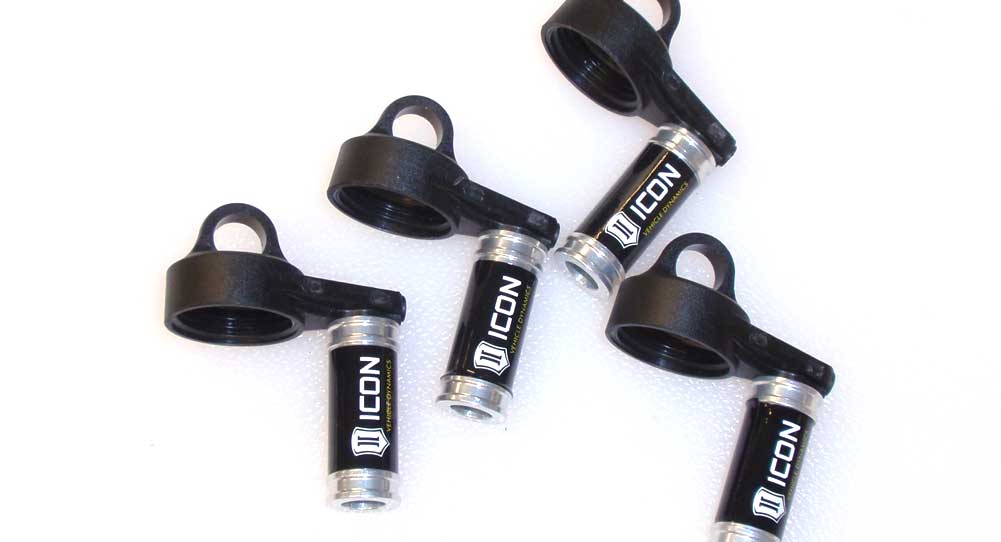
While we wait for the bubbles to rise and disappear, go ahead and build the shock caps. Wrap each aluminum reservoir with an Icon sticker and then attach it to the shock cap.
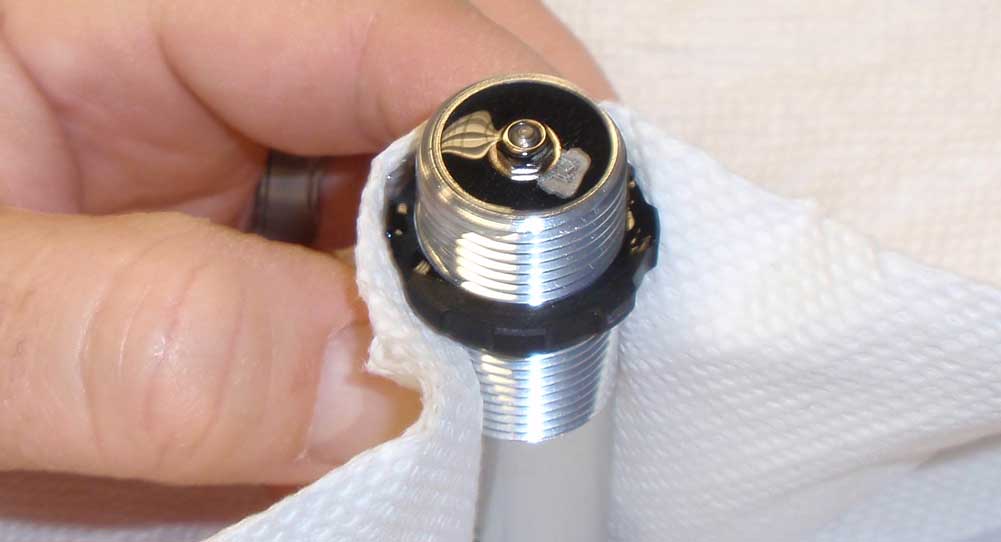
Time to put the caps on the shocks. I like to wrap the shocks in a paper towel during this step to help minimize the mess. Grab the shock and slowly compress it against the table.
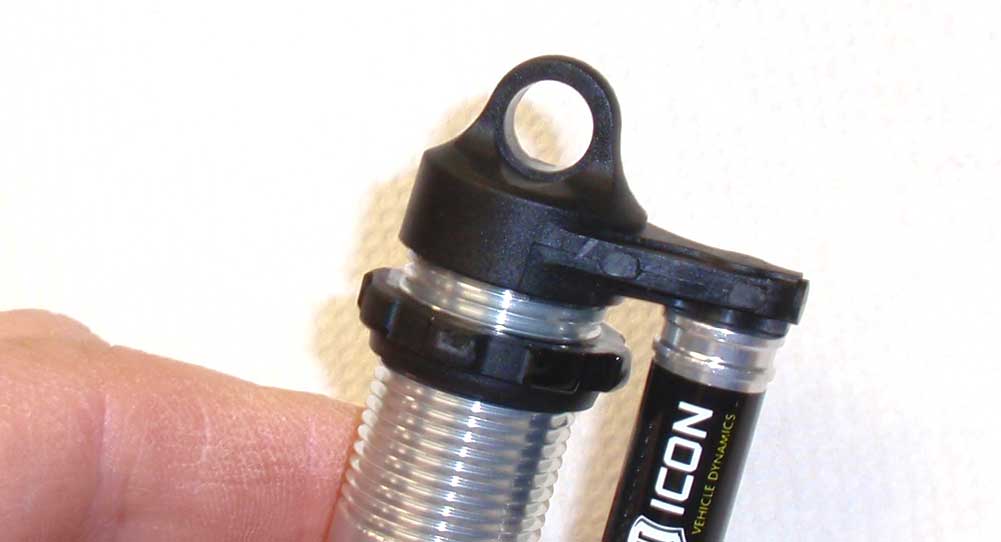
Screw the cap onto the shock being careful not to cross-thread it. I actually found cross-threaded was easy to do with these for some reason, so just take you time. Tighten down the caps and wipe off any excess oil. Build all four shocks.
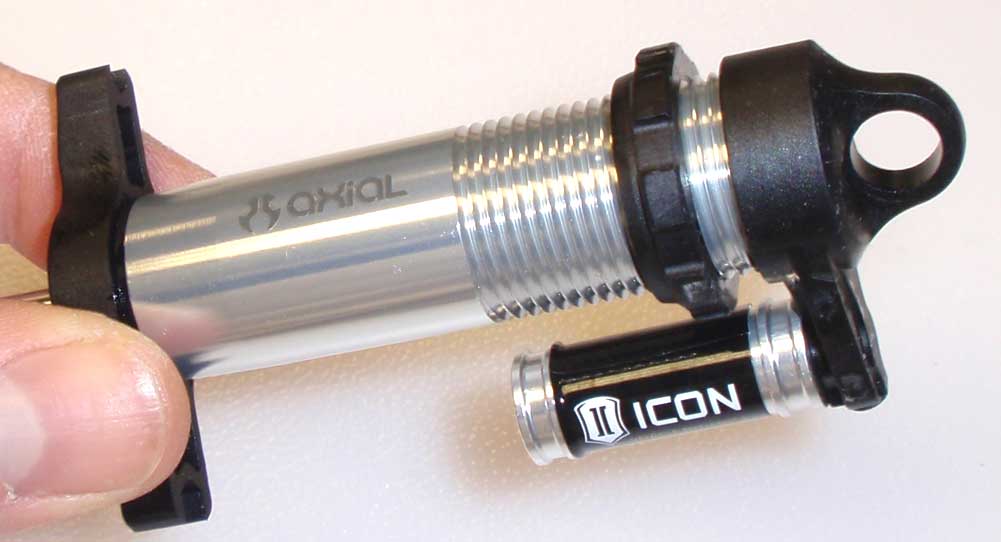
I used the cartridge tool to get a better grip on the shock to completely tighten the cap.

The Yeti uses a dual spring setup on each shock. Before we install, separate them into fronts and rears; the front will use the white upper spring and yellow lower spring, the rear will use the red upper spring and the green lower. Each spring has their appropriate color dabbed near the top coils.
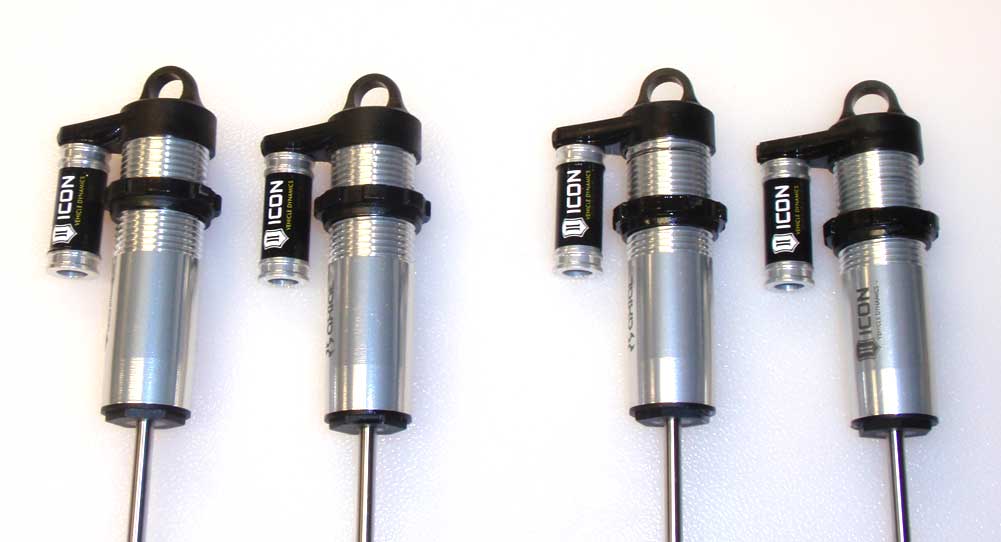
Per the instructions, roll the shock collars down until you have a 10mm gap in the fronts, 14mm gap in the rears.
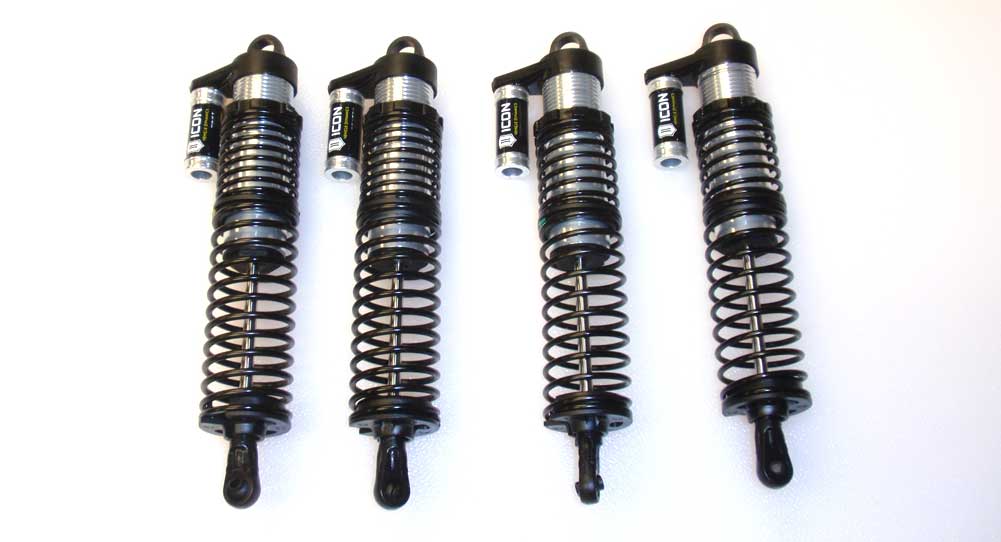
Slide the short springs onto the shocks followed by the spring coupler, then the long spring followed by the lower spring retainer.
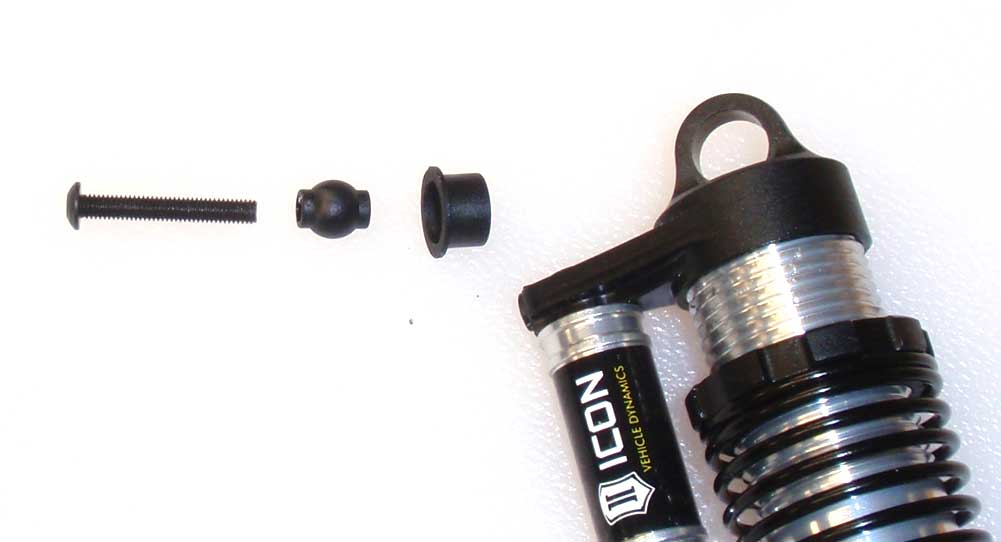
Installing the front shocks; start by pressing a plastic retainer into the shock cap. Insert the 20mm screw through the plastic ball, through the retainer and then screw it into the middle hole in the tower.
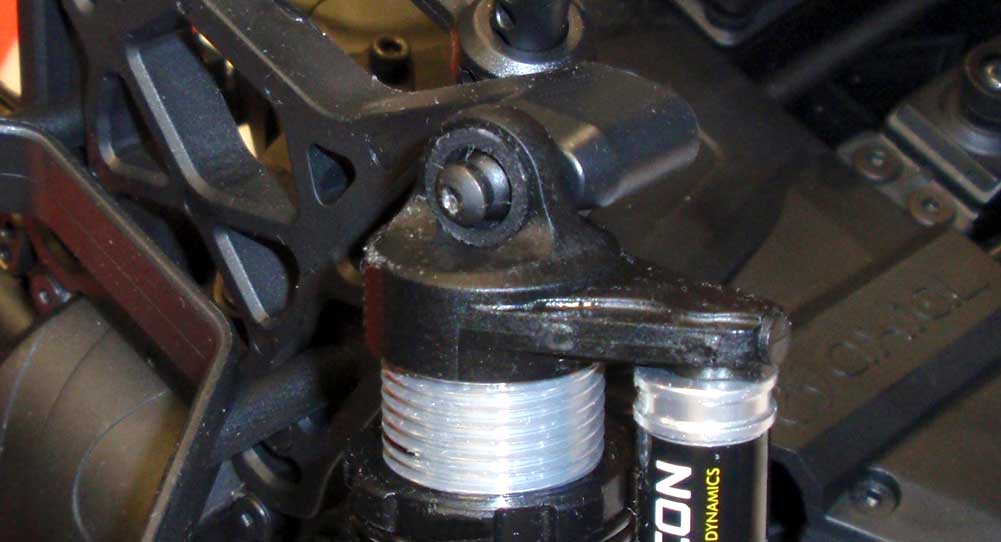
Here is a close up of how the install should be.
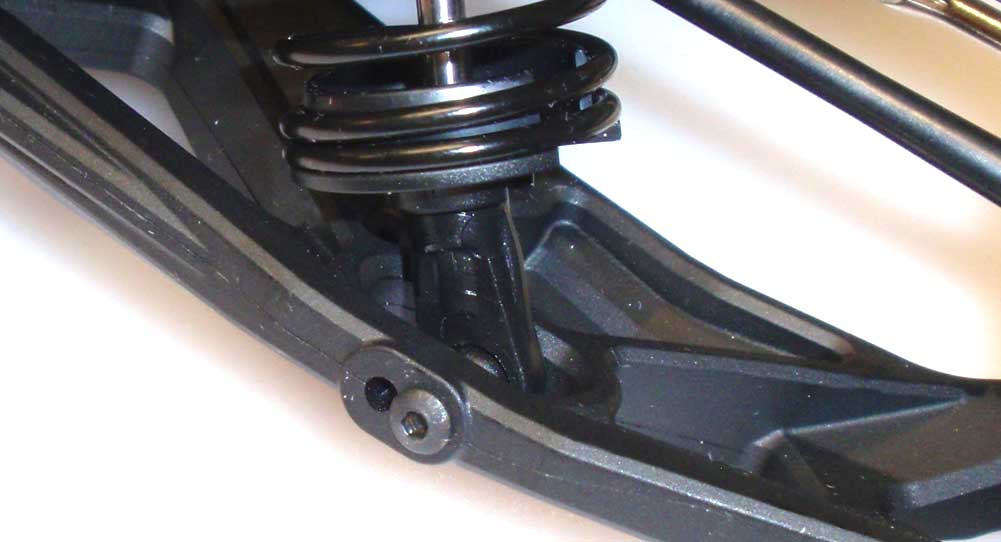
Attach the bottom of the front shock to the outside hole in the arm.

For the rear shocks, start by connecting the bottom of the shocks to the rear links. Do not overtighten.

This part is a little more tricky and actually not as the manual states. It shows the 25mm screw going through the ball from the outside of the shock while the retainer attaches from the inside of the shock cap. My ball wouldn’t slide into the retainer from this side, so follow this step instead; insert the ball into the retainer, then insert that assembly from the inside (or vehicle side) of the cap. Carefully slide that up and into the shock mount (it has to go between the two panels) and capture with the 25mm screw. This was a little difficult with only two hands (you’ll see what I mean), so I used a wrench to ‘locate’ the holes and hold it in place.
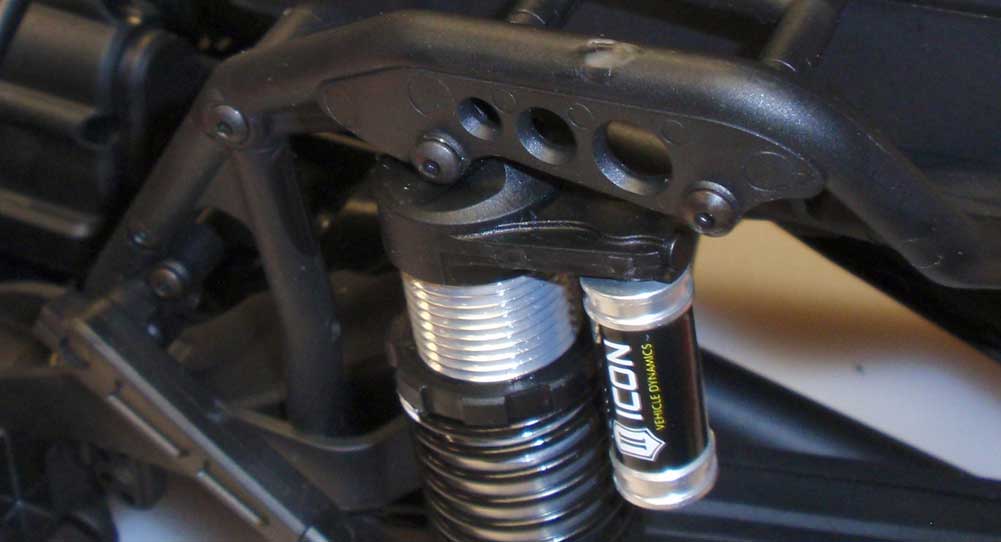
Slide the rear top cage brace into place, remove the wrench and insert the 25mm screw. Complete both sides.
Ok, take a deep breath, go get a drink and know that we are almost done! The hard parts are over…
 RC Driver The Best In RC Car & Truck News, Reviews & Video


