The Build – Part 5
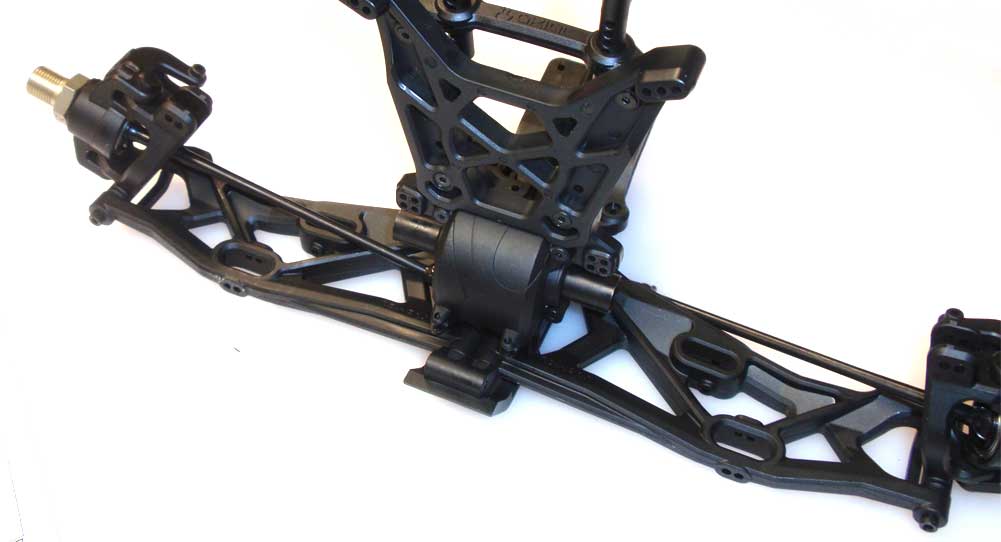
The front suspension of the Yeti features an independent design that is suited for floating over very rough terrain. The bulkhead is extremely narrow and the front has quite a bit of tuning adjustment to match almost any offroad conditions.
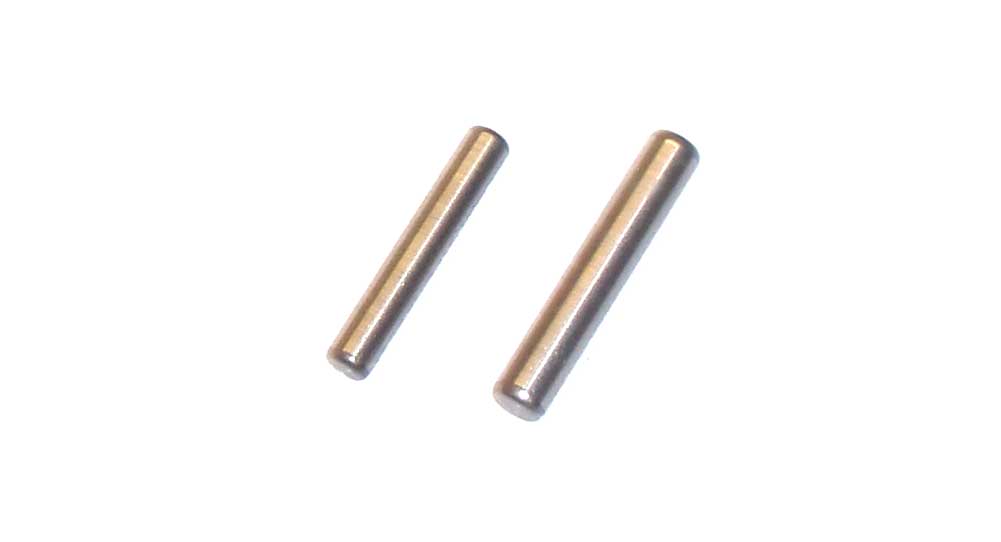
The front suspension utilizes two different size pins; the thinner one on the left is for the CVDs, the thicker one on the right is for the wheel hexes.
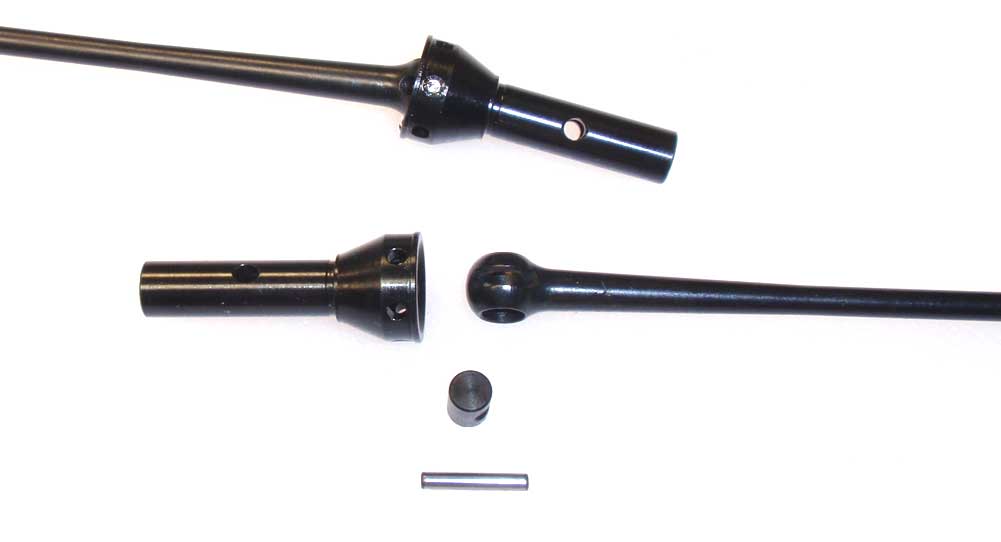
Using the thinner pins, build a pair of front CVD axles. Install the barrel into the axle ball, install that into the stub axle, align the holes and insert the pin. Remember to use a little black grease on the axle ball to keep things lubricated.
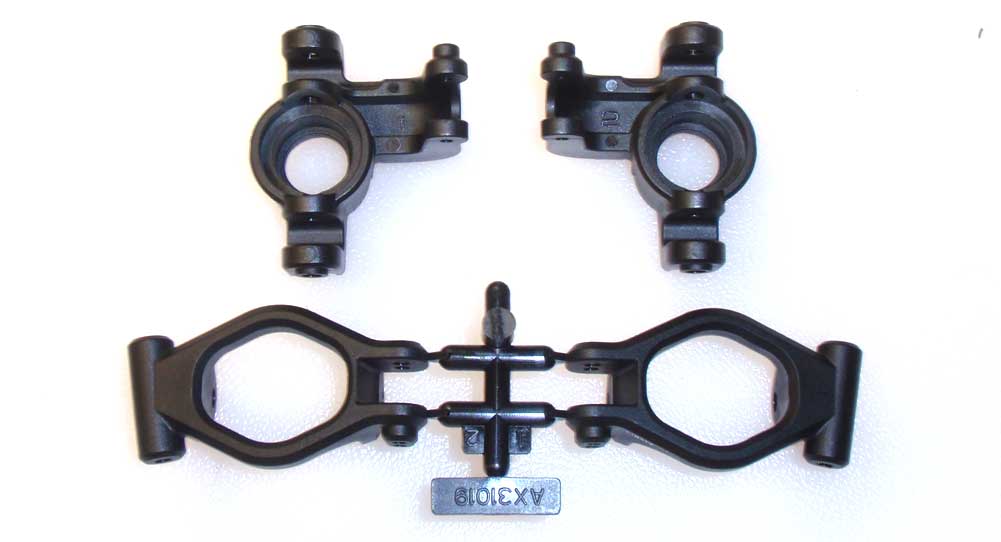
I’ve also laid out the front steering parts; the knuckle and caster block on the left are for the right side of the car, the knuckle and caster block on the right are for the left side. Ya, I know, sorry. Probably made it more confusing that before. This was mainly to show you what parts go together.
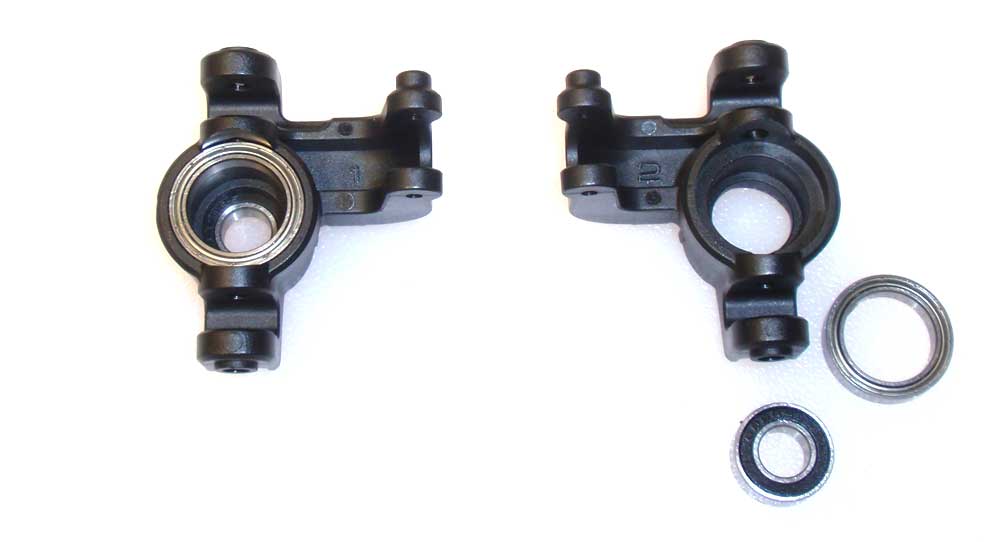
Press the bearings into both steering knuckles.
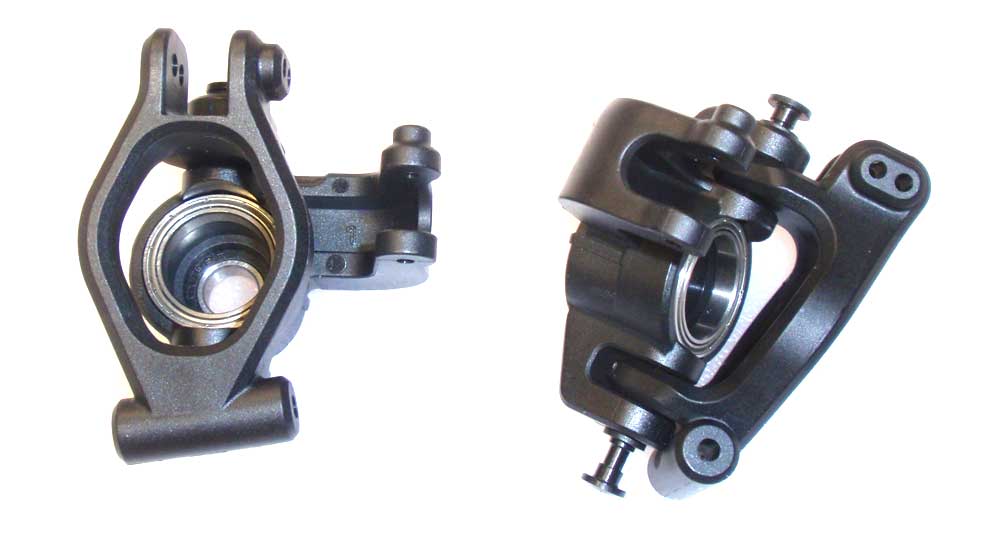
Attach the left caster block to the left steering knuckles, the right to the right. The pivot pins drop into place but will fall back out so keep them in until the next step. Note the orientation of the parts together.
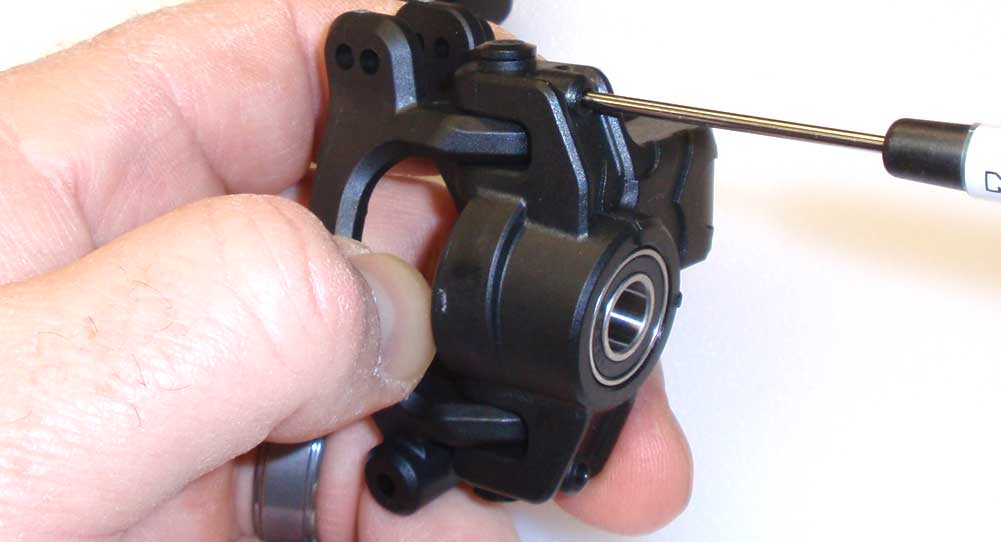
Feed the M3 set screws into the steering block as shown and SLOWLY tighten until you feel them snug up. Give a tug on the pivot pins to make sure the set screw has secured them; if not, tighten the set screw another 1/4 turn. Do not overtighten these!
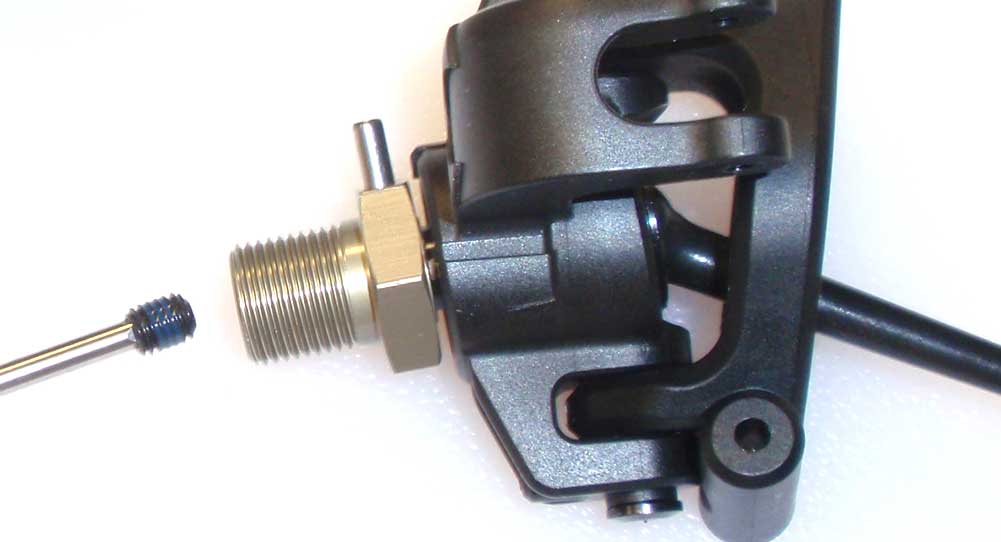
Feed a front axle through the steering block, slide a wheel hex onto it, align the holes and install the wheel hex pin. Secure the pin with the M5 set screw. Don’t forget the threadlocker.
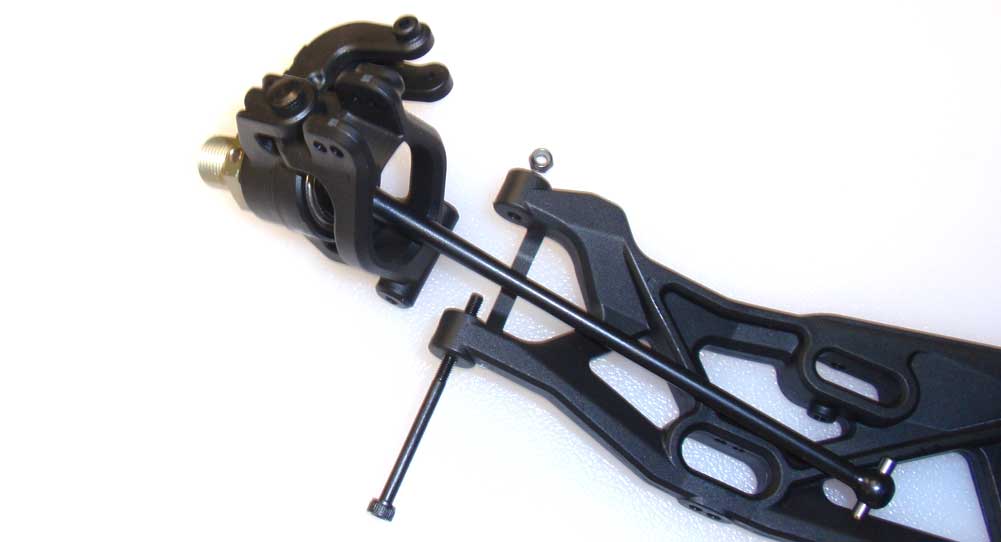
Attach the right steering block assembly to the right side suspension arm but do not overtighten the 45mm screw. Complete the left side. Note the orientation of the front arms.
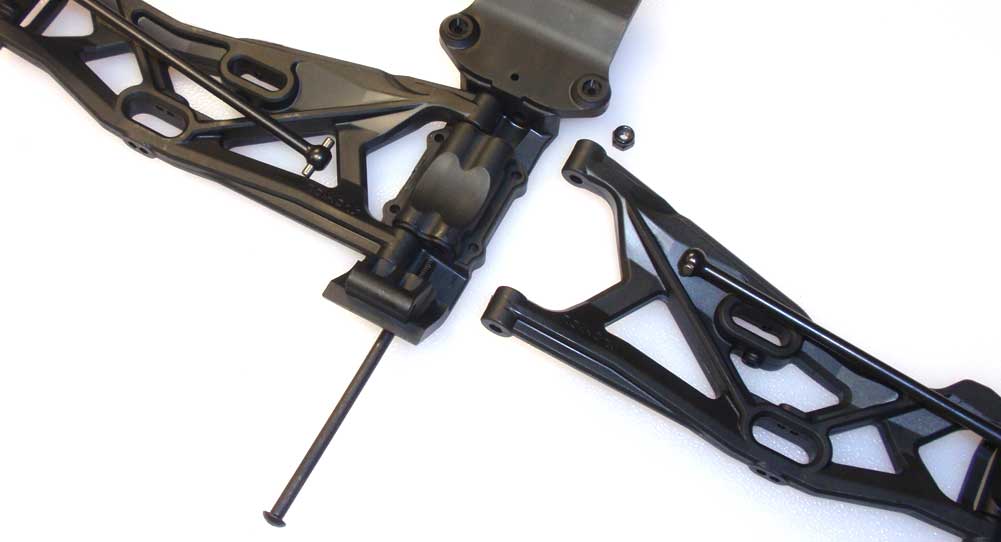
Slip the front suspension arms into the front bulkhead. Slide the hinge pins through to capture the suspension arms and secure with the M3 lock nut. Holding onto the lock nut when snugging up the screw can get a bit tricky, so have a pair of needlenose pliers handy to help out.
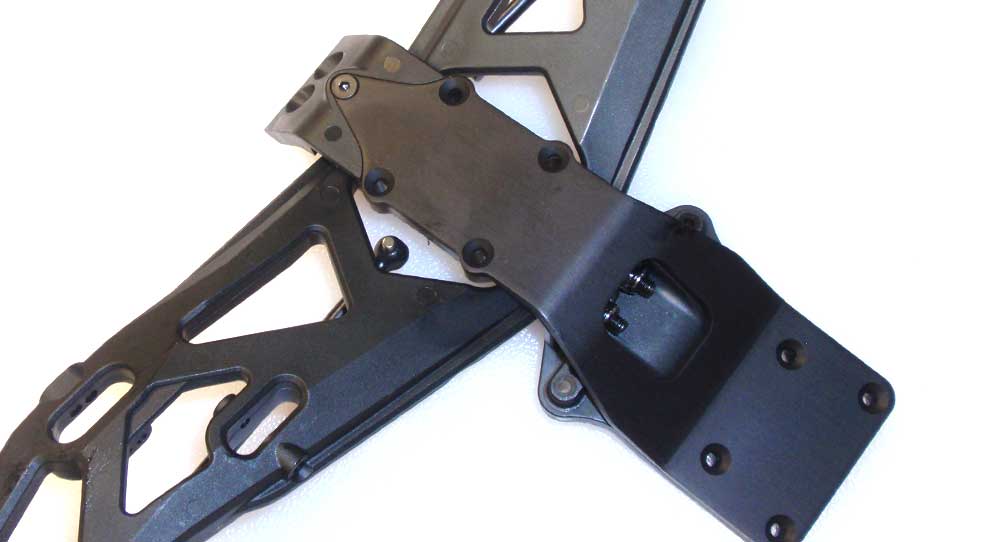
Flip the front assembly over and attach the skid plate using the front-most M3 screw. This step requires a few extra hands but I found if you attach the plate first, it gets alot easier.
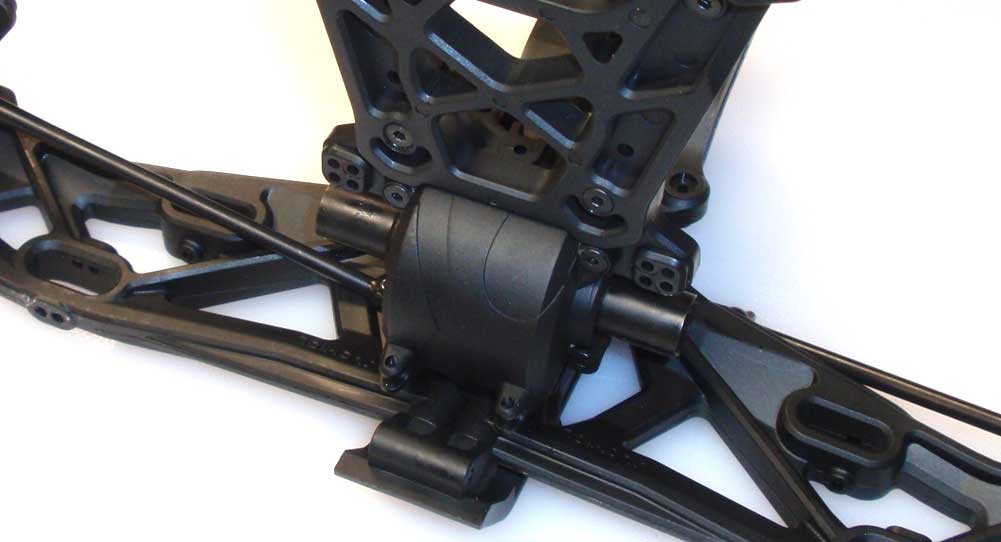
Set the front gearbox onto the bulkhead and secure with the four 20mm screws.
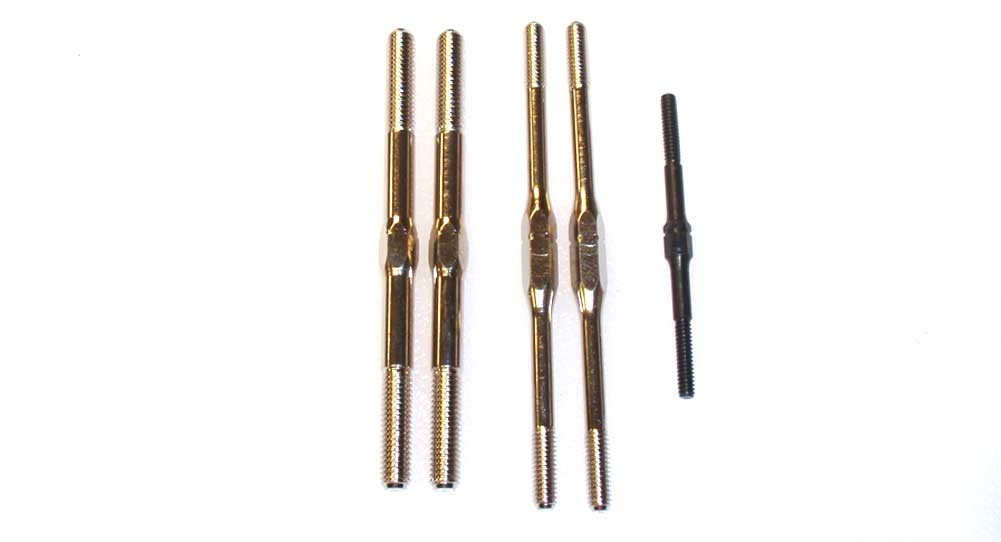
We’re going to be attaching the front camber links now, but here’s a quick pic of the three types of turnbuckles. The rods on the left are for the camber; put those aside because we’ll be using them in the next step. The rods in the middle are for the steering and the single, black rod is the draglink.
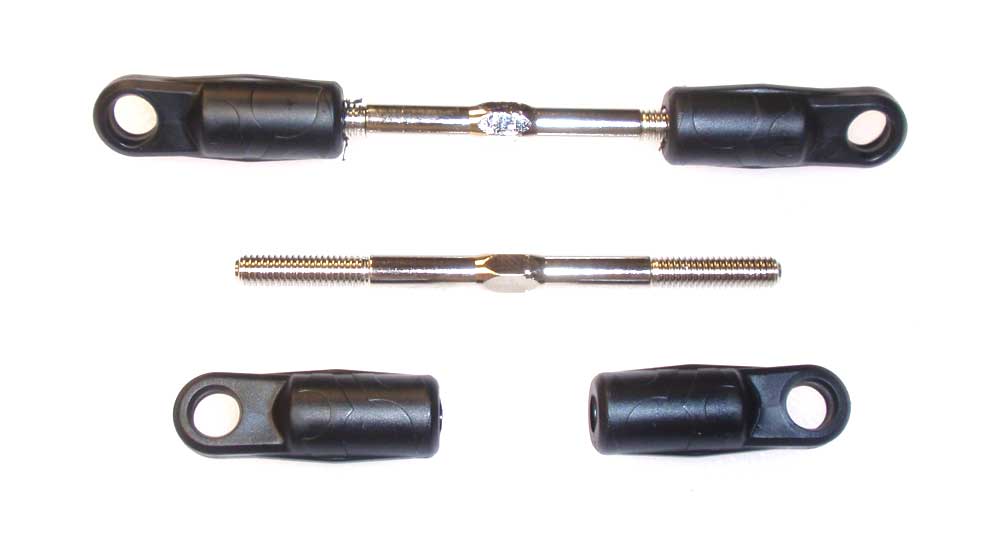
Assemble the camber links. The 45mm length is a good starting point.
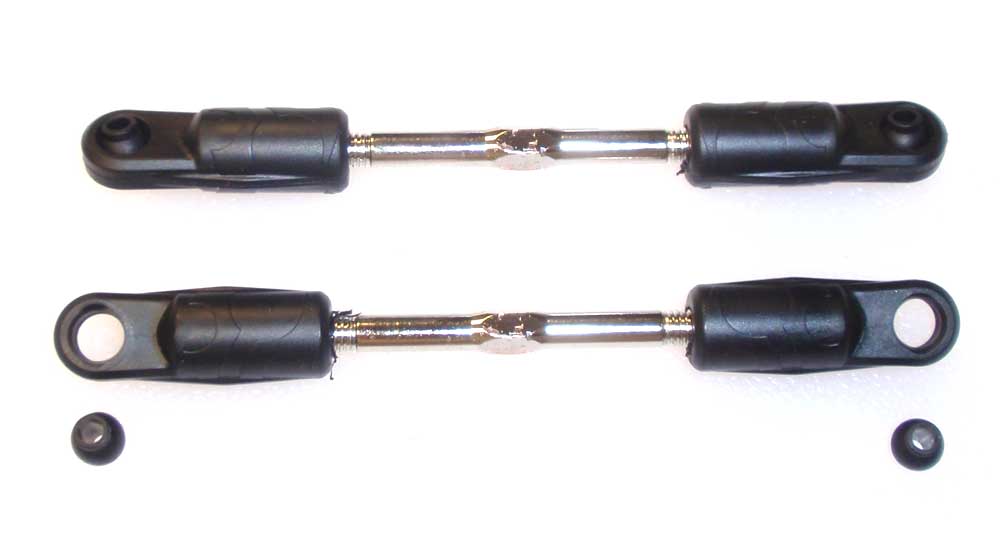
Pop a plastic ball into each rod end.
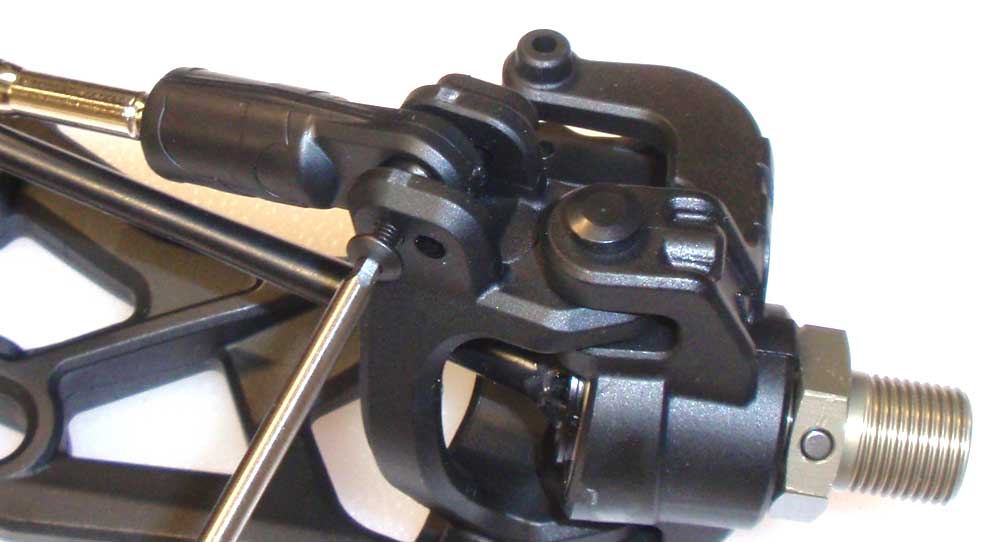
Install the turnbuckles to the caster blocks using the inside hole. My manual had one in the inside hole and one in the outside hole, but due to the length I came to the conclusion that the inside hole is the one to use.
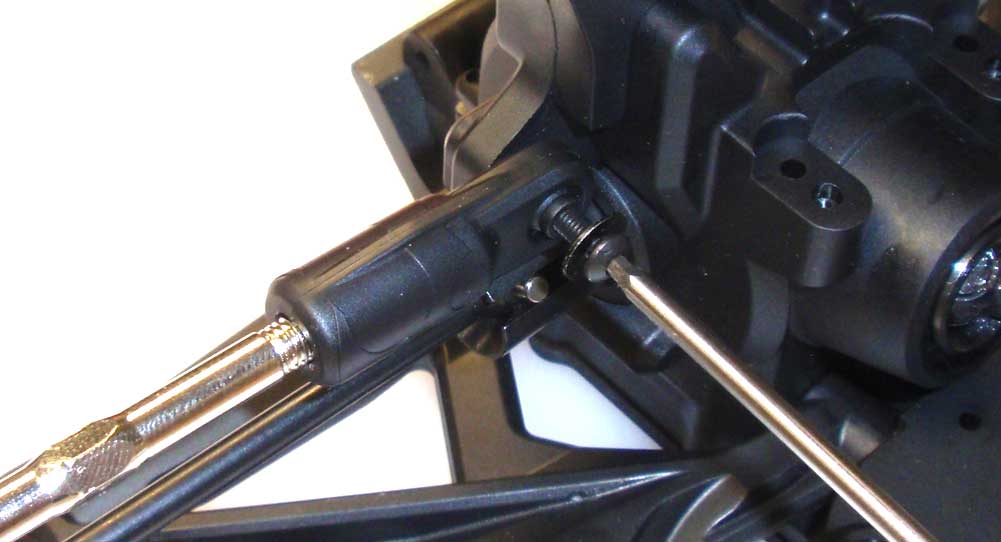
Key the CVD to the diff outdrive and then connect the other end of the turnbuckle to the upper/outside hole on the tower. Complete both sides.
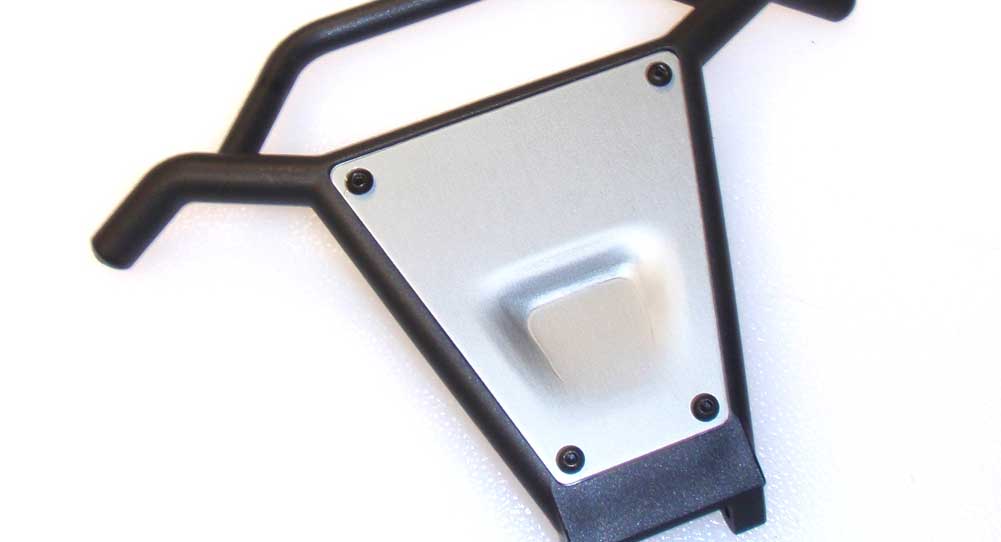
Attach the metal plate to the front bumper.
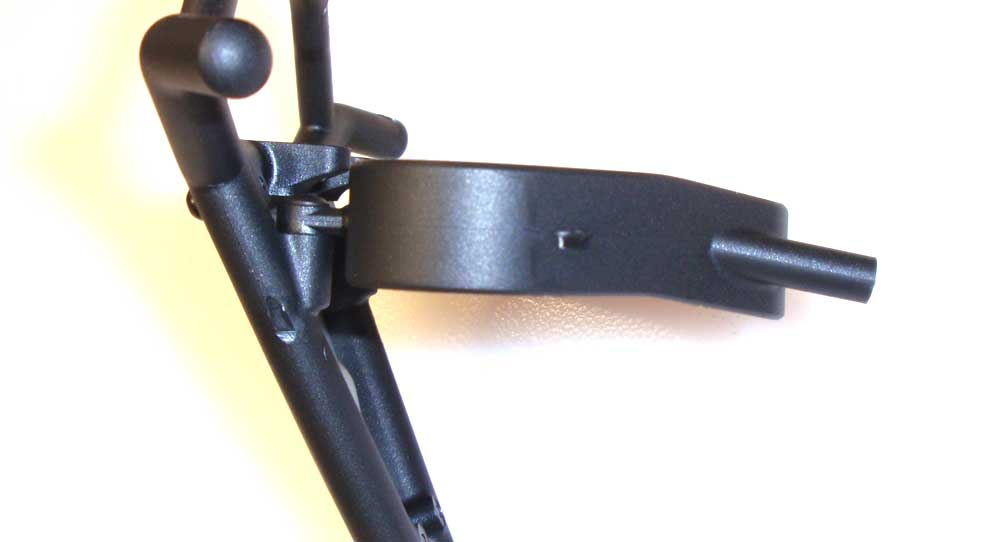
Attach the front bumper to the bumper brace. I’ve added a side view so you can see the orientation of the brace.
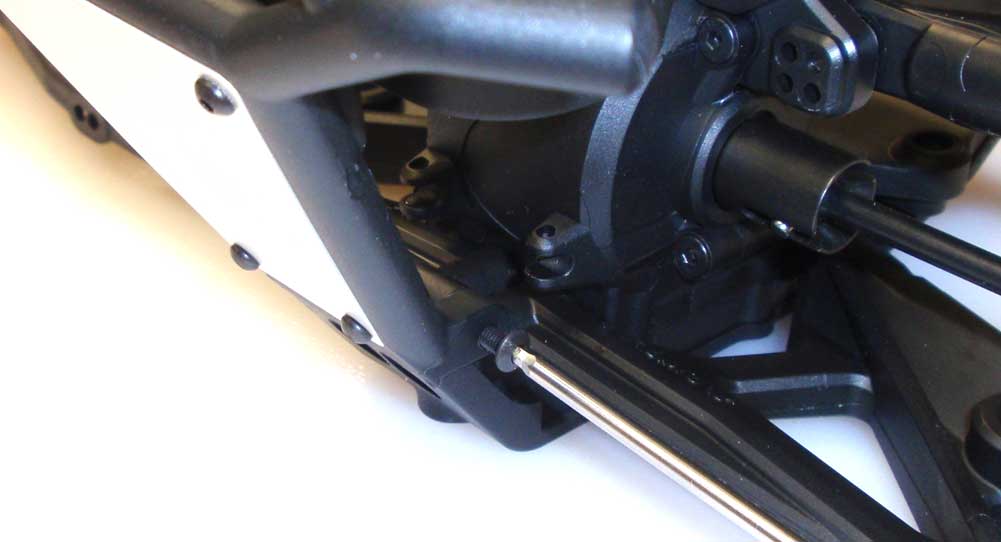
Attach the front bumper to the bulkhead.
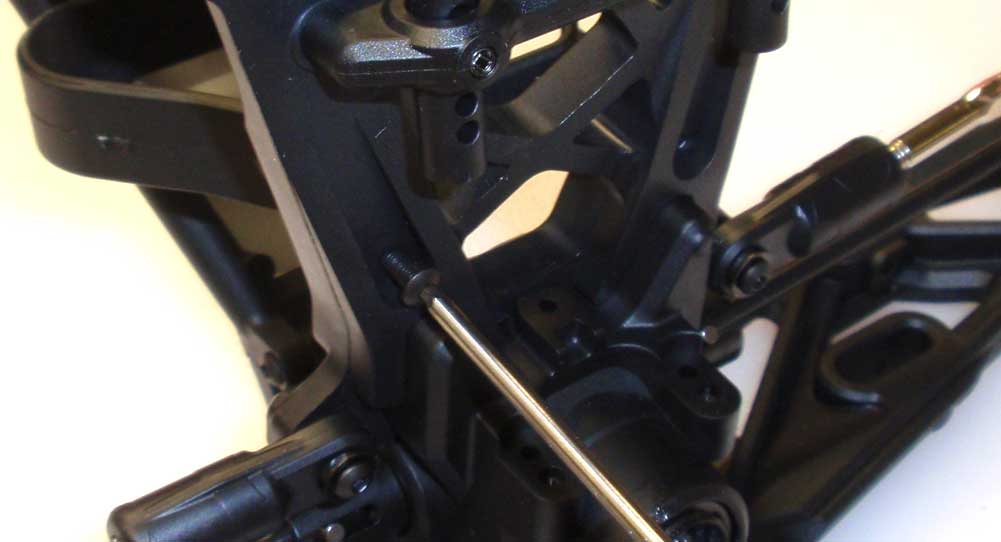
Attach the front bumper brace to the shock tower.
Not so bad, right? Swing the front arms up and down to make sure there is no binding. Moving on to the steering system.
 RC Driver The Best In RC Car & Truck News, Reviews & Video


