When fine tuning 1/8 buggies and trucks, most drivers begin with shock oils, camber, toe, tires, and so on. Often overlooked is a very important and useful tuning option on a car, the clutch. A clutch offers a variety of tuning options for different circumstances, but like the rest of the car it requires good maintenance to perform at its best.
STEP 1
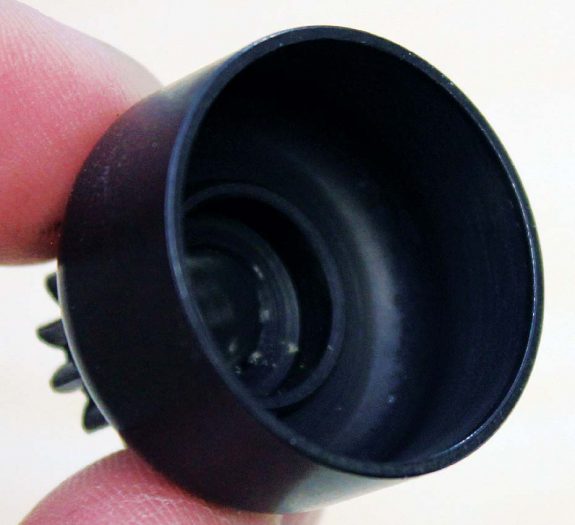
The first thing you come to when working with a clutch on an engine is the clutch bell. Maintenance of the clutch bell consists of two steps. Inspect the clutch bell teeth for wear and/or damage. If the teeth appear worn or even missing, it is best to replace the clutch bell. However, be sure to replace the worn clutch bell with the same tooth clutch bell in order to keep the gear ratio the same.
STEP 2
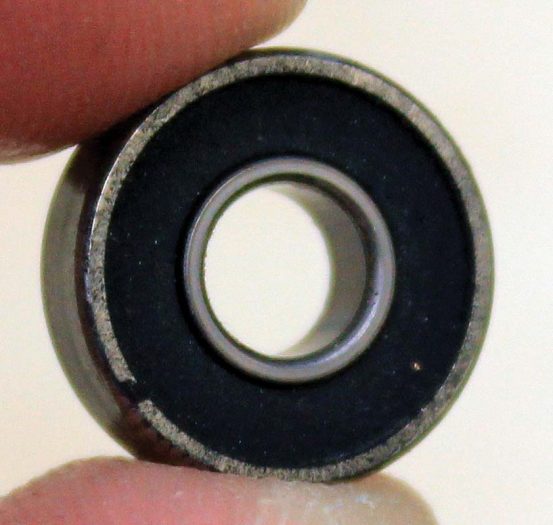
Inspect the clutch bell bearings. There are two bearings located on the inside and outside of the clutch bell that allow it to freely spin on the crankshaft when the clutch is not engaged. After carefully removing the bearings, hold the outside of the bearing and slowly rotate the inside of the bearing with your finger. A good bearing should feel very smooth and allow the clutch bell to spin freely. If the bearing feels “gritty” or “notchy” it’s time to replace them with a fresh set.
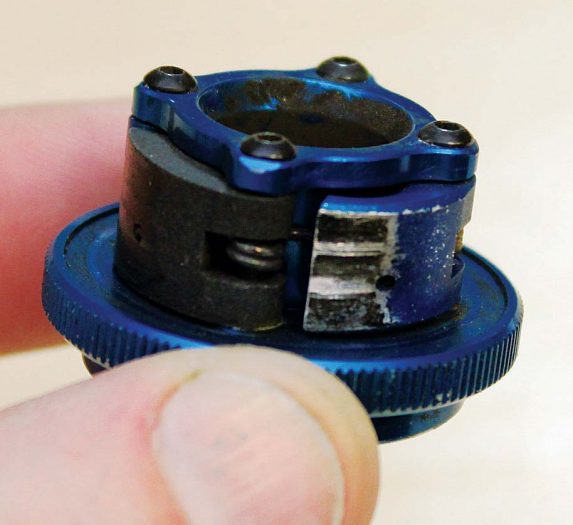
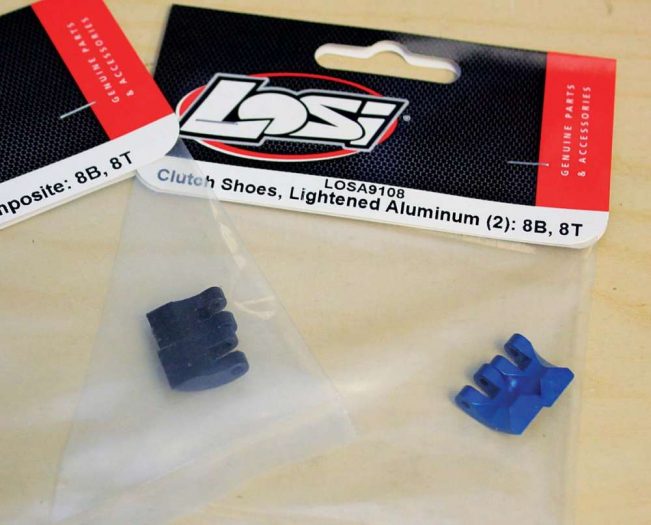
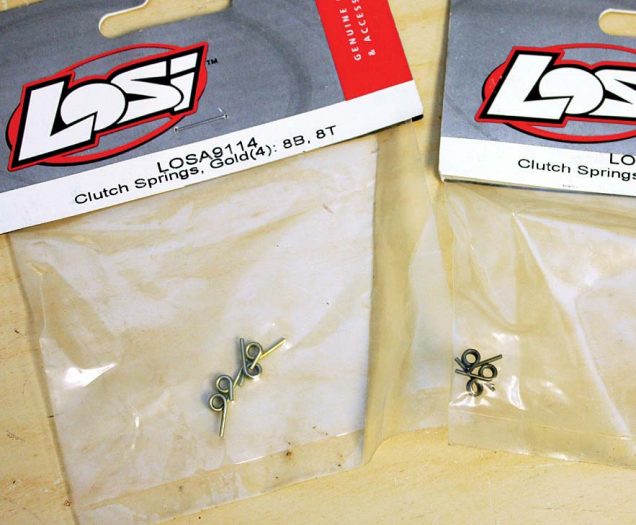
After looking over the clutch bell and bearings, you will come to the clutch shoe and clutch spring assembly. Clutch shoes (carbon or aluminum) require a simple inspection. Clutch shoes are taking a heavy load and will begin to wear. Carbon shoes are softer than aluminum and will have a tendency to wear faster. If the clutch shoes appear to be heavily worn, it’s time for a new set. The clutch springs should hold the shoes in a near perfectly round pattern until the engine is running and centrifugal force will spread the shoes out. However, if the springs become worn out, they sometimes won’t bring the clutch shoe back to its neutral position. If you find that one or more of the clutch shoes appears “stuck” out, it’s time to replace the springs as well.
CLUTCH TUNING
There are several parts of a clutch setup that may be changed for varying circumstances. First and foremost, clutch shoes. Clutch shoes are available in several materials, but the most popular are aluminum and carbon. Carbon shoes have a tendency to slip slightly more than aluminum, giving the car a smoother feel and less punch. On the flip side, aluminum shoes may provide more punch but they are also known to wear faster as well. Some drivers prefer carbon shoes on a slick track surface where a smoother, less torque feel is easier to drive. With a more high traction surface or a track where “instant power” is needed, many prefer an aluminum shoe setup.
Moving on through the clutch, we come to the springs. Like the shoes, different rate springs offer different characteristics as well. The thinner a spring, the softer it is considered. One example being a 1.0 is softer than a 1.1 rate clutch spring. Thinner springs are often used on slicker surfaces. They provide a smooth acceleration, as thinner rates allow the clutch to engage at a much lower RPM. Heavier springs are most often used when there is a need for more torque and on high traction surfaces. A heavier spring keeps the clutch from engaging until a higher RPM, giving the car less of a smooth feel, and more instant acceleration. Although there are many different spring rates available, most drivers tend to stay in the range of .9 – 1.1 springs.
Last but not least is clutch shoe orientation. Technically there is no real wrong direction to put your clutch shoes on. However, orientation of the shoes does make a difference as to how the clutch reacts. The most common setup is called “trailing shoes.” This setup has the clutch shoes aligned opposite to direction the crankshaft turns. This provides a smooth engaging clutch and is ideal for most tracks. When the shoes are turned the same direction as the crank is turning, it is known as “leading shoes.” The leading shoes setup causes the clutch to engage with more of a punch, and is used mostly for extremely high traction conditions.
THE FINAL STEPS
Now you have picked your springs, your shoes, and how you’re putting it back together, but there is one final step. Before tightening down your clutch bell, add or remove shims so it is slightly less than level with the end of the crankshaft. This will allow just the right amount of play to keep your clutch running cool and smooth. Once your shims are in place, carefully hold the flywheel and tighten down your clutch bell nice and tight.
Once you start and warm up your car, you may notice it sounds like something is slipping and has a lack of power on the track. This is caused by the grease in your new bearings allowing the clutch shoes to slip. A quick fix is to run a few laps and bring your car in to your pit guy, hold it approximately half throttle off the ground, and push it down to the ground for approximately two to three seconds. Do this once or twice and the grease should be “burned off” and your clutch will be good to go.
 RC Driver The Best In RC Car & Truck News, Reviews & Video


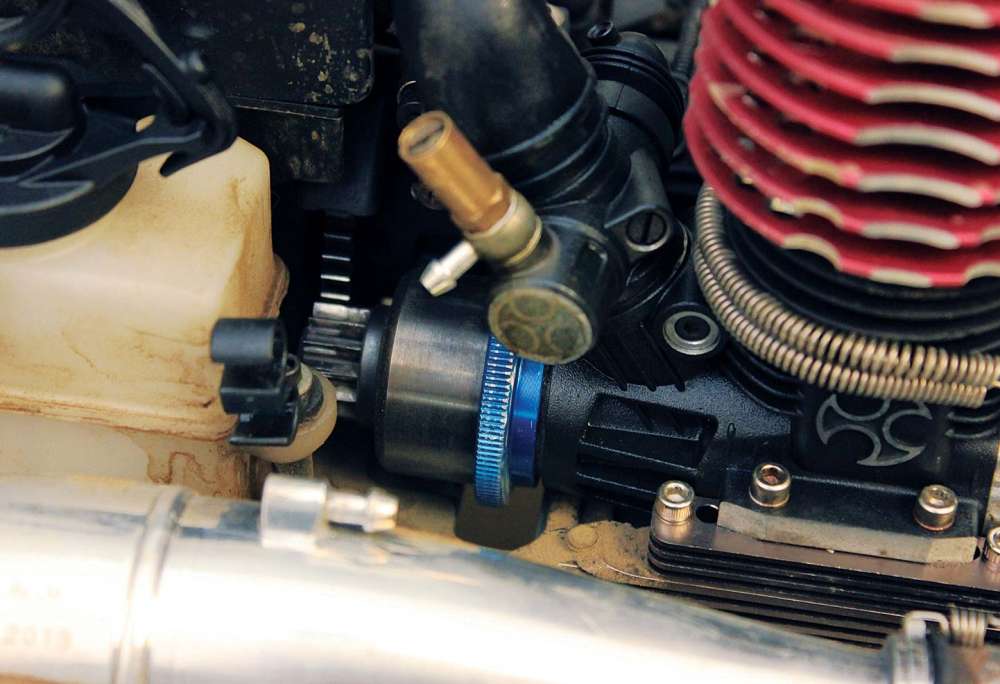


Is there different sizes and weights of clutch shoes? I put a new pare of shoes on my hpi savaga xl, and it is having problems shifting to second gear! I have adjusted the set screw.
Is there anything you can suggest to do?