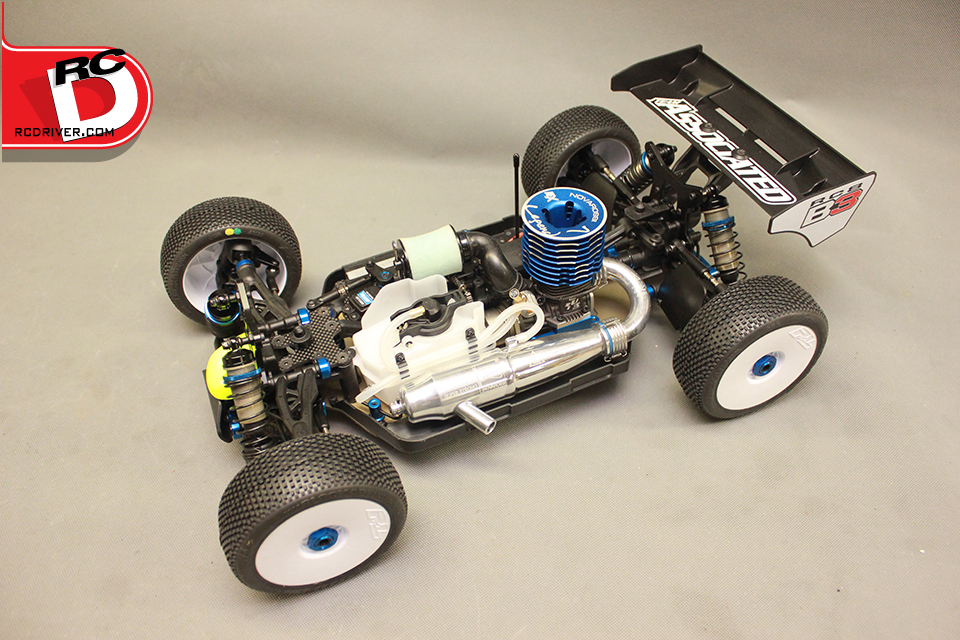
It’s no secret that Team Associated fans all over have been eagerly awaiting a new 1/8 competition off-road buggy from the multiple world and national title holding manufacturer. The versions of the RC8 up until now have enjoyed a lot of success, but the design began to limit what could be done and taking the platform to the next level was uncertain – at least in the eyes of armchair engineers. Well luckily the crew in Area 51 decided to start from the ground up for a new 1/8 release and the long-awaited RC8B3 is finally here. I can already hear what some are saying, including that the buggy looks like one vehicle or another which is already on the racing scene. In fact I had that initial concern, too, and even on a trip to Team Associated itself, the guys behind the important desks saw it on my face. But in all actuality, we’re reaching the point in RC vehicle evolution where we’ll be seeing a lot of cues taken from successful machines. The question remains, who will take what works and make it better? That’s exactly what AE did! They found what works for the majority of racers on a wide variety of tracks, designed a buggy around it and refined the design to be better performing, more durable and easier to use. We’ve spent a lot of time with one of the first kits to be released from the AE offices and in Day 1 of RC Driver’s Team Assocaited RC8B3 vehicle week, we have for you a photo gallery of the kit contents and the kits build peppered with some notes on things that stood out. Take a look.
UNBAGGING Since the RC8B3 comes as a build up kit like Team Associated’s other racing machines, we decided to do a kit unbagging to show you whats in each individual build bag in the kit. Each bag is neatly labeled and packed and matches up with the build steps in the well laid out manual .
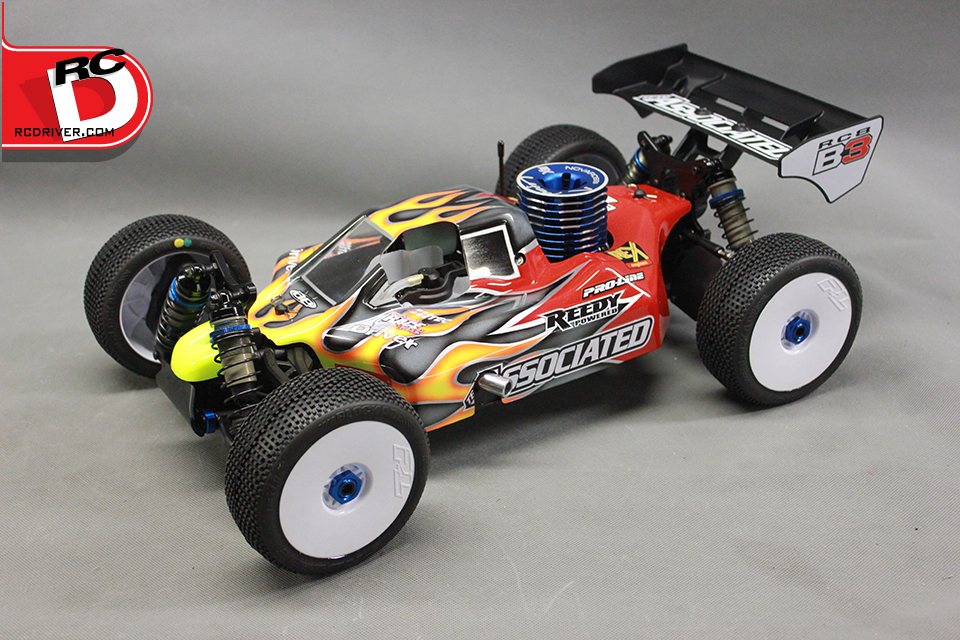
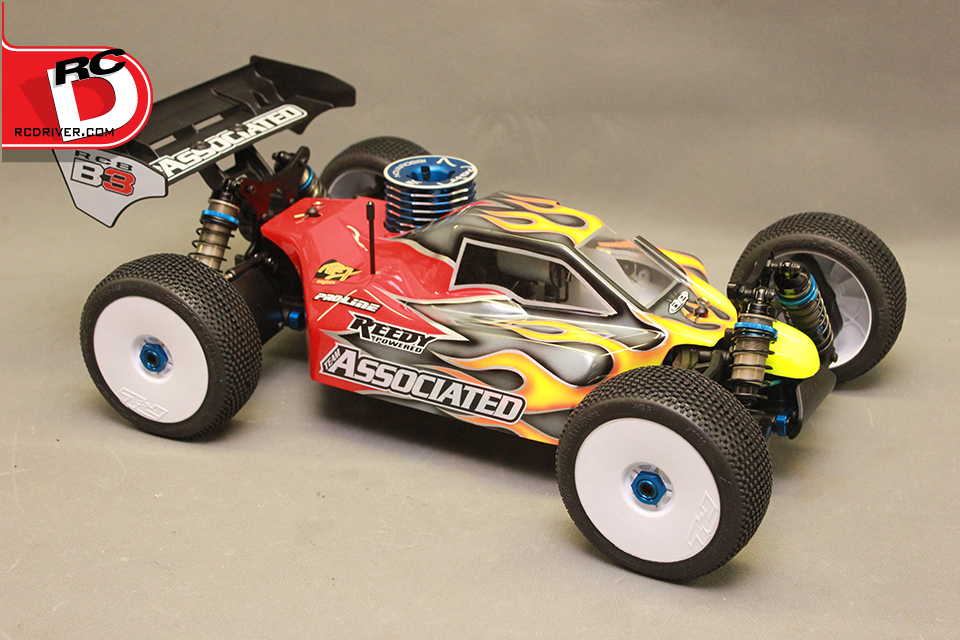
Team Assocaited Worked with Pro-Line to mold the included clear cab forward shell.
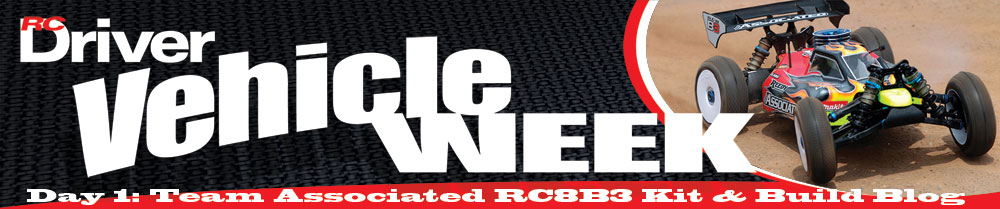
The manual; nice cover. Keep this with you, it has the basic set-up info in it and references all of the part numbers in case you need it in the future.
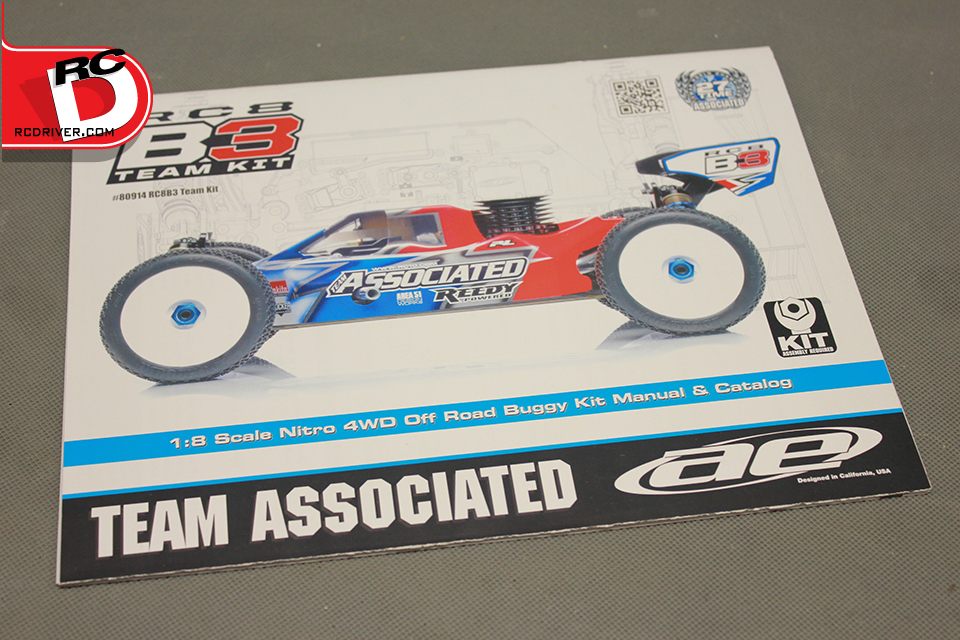
The manual will be easy for any racer to follow and gives you indications on what to use for a basic set-up such as oils, pistons and pivot positions.
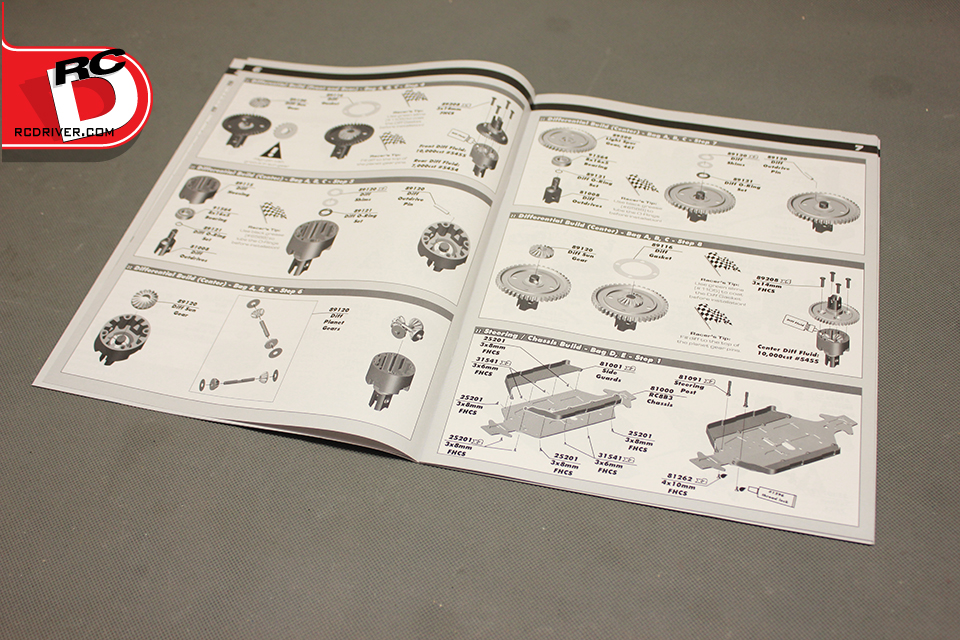
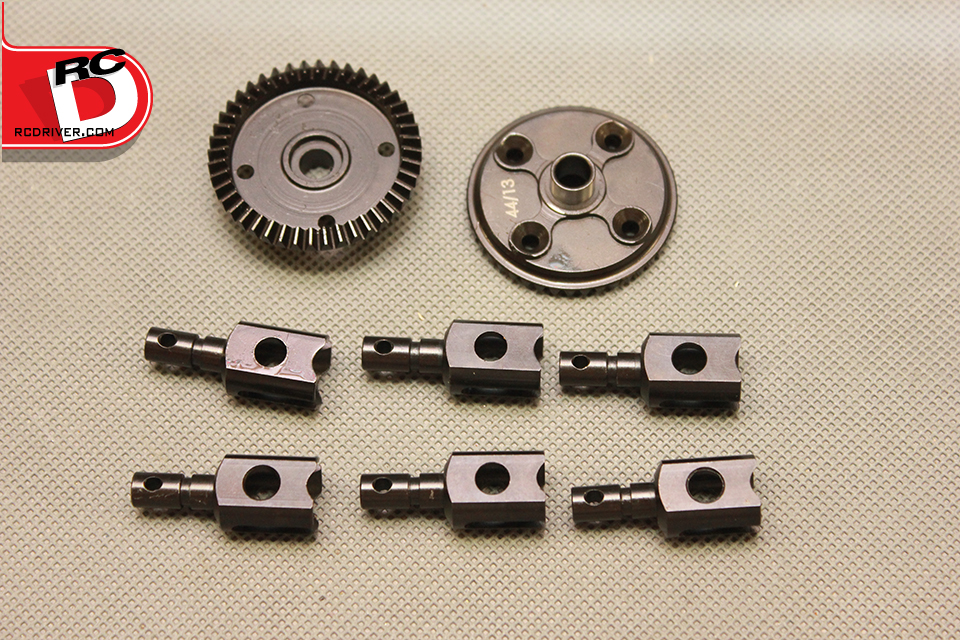
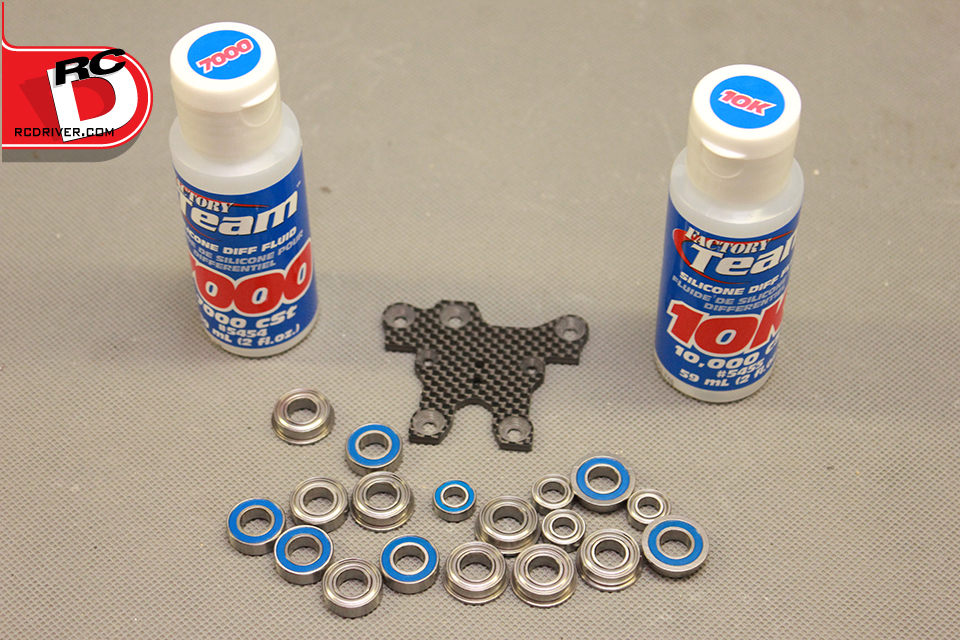
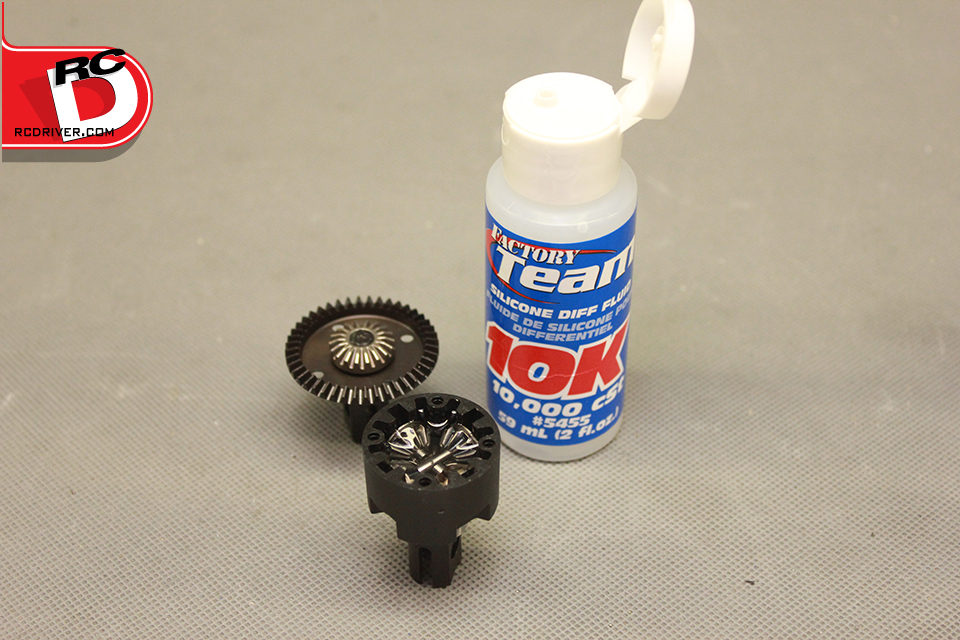
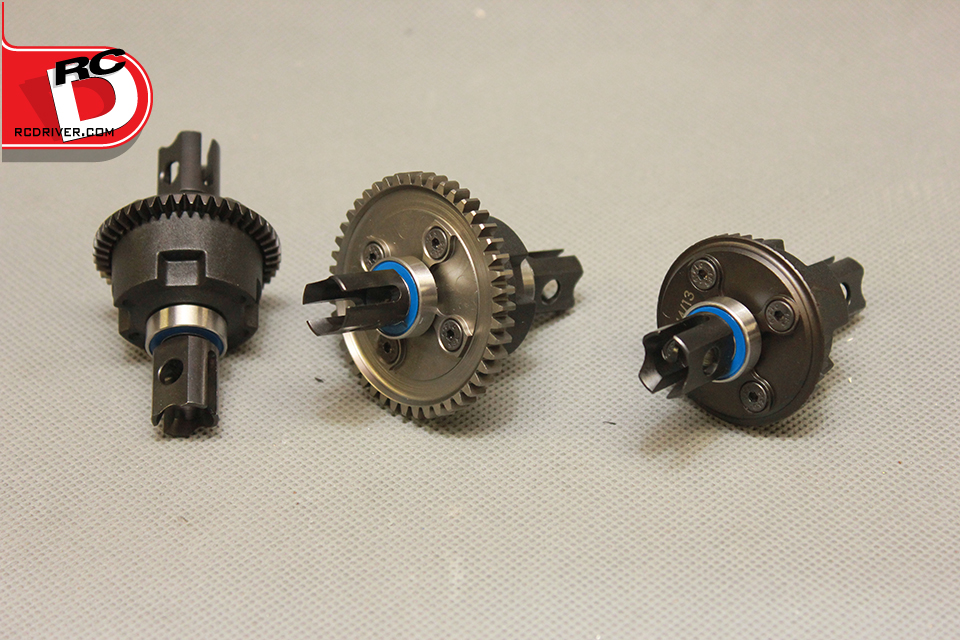
There are quite a few shims to use in the diffs and interestingly paper shims are used between the diff cup and ring gear.
Both the ring gear and outdrives have been lightened with extra milling.
An interesting bag combo. Here you can see how AE supplies dual shielded bearings. The side exposed to dirt gets a rubber shield, while the inner side gets a metal shield for less friction.
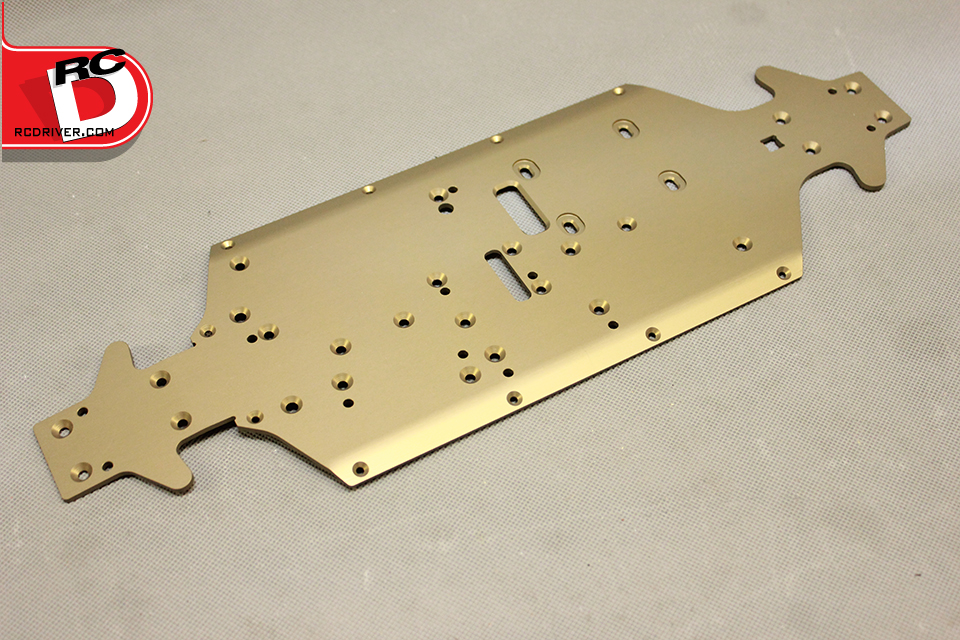
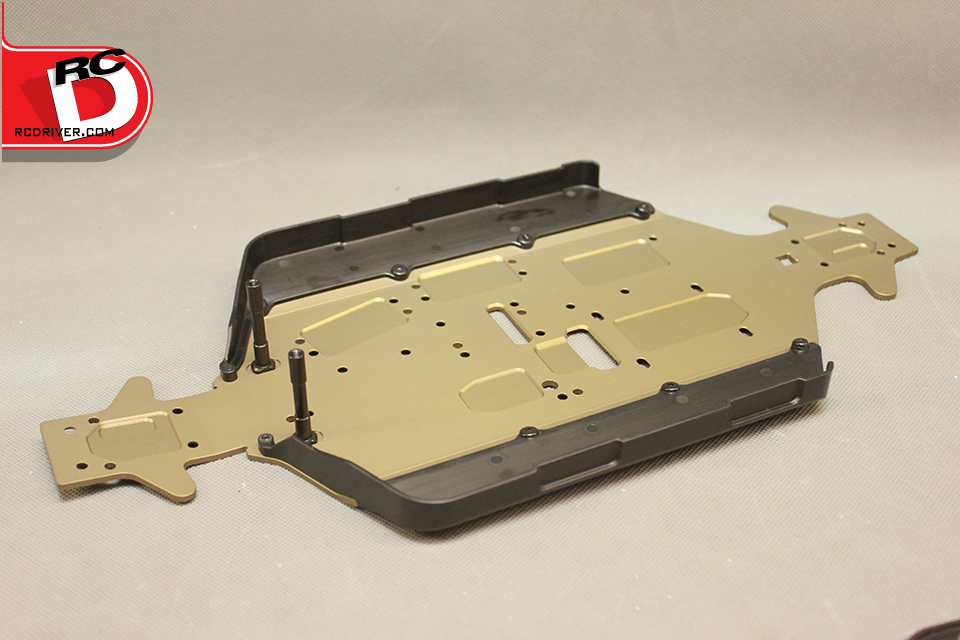
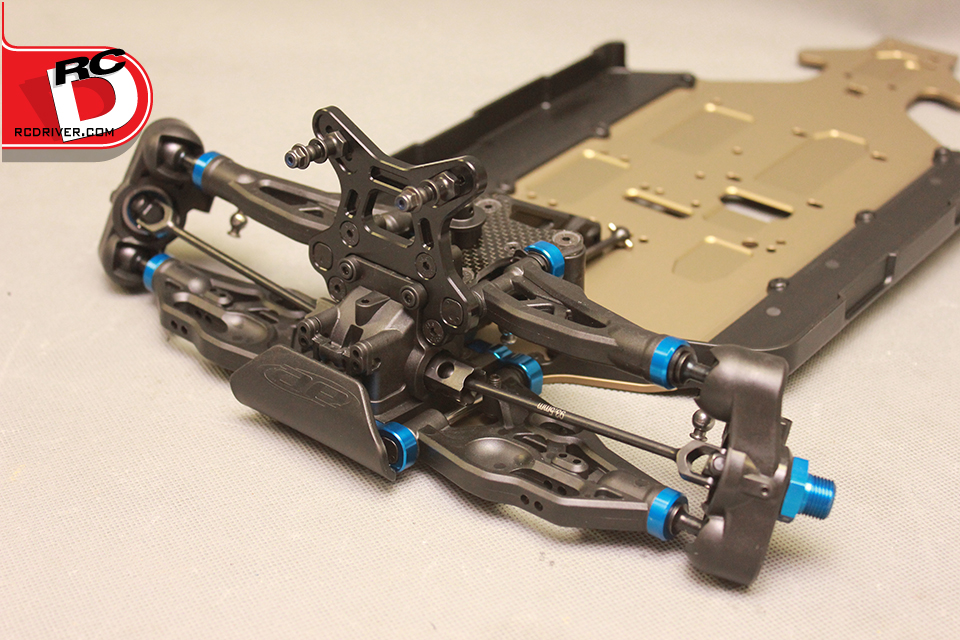
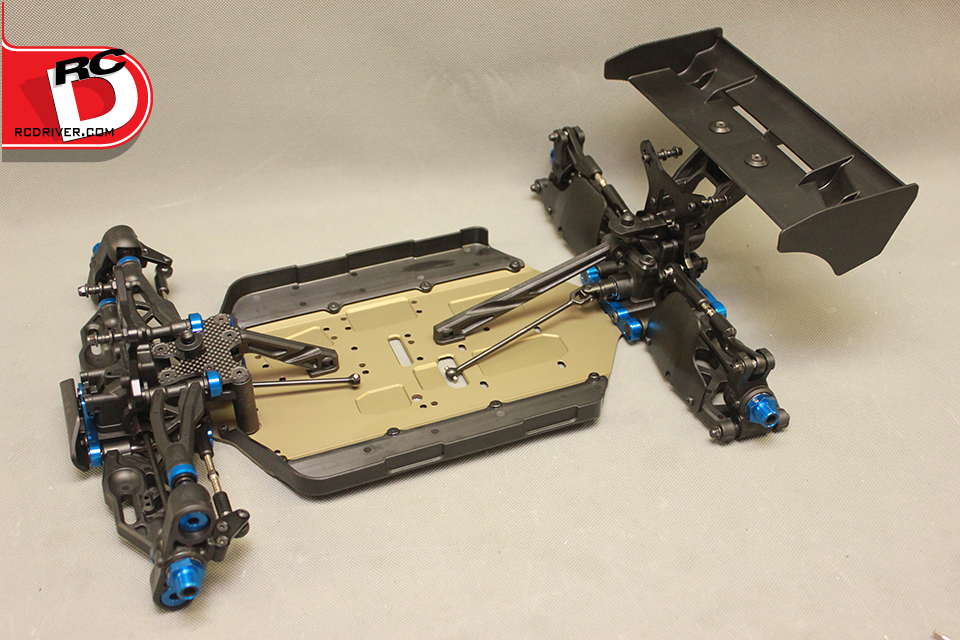
The top of the chassis has several milled recesses to reduce weight.
All of the holes on the bottom of the hard anodized chassis are countersunk.
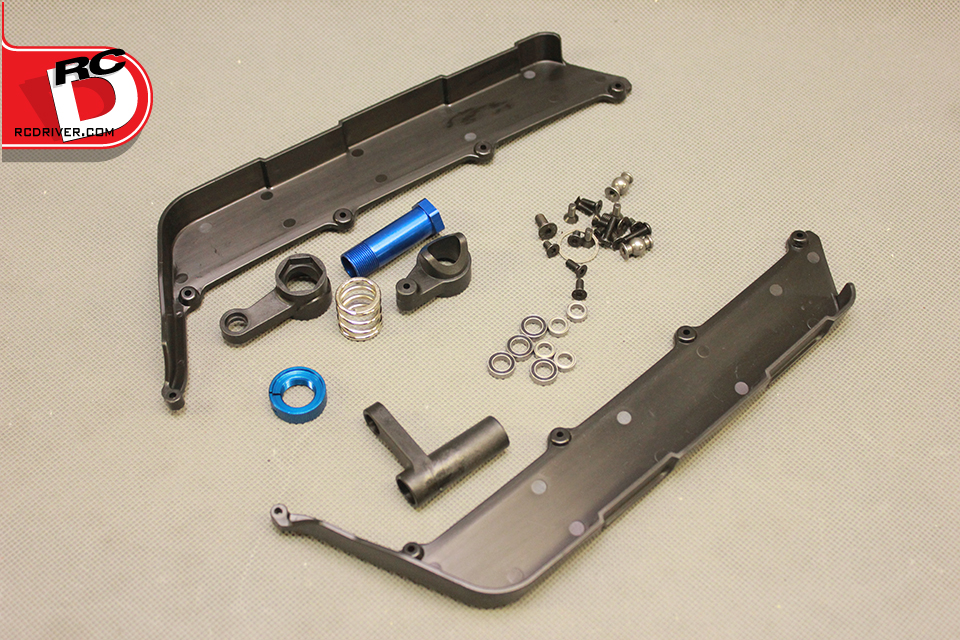
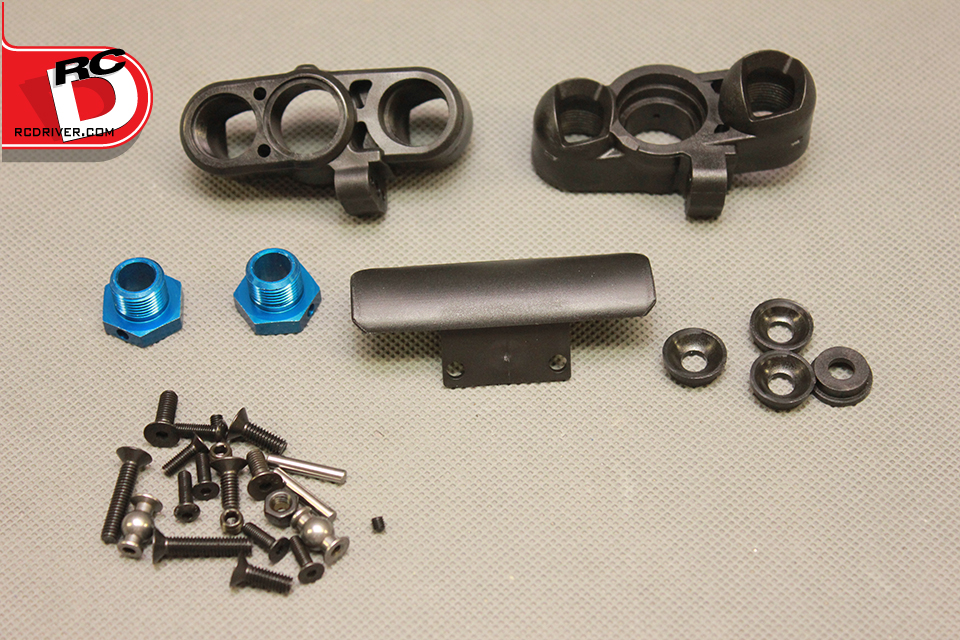
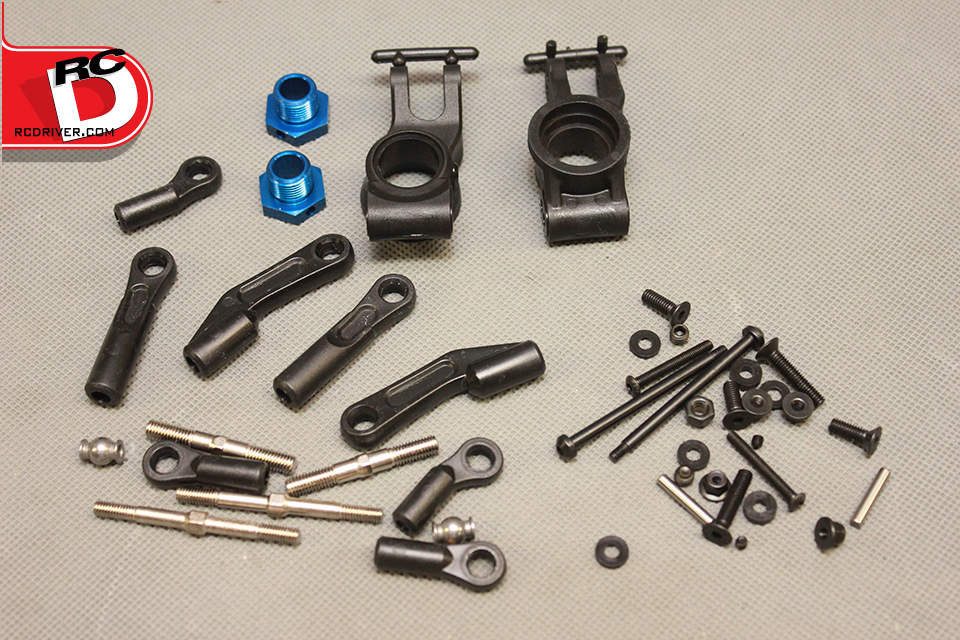
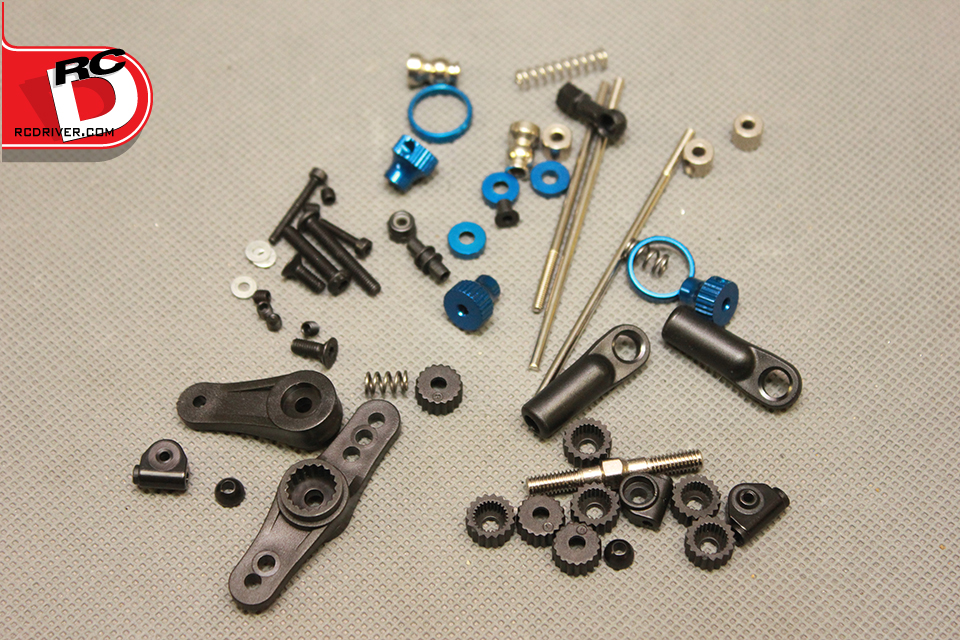
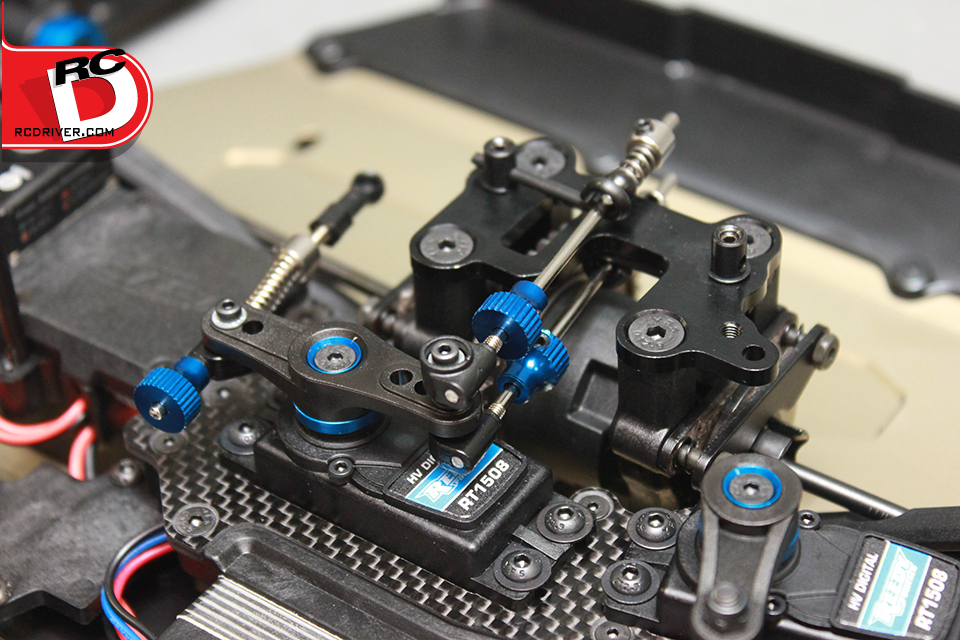
Steering components and mud guards. We like the full ball bearing set for the pivot points and the clamping servo spring nut.
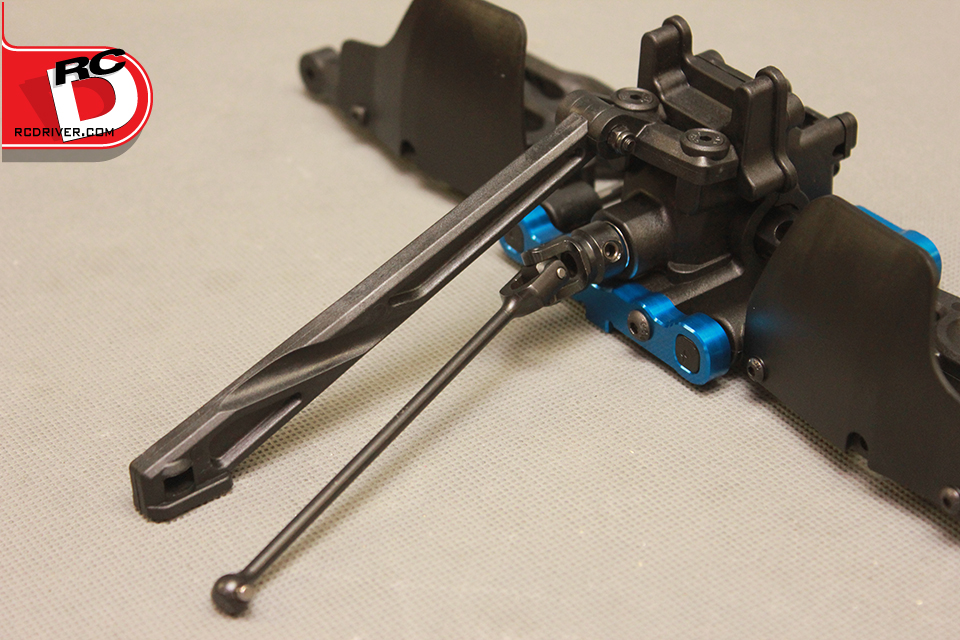
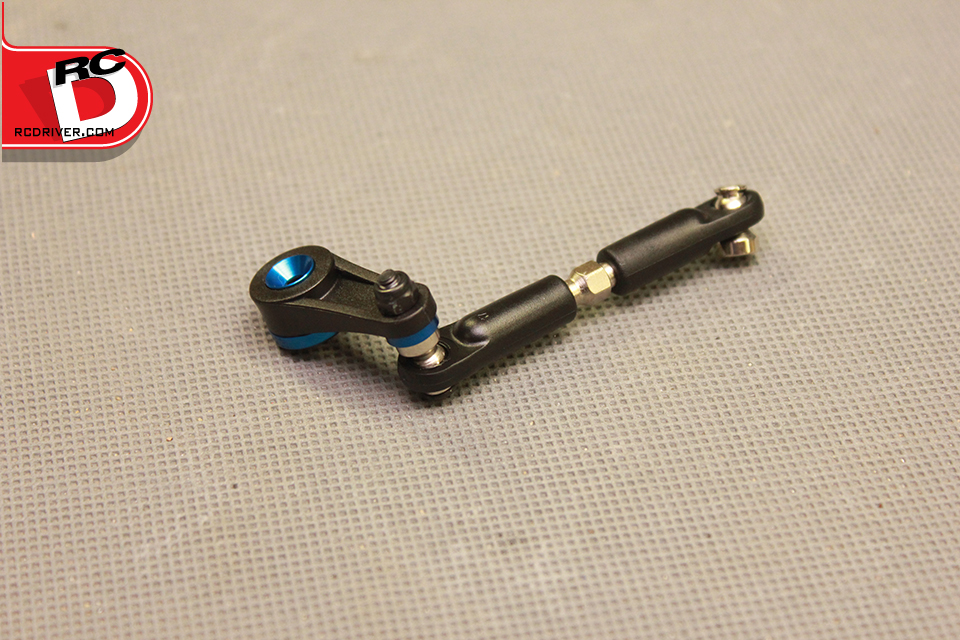
Lightweight steering posts and an aluminum drag link bar with multiple ackerman positions.
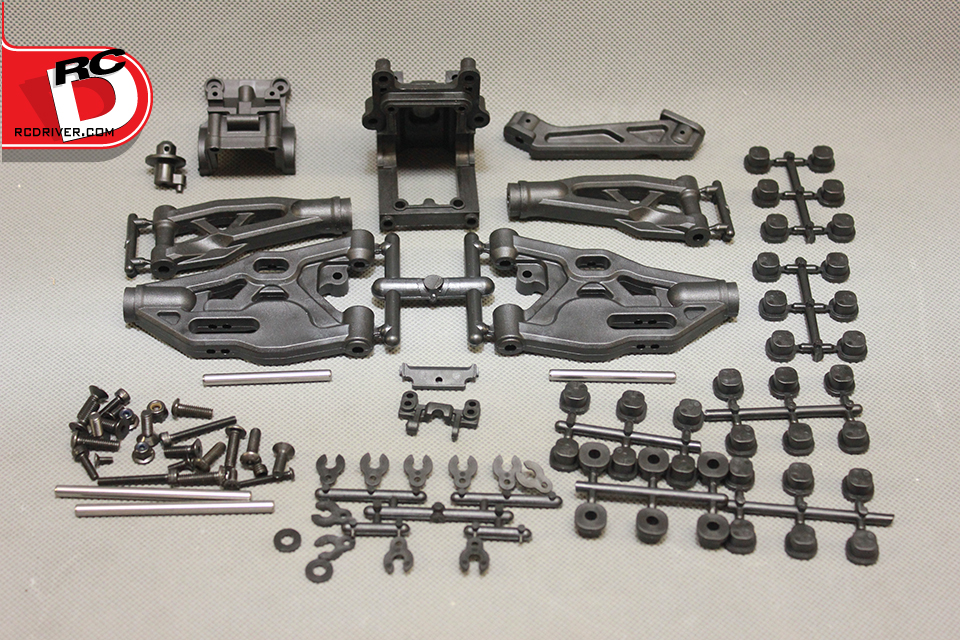
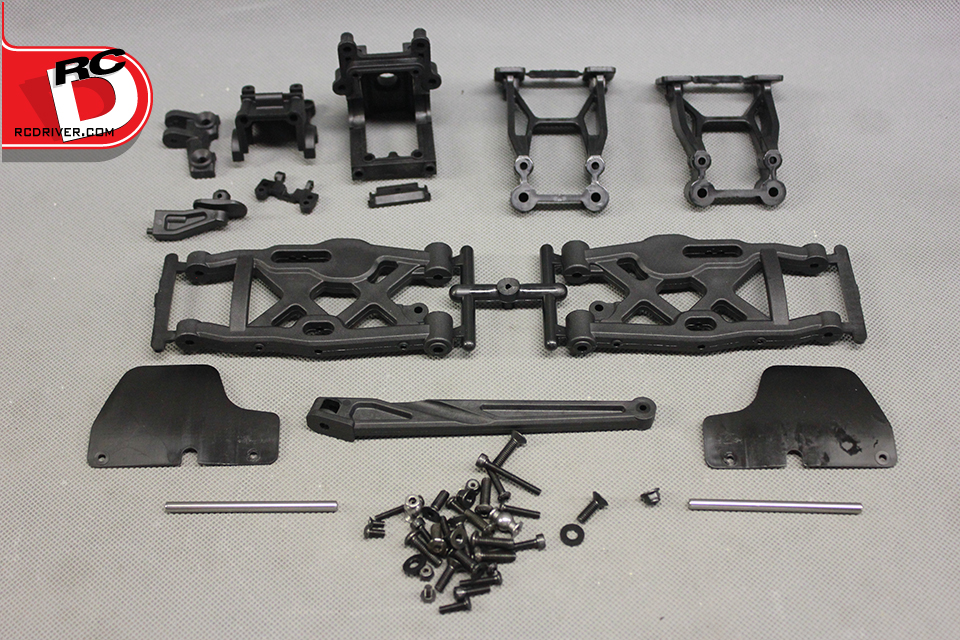
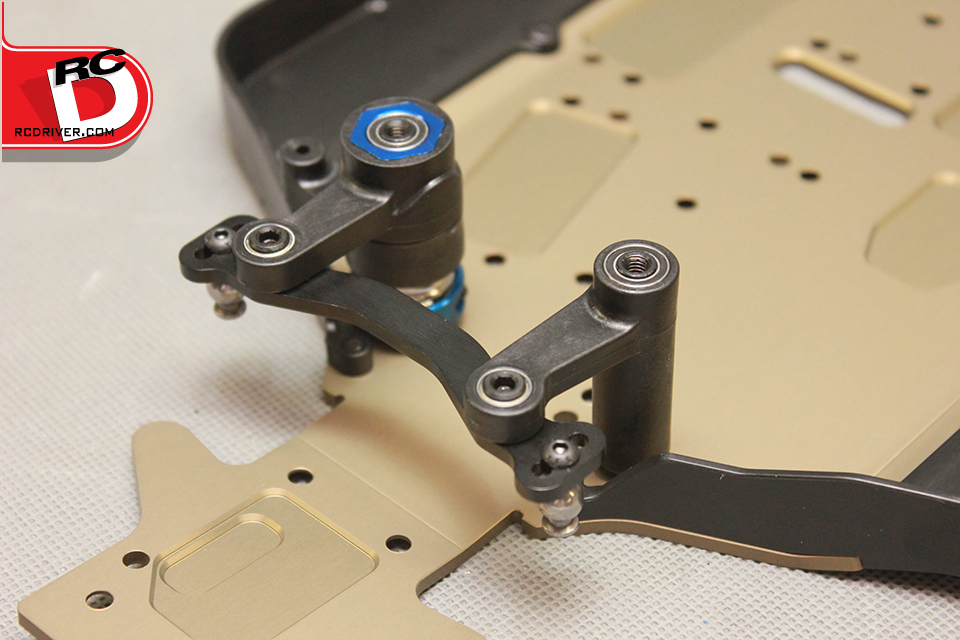
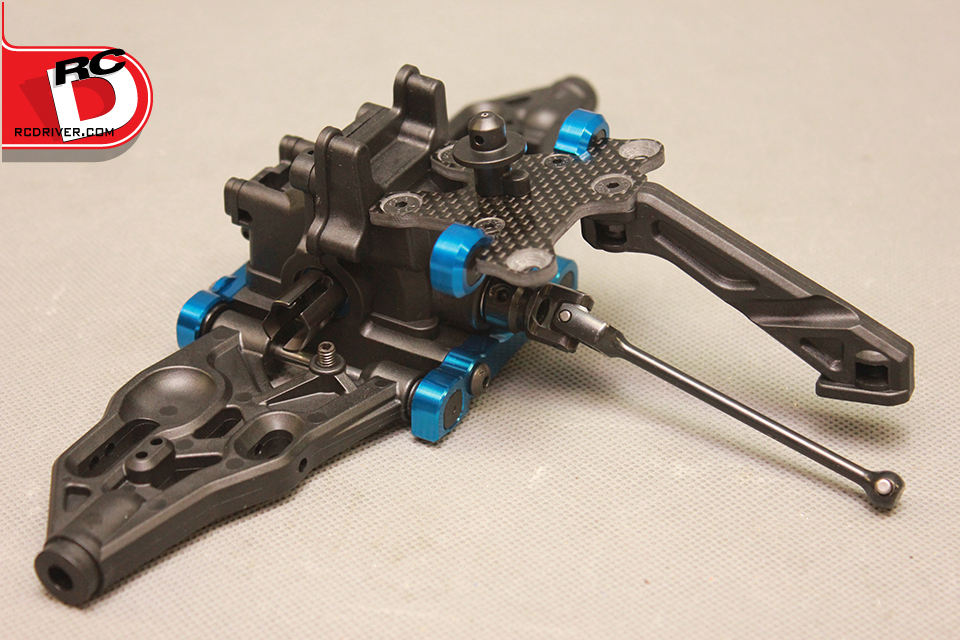
The pivot ball suspension arms and suspension pivot insert trees that allow lots of tuning options.
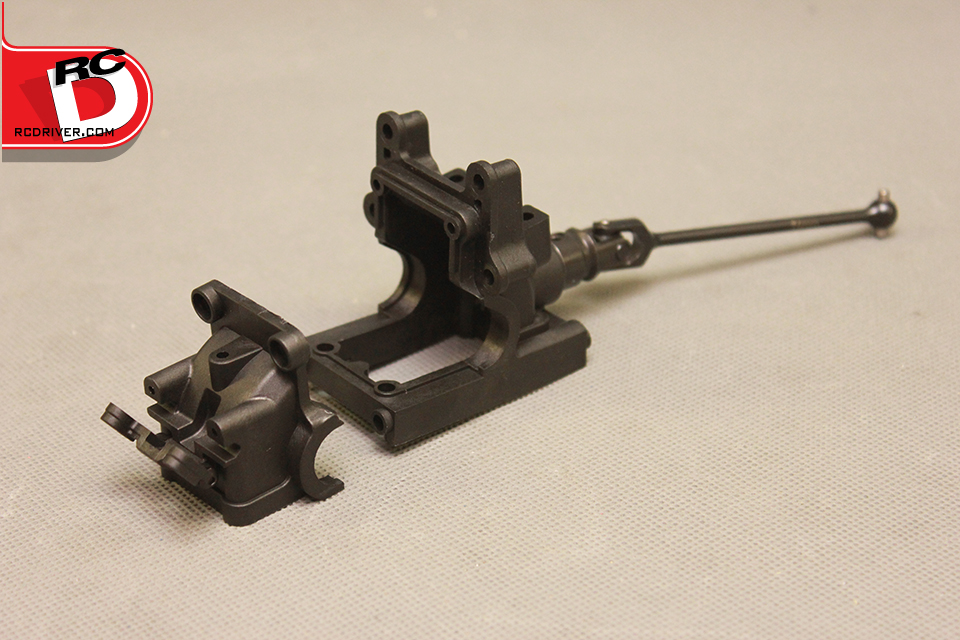
Aluminum pivot blocks and towers are stock on the RC8B3. The universal shafts are ligtht weight.
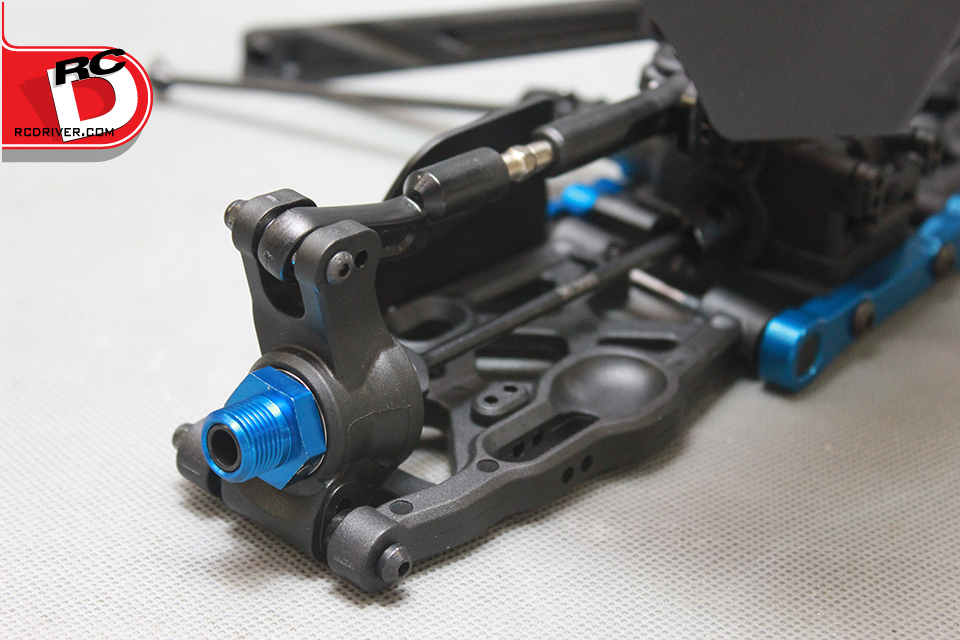
The new uprights have wide openings at the back for maximum steering throw. The short bumper is less likely to dig into the dirt when landing.
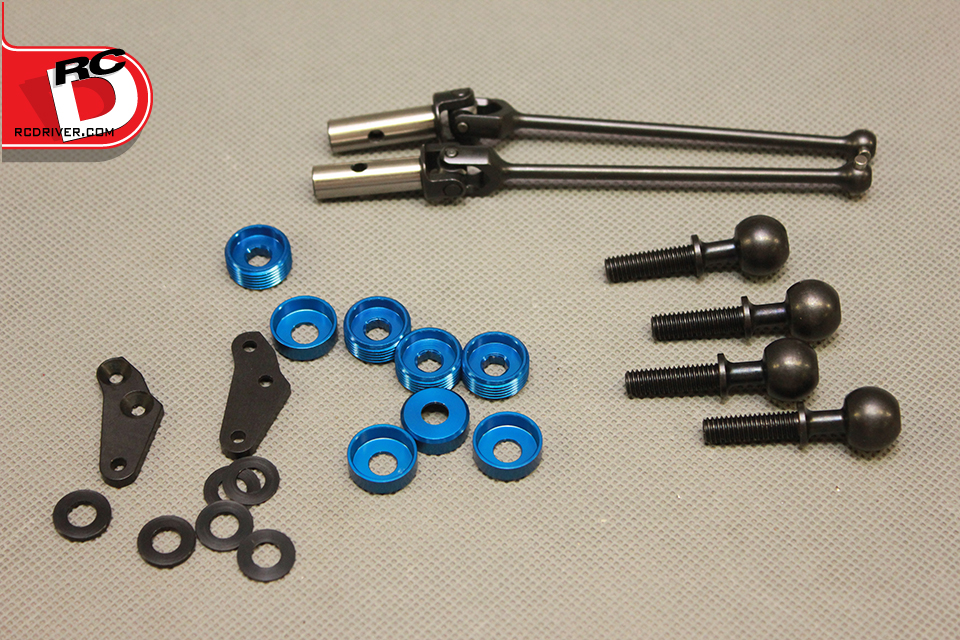
Here are the lightweight driveshafts, steel pillow balls and aluminum pillowball retaining screws. Shims with various thicknesses are provided to precisely adjust camber.
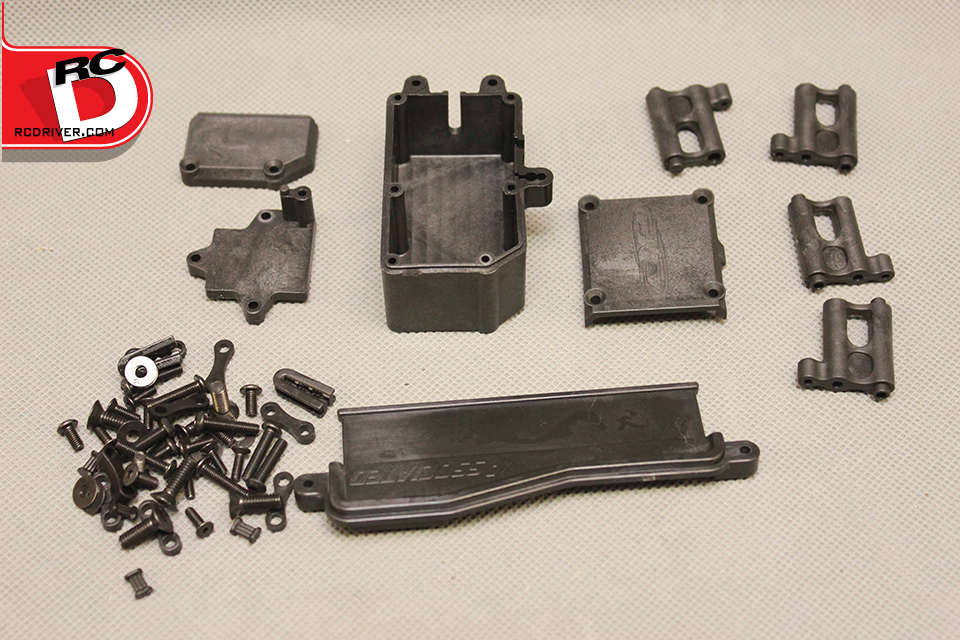
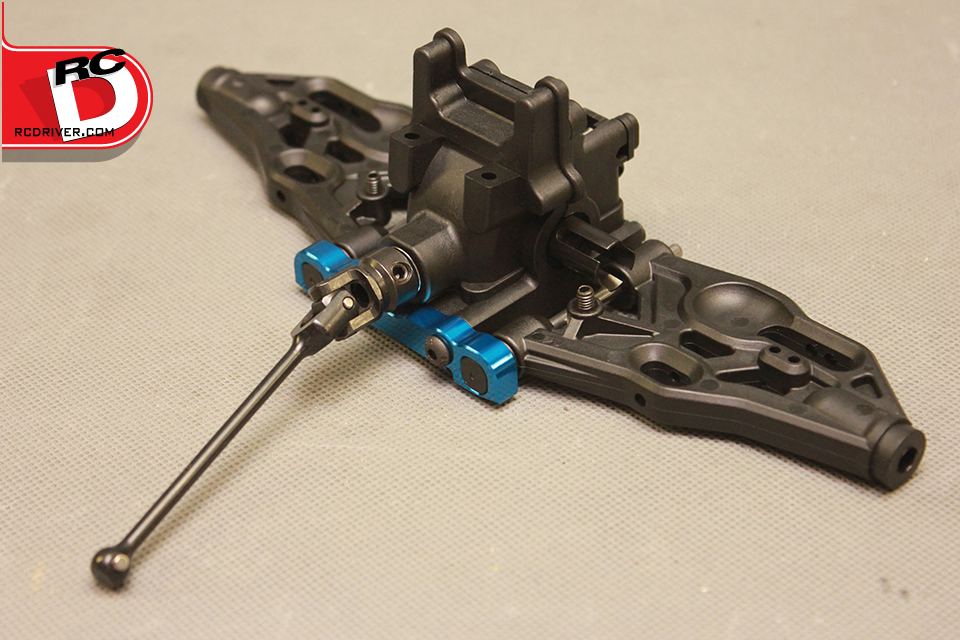
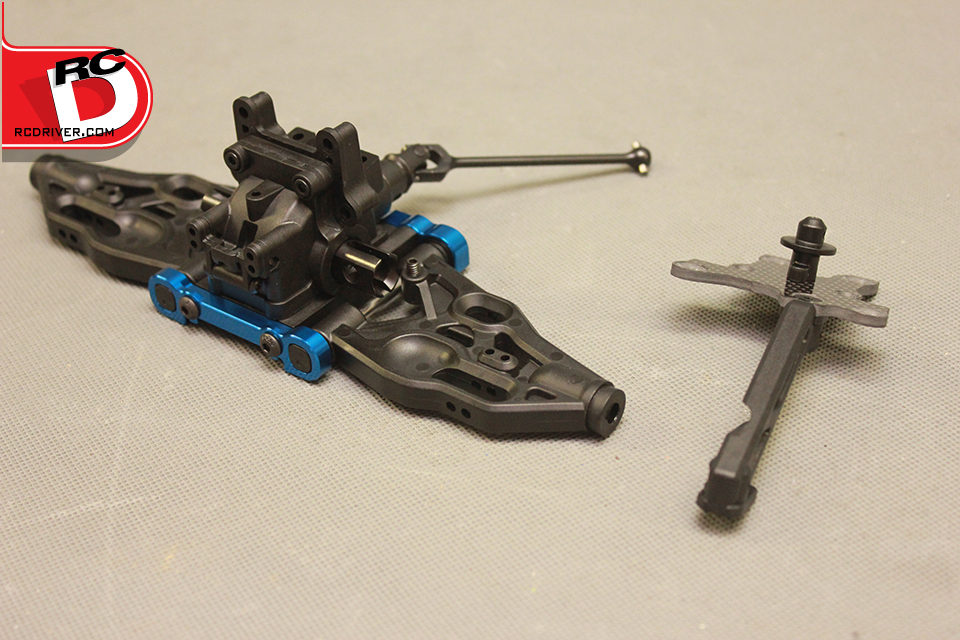
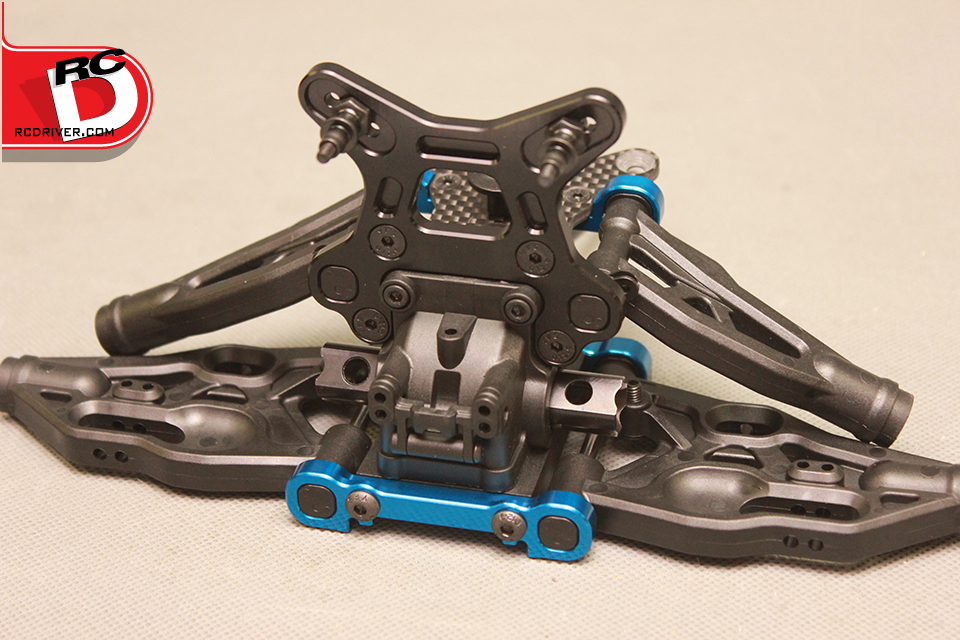
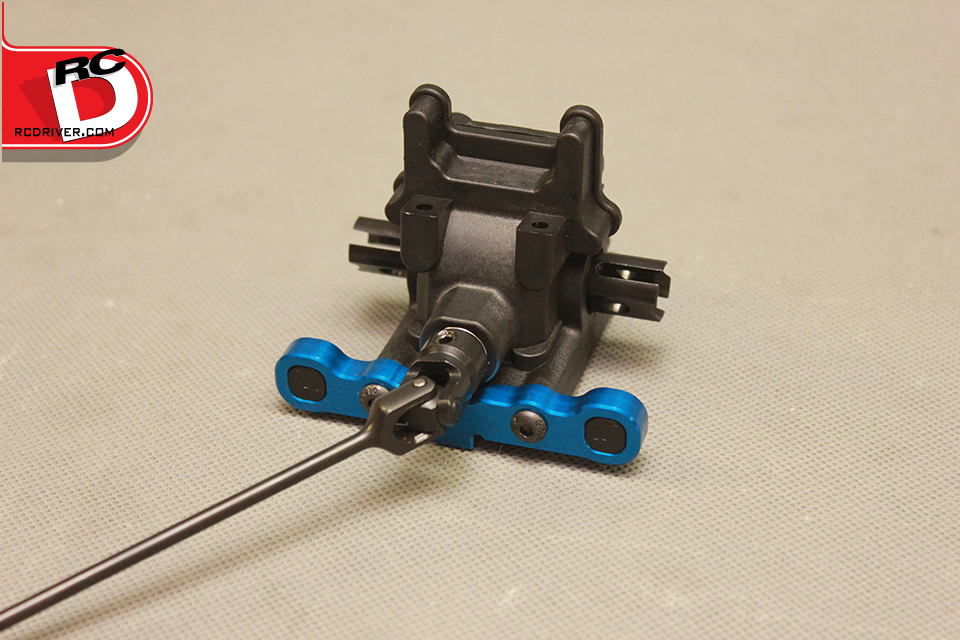
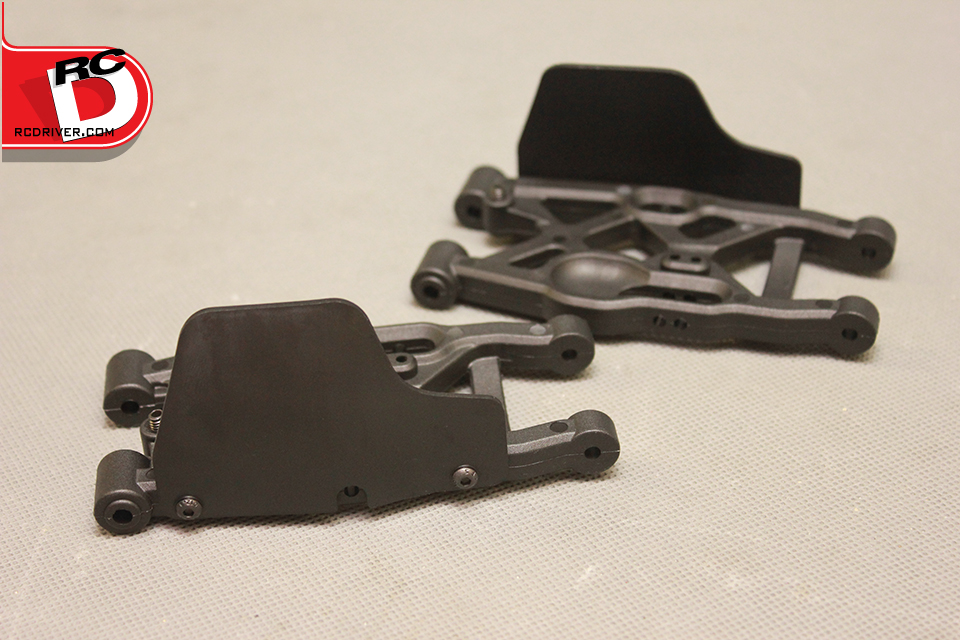
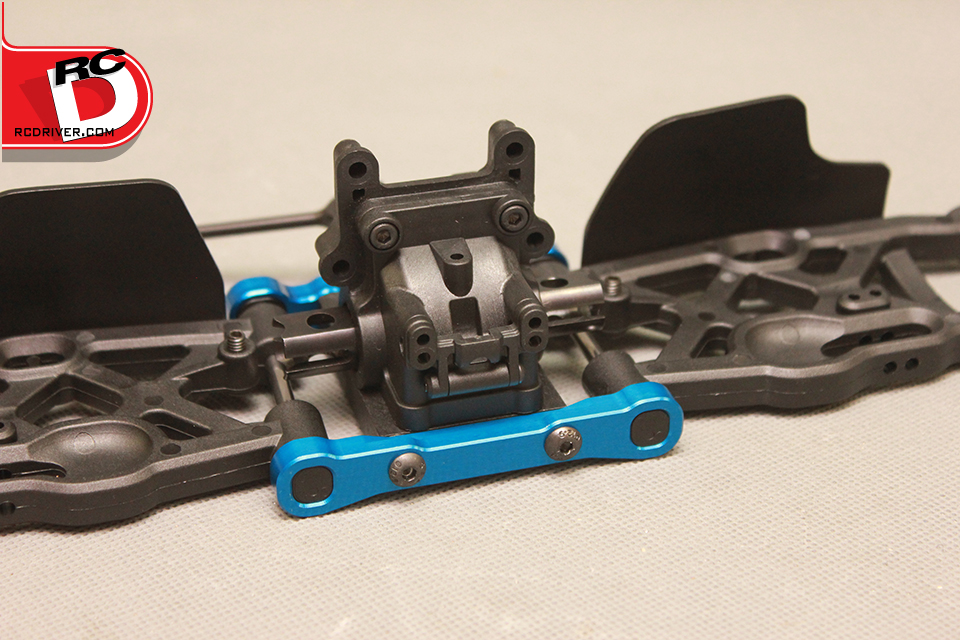
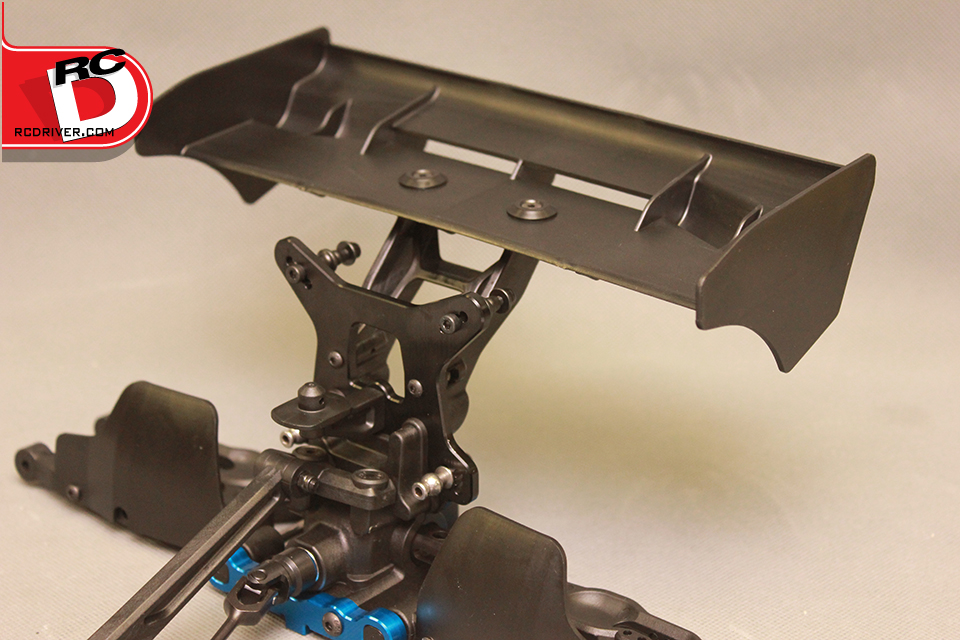
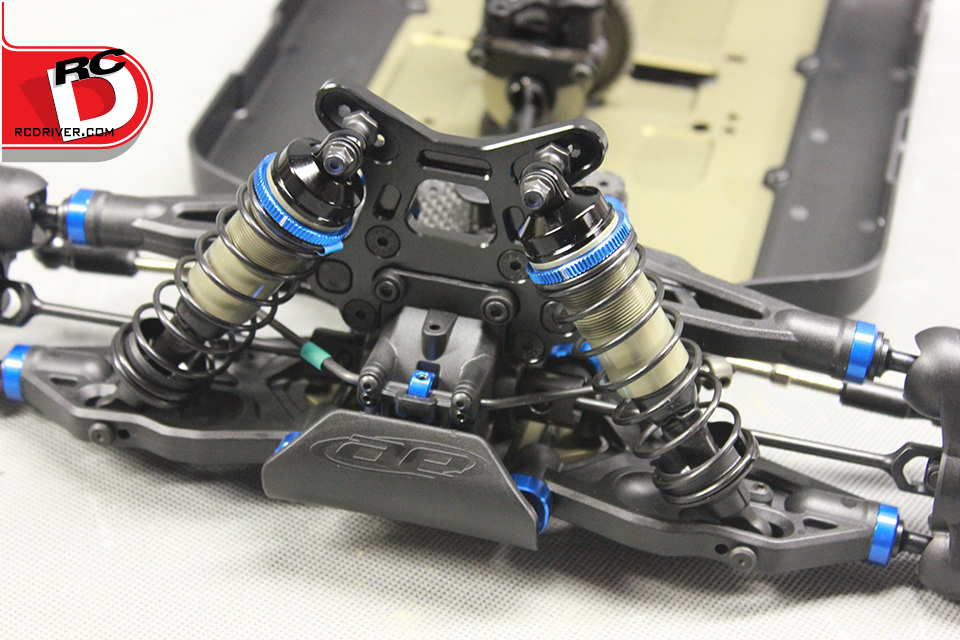
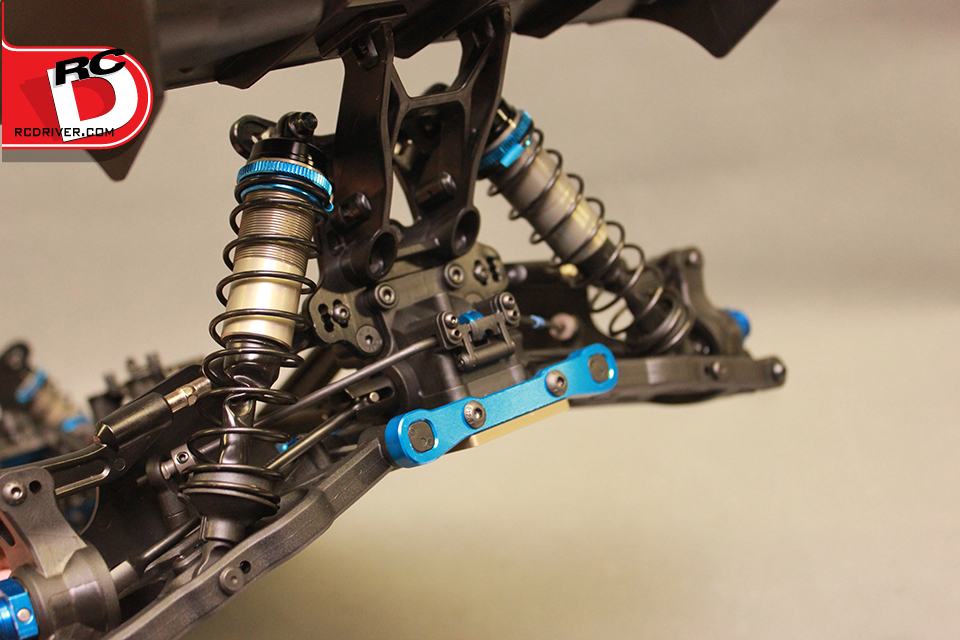
Great stuff going on here, thick rear H-arms, mudguards for the arms, composite rear stiffener and gearbox parts. AE includes two wing mounts to adjust wing height rather than having a multiple piece mount that can fail.
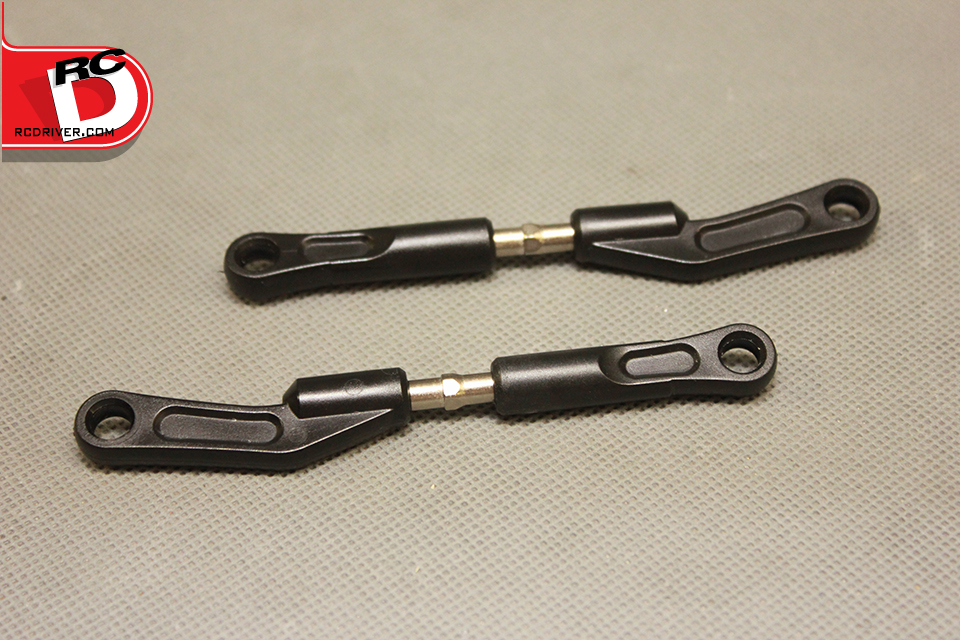
More lightweight axles, aluminum suspension mounts for the rear. Notice the number of camber link and shock mount options, plenty of tuning.
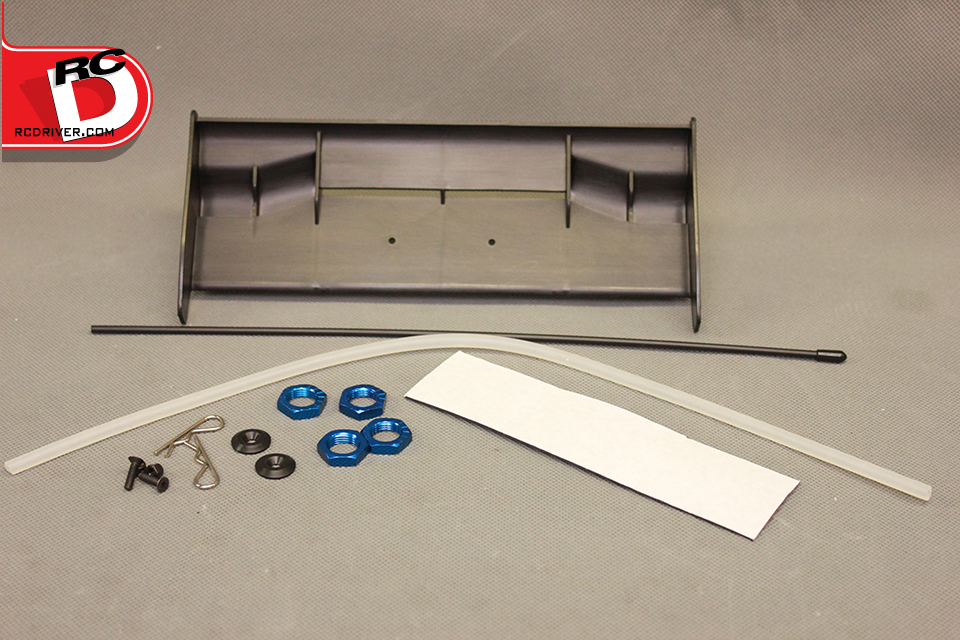
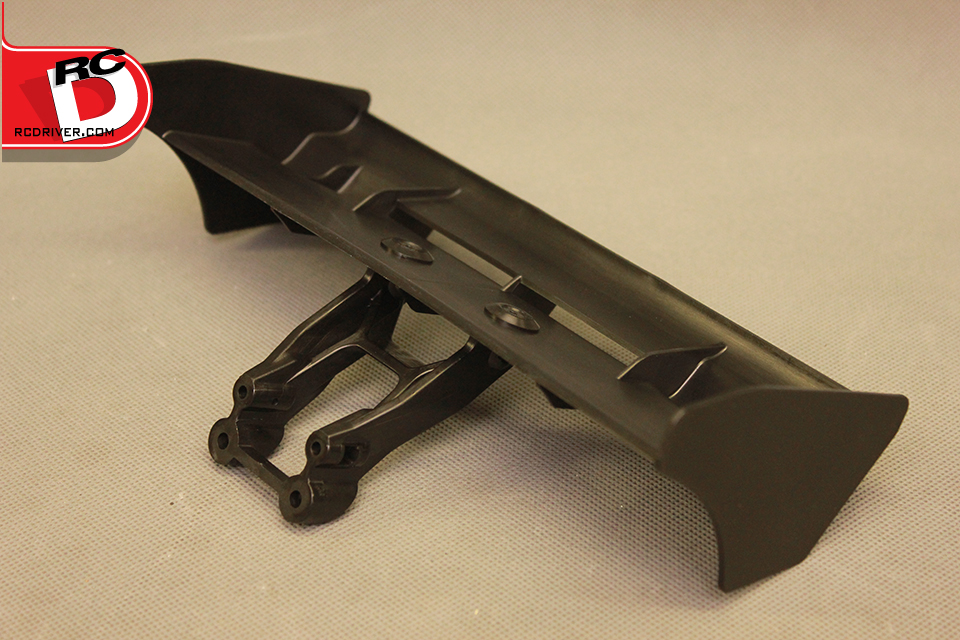
The double deck wing has flat decks with scoops on each side. Fuel tubing, antenna tube and double sided tape are included as well as nice big body clips.
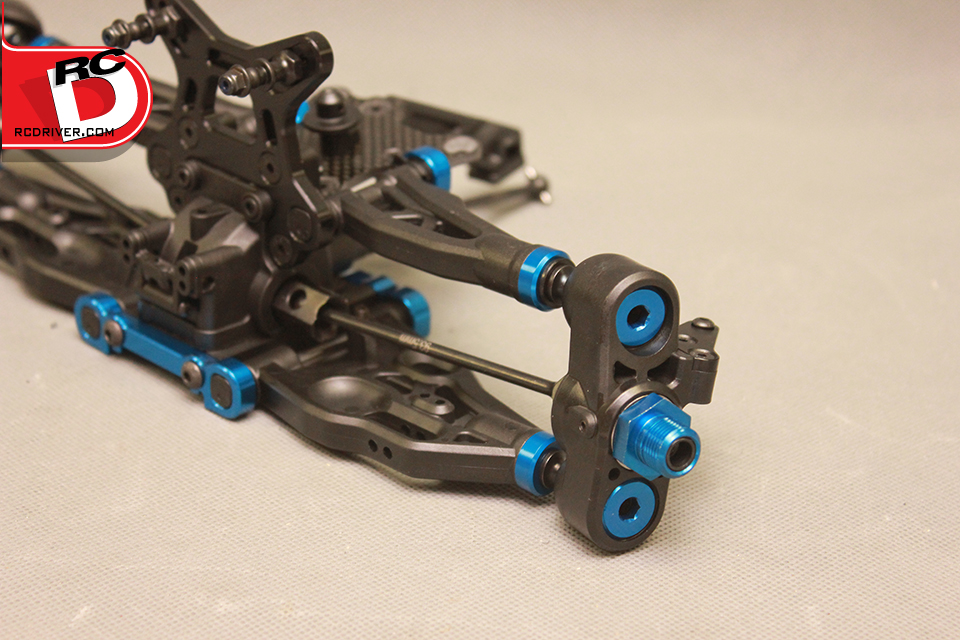
Big rear hubs pivot on screw-pin type hinge pins. The rod ends are swooped for clearance.
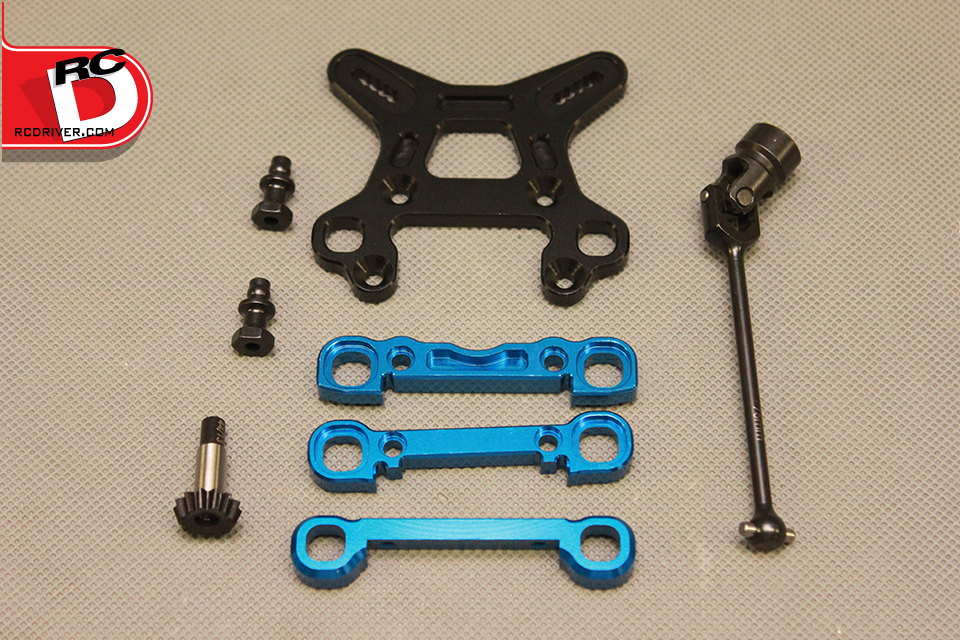
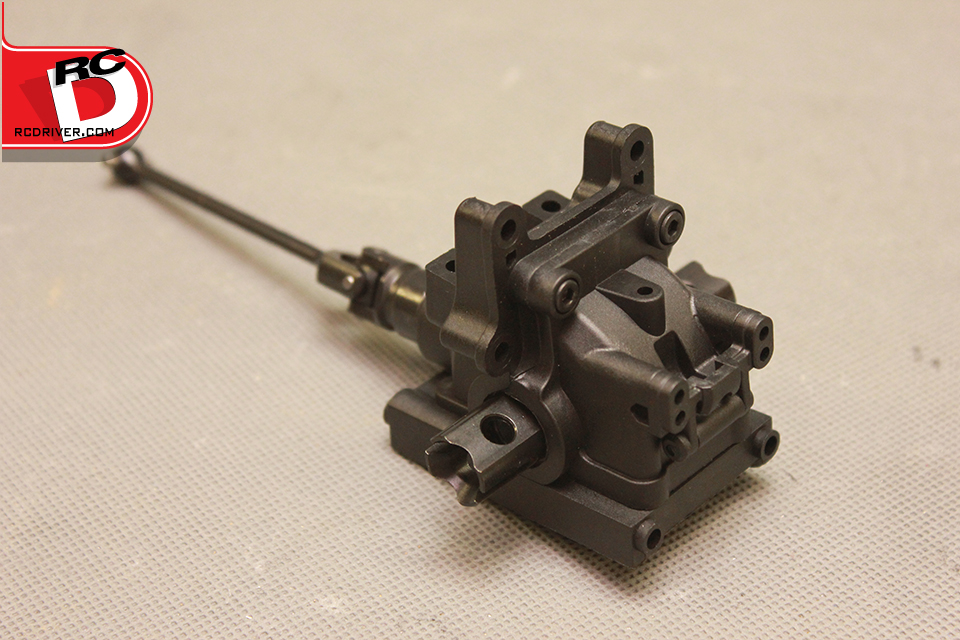
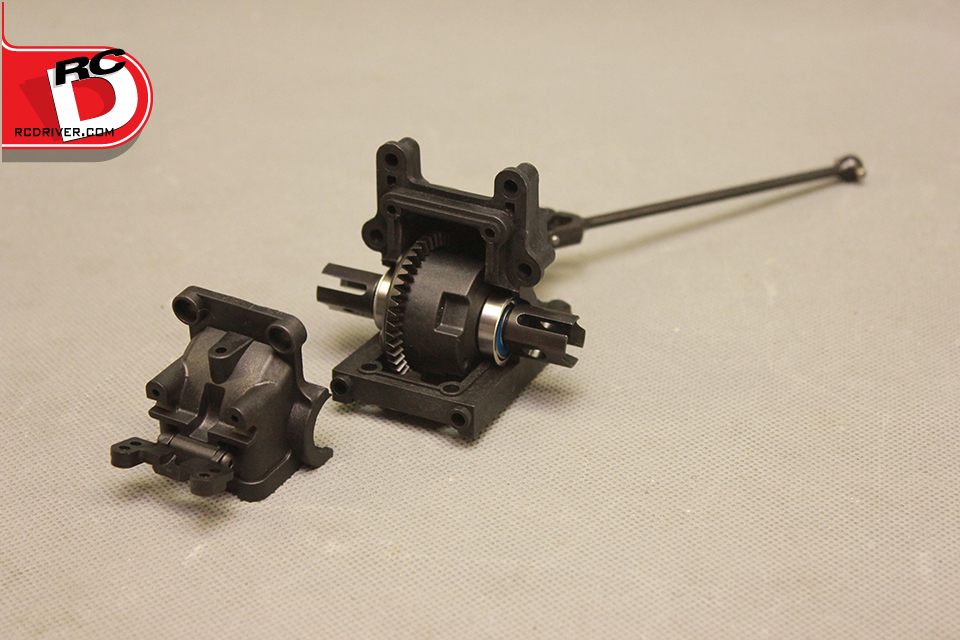
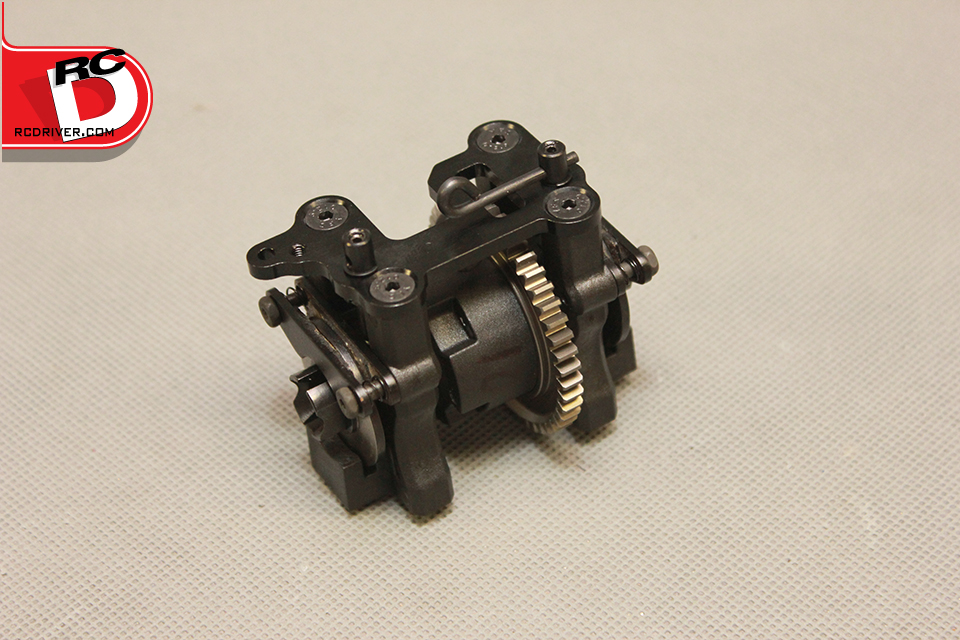
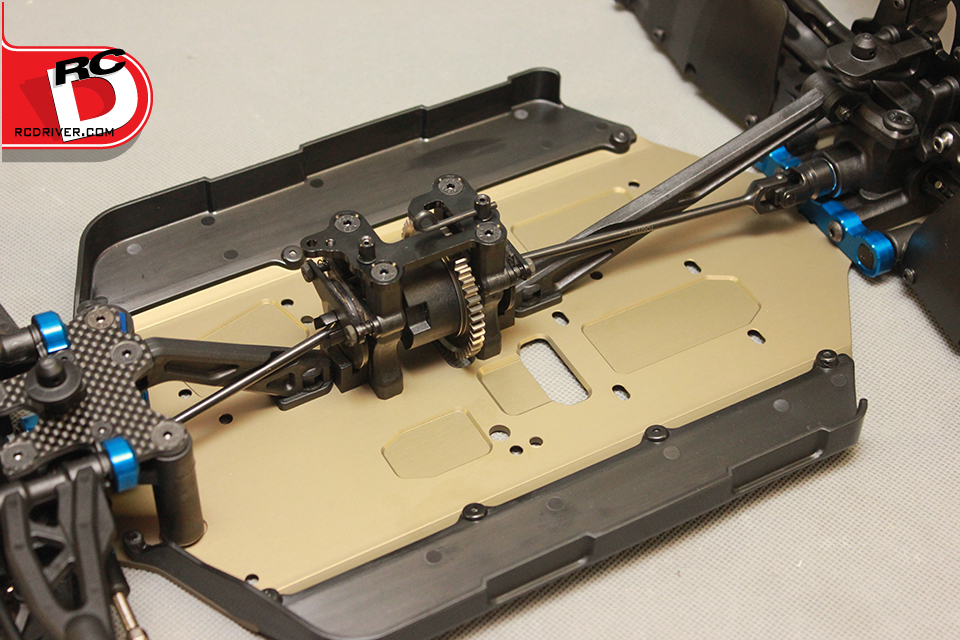
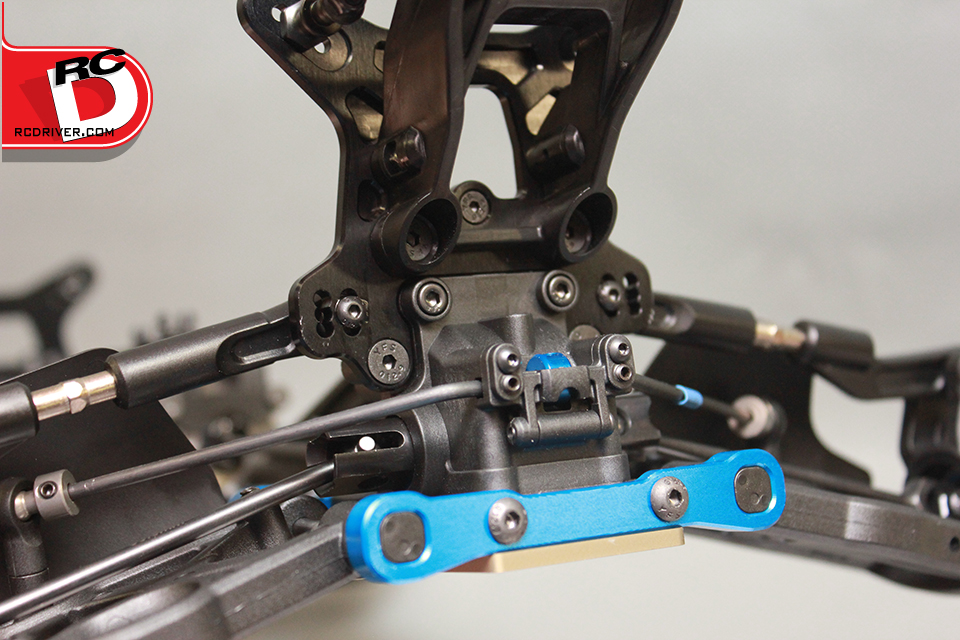
The center aluminum brace plate is aluminum. The brakes discs are machined steel and clamped by padded plates with springs to help prevent drag.
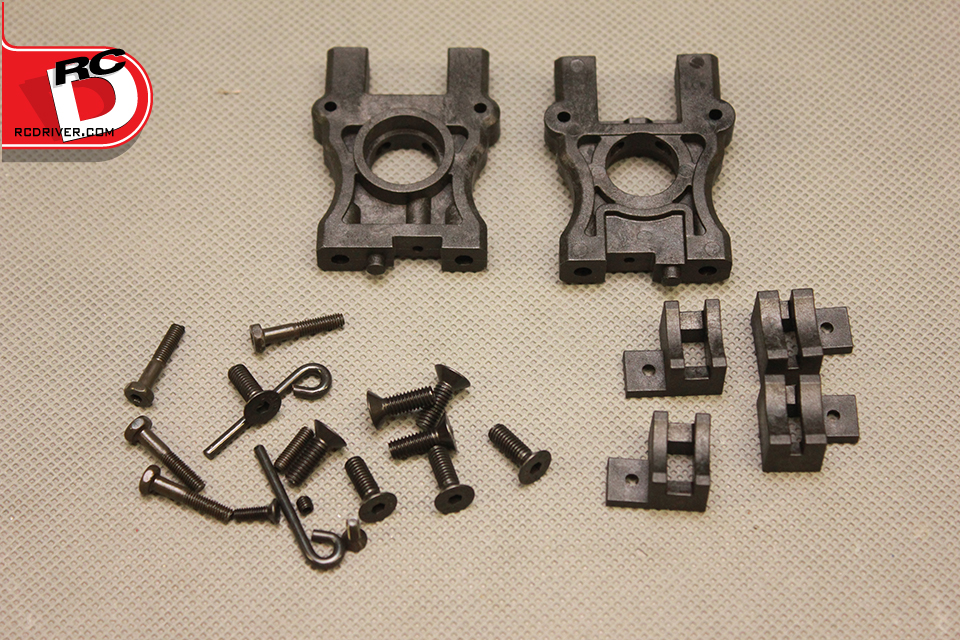
Here are the reamaining center diff parts, diff mounts, brake arms, brake shoulder screws and hardware. There are two sizes of brake guides to use depending on if you pick up the optional brake discs.
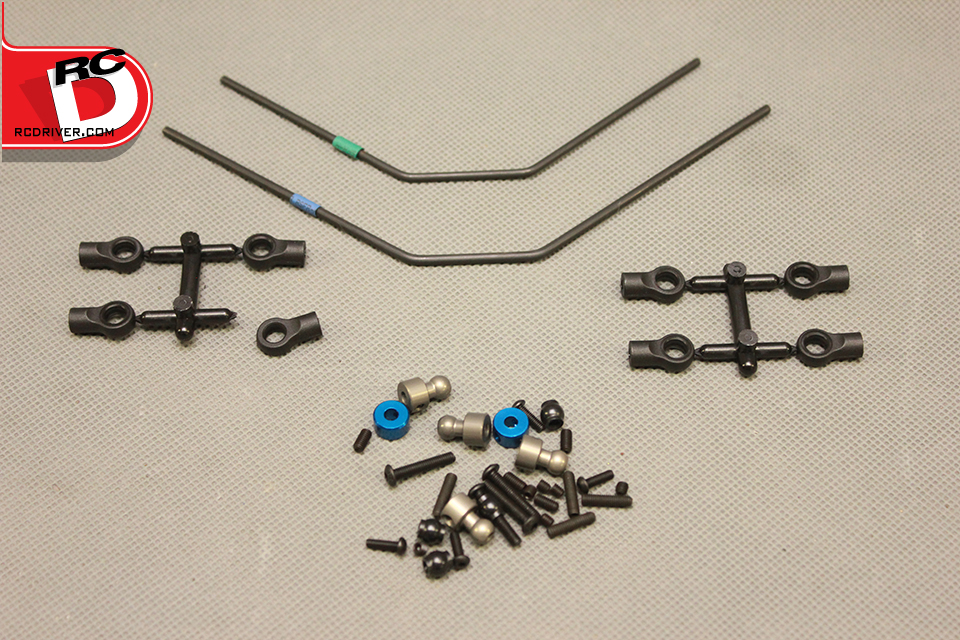
The swaybars come with colored heatshrink to help identify the size. One collar goes in the middle of the bar to help keep it centered in the mount. The pivot balls are hard anodized aluminum. Nice!
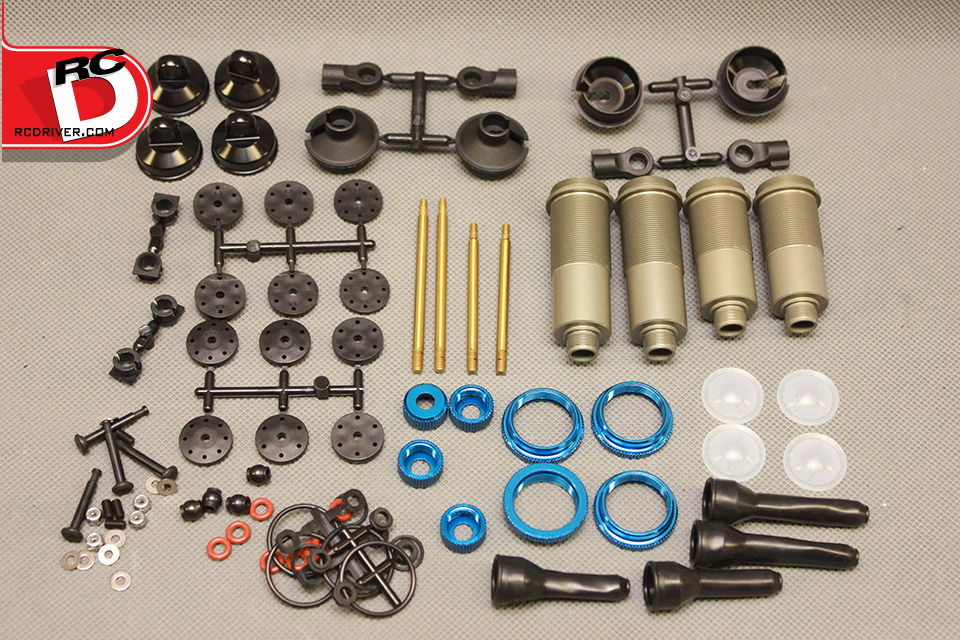
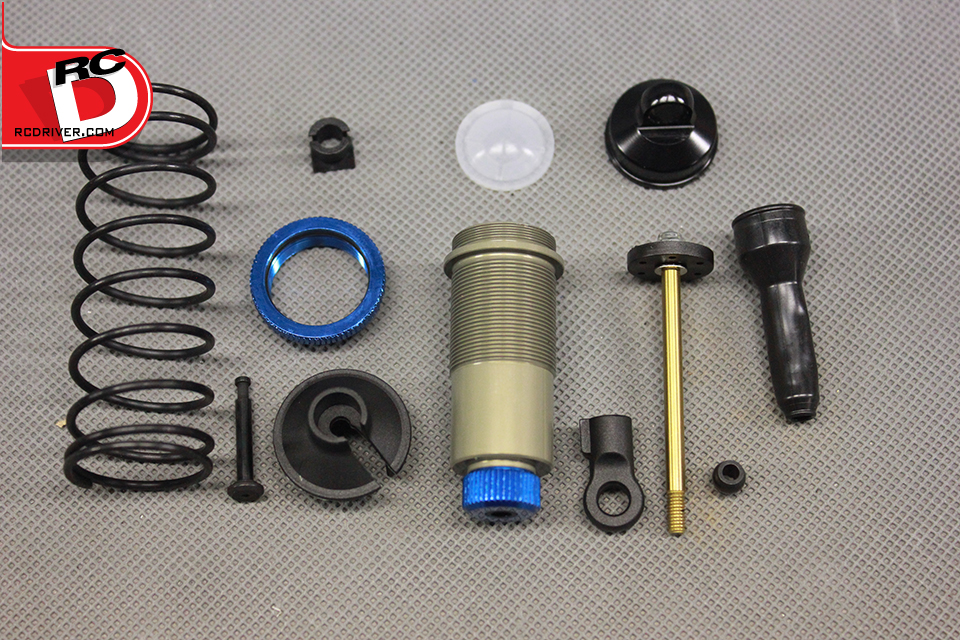
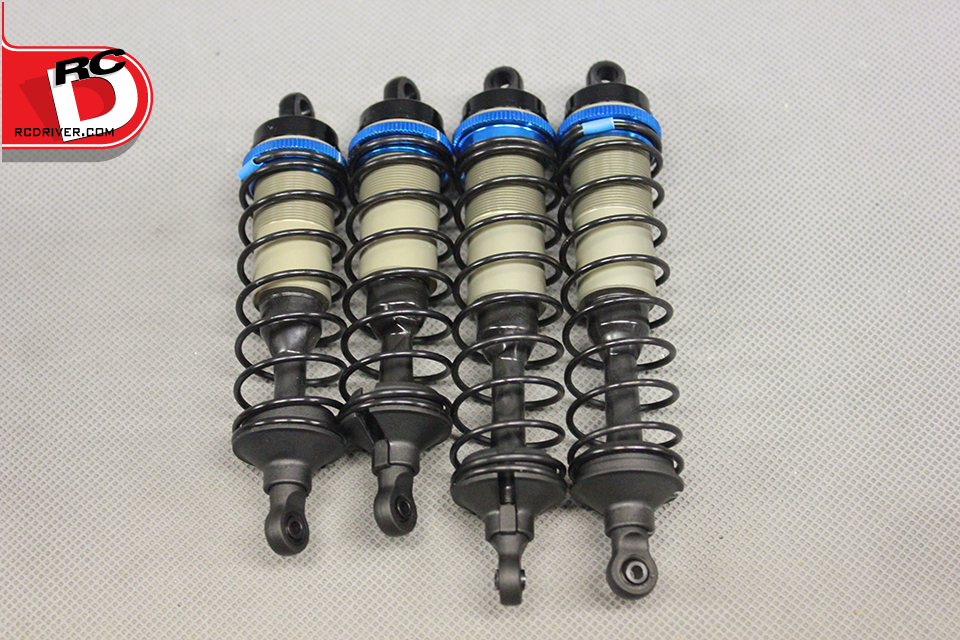
New large bore hard anodized aluminum shocks feature dual o-ring seals. Ti-nitride coated shafts give the shock a smooth feel.
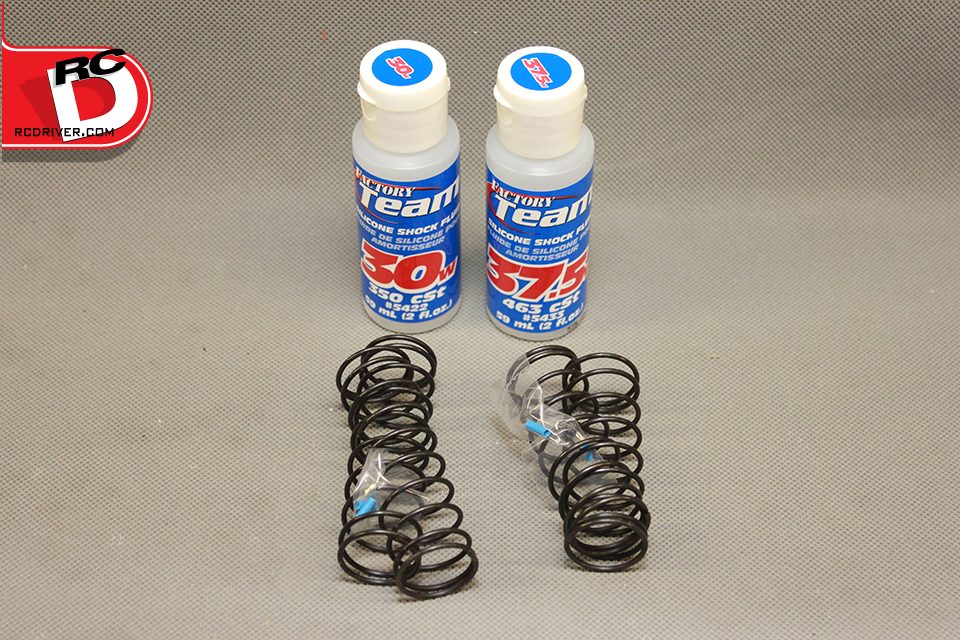
Shock springs and oil. AE mentioned to us they spent a lot of time spec’ing the right springs for the kit.
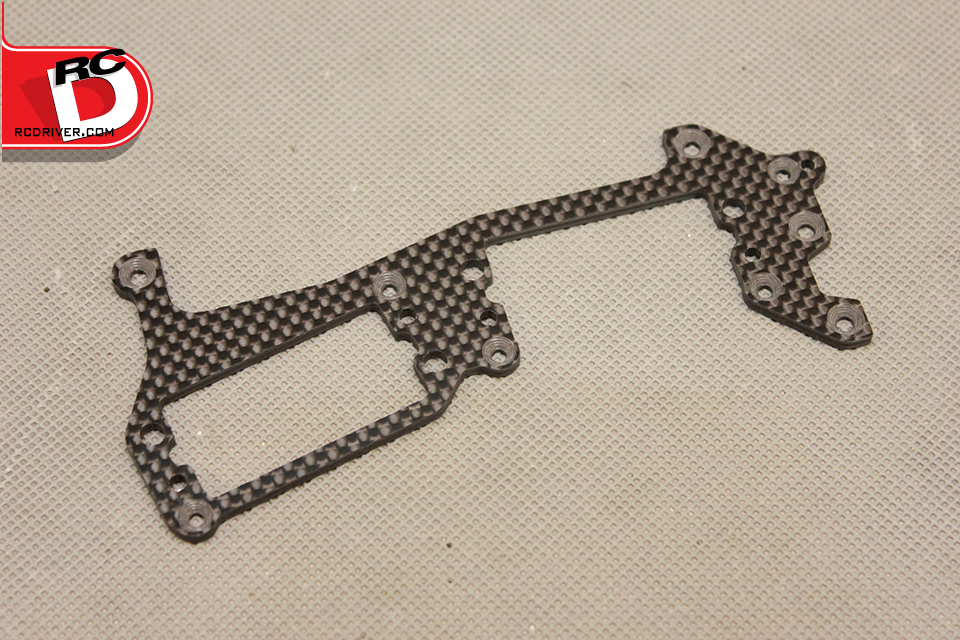
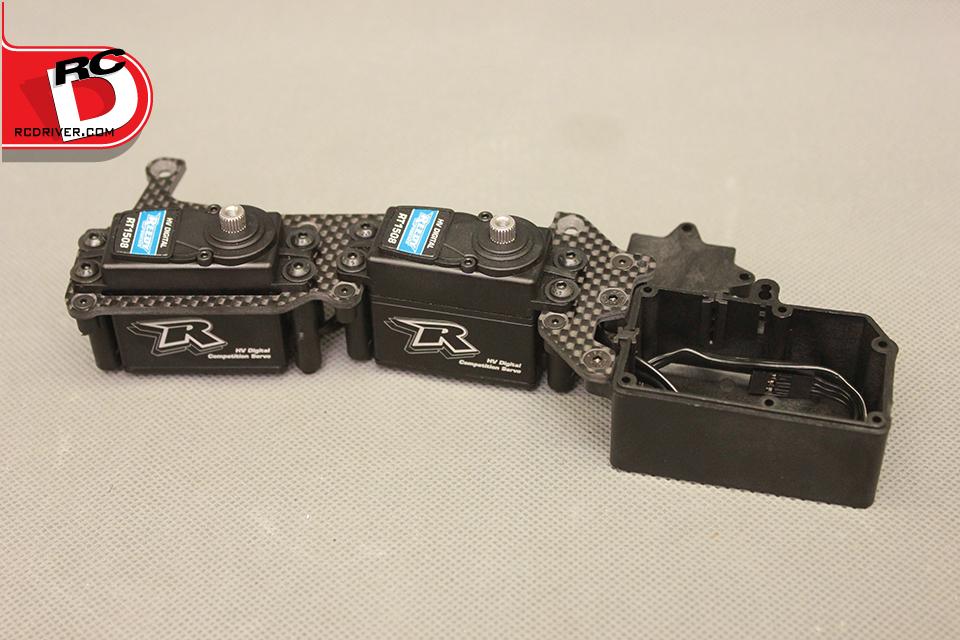
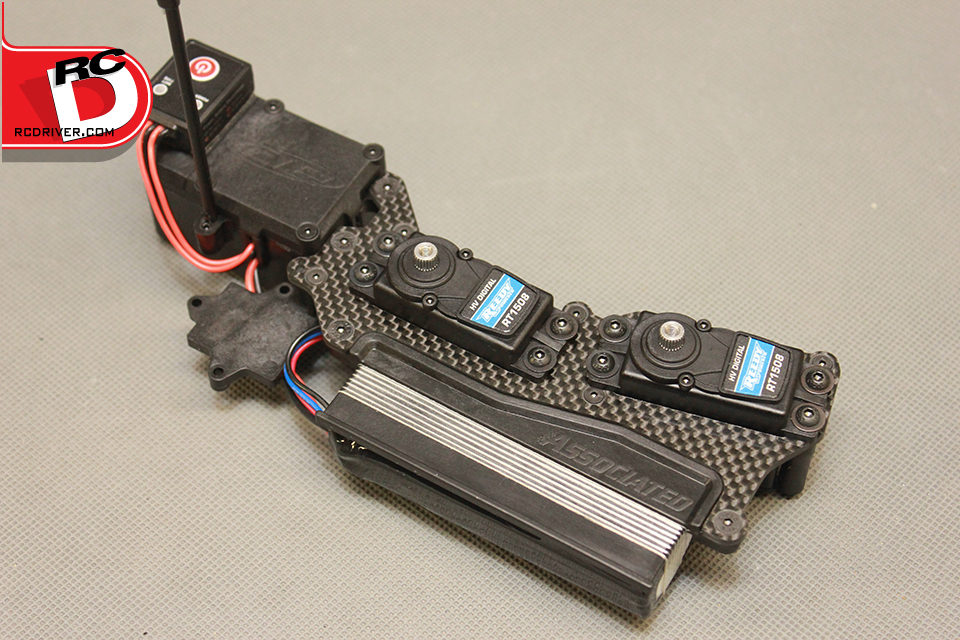
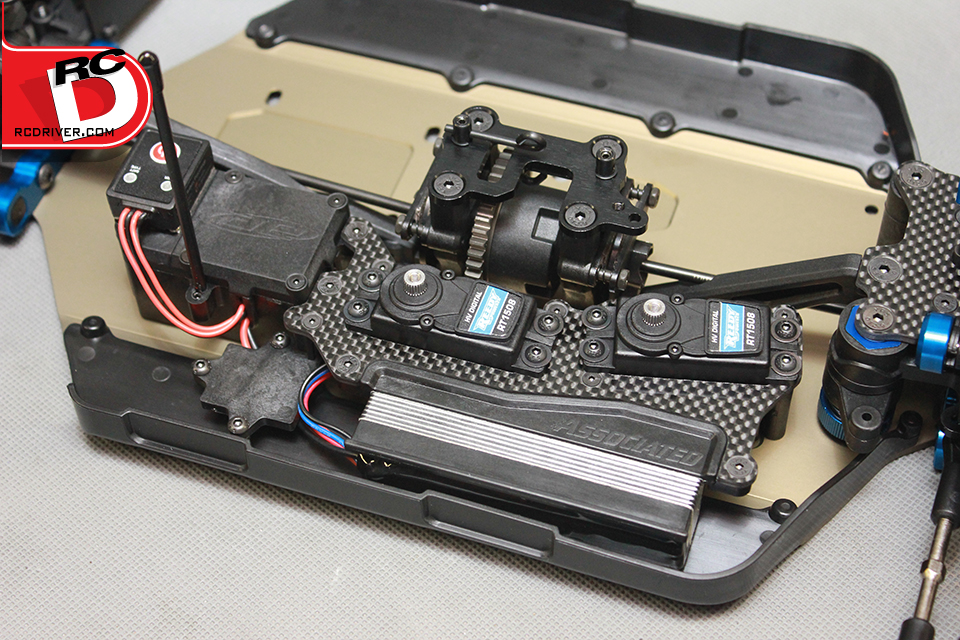
Carbon fiber radio tray, so yummy.
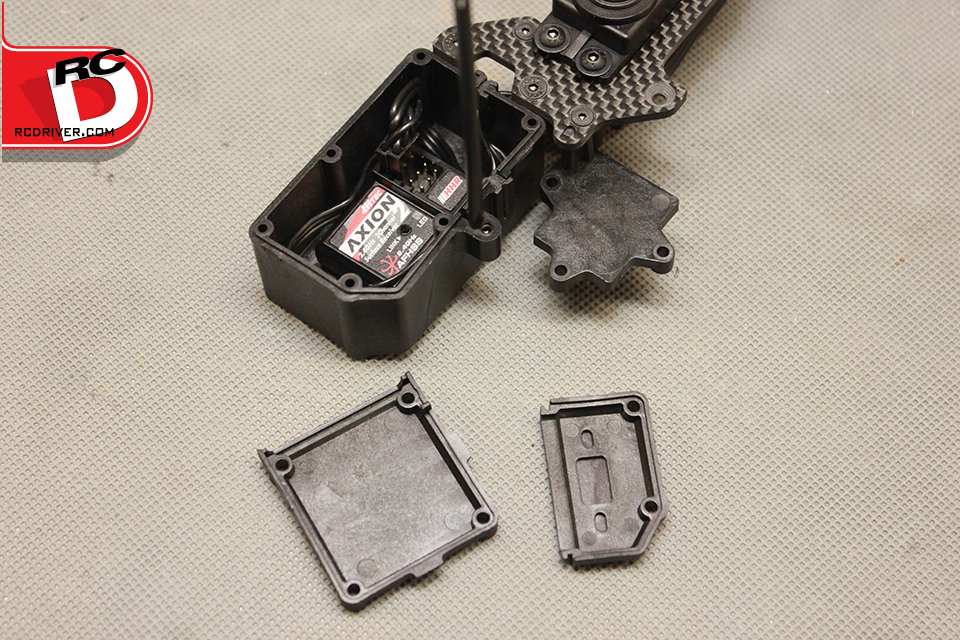
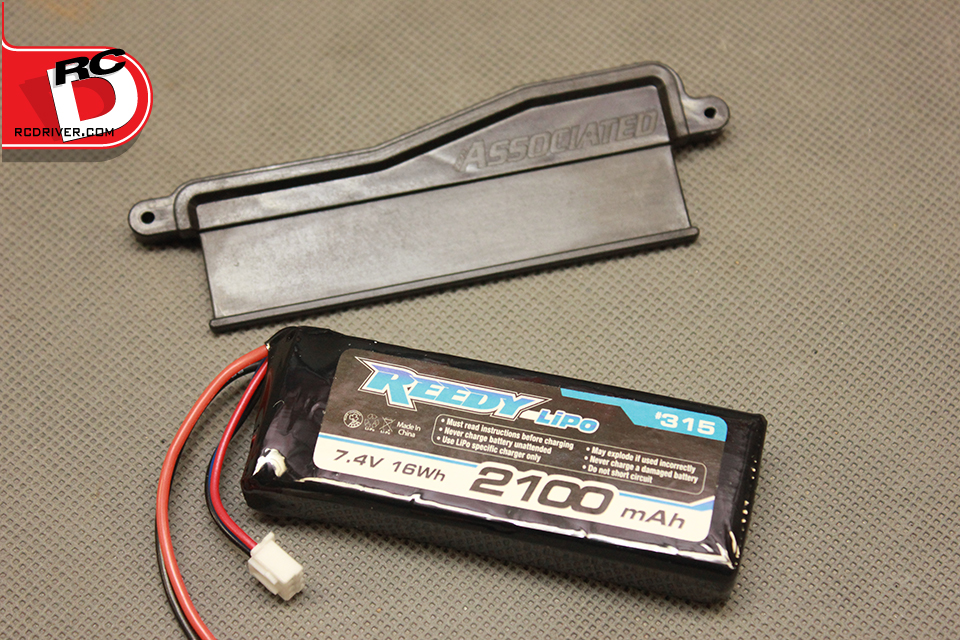
The radio box has plenty of room for today’s modern high end receivers. The battery plate takes a long pack that will need to be taped in.
All the linkage components for the throttle and steering. We like the new inserts for the stock servo arms and the aluminum ring that goes over the spline area to reduce the chances of teh splines stripping. Another thing to note is there are bushings for the pivots.
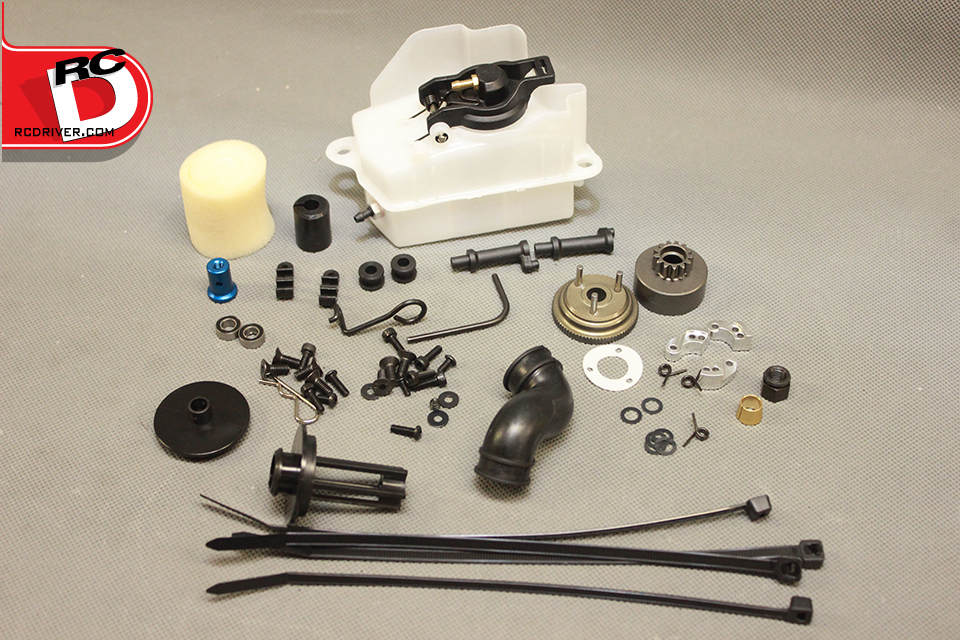
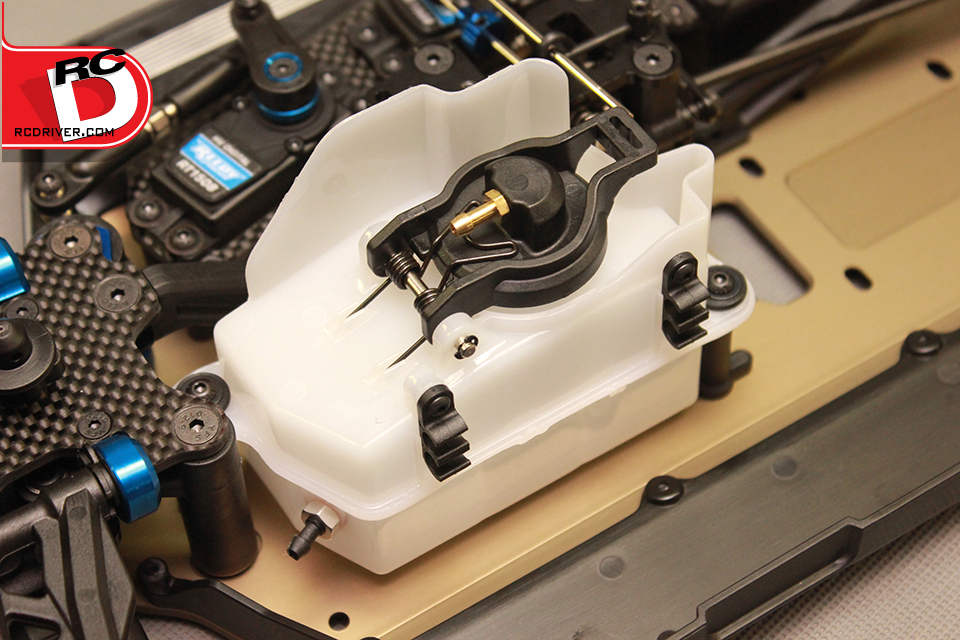
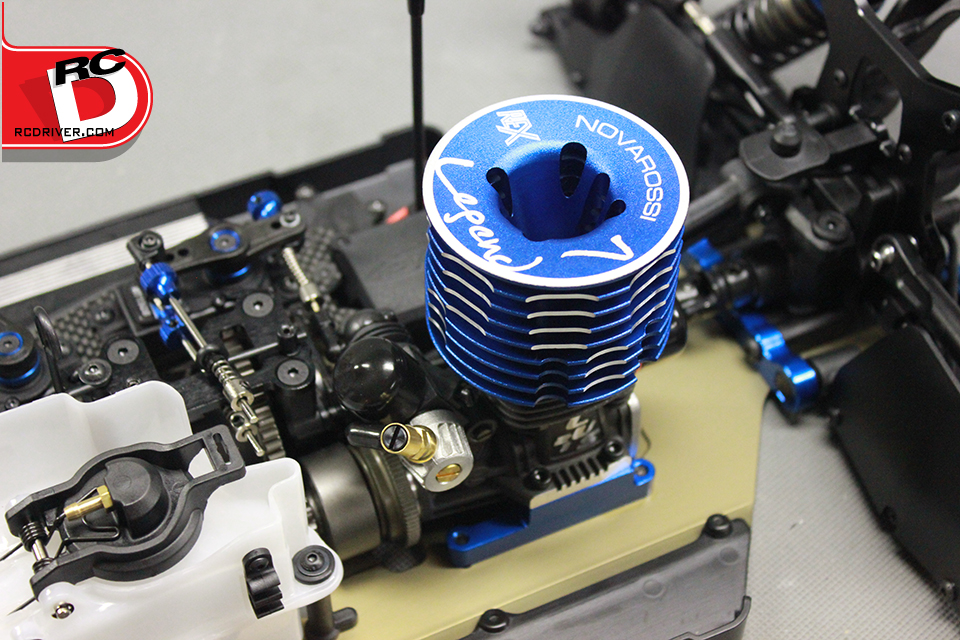
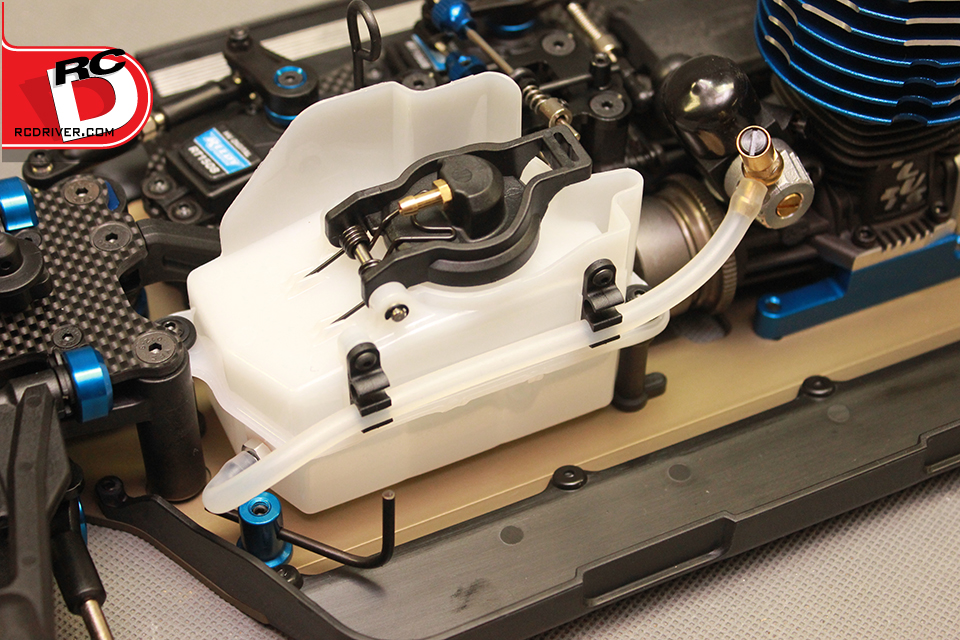
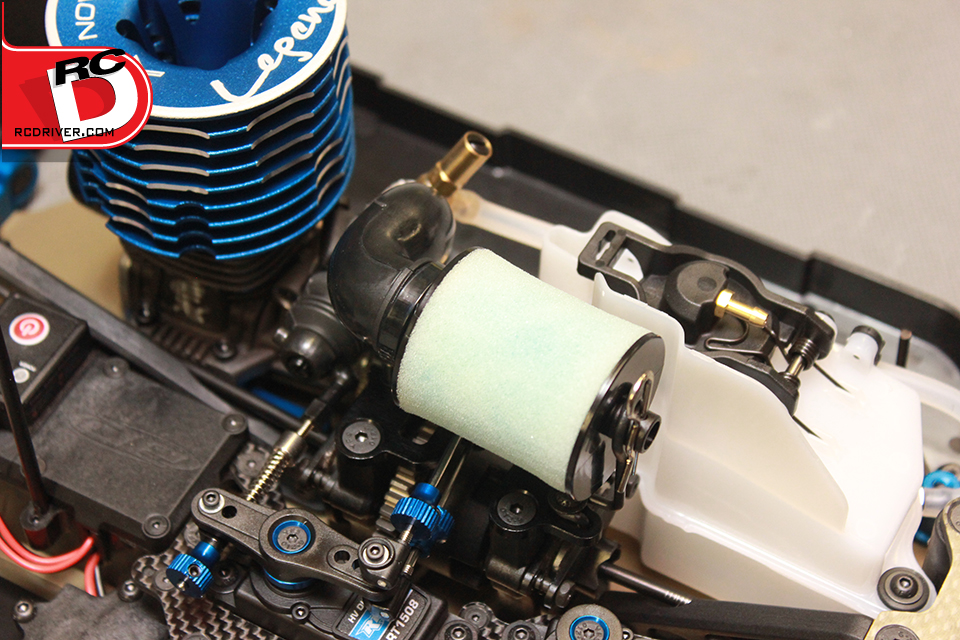
The tank comes assembled with a clunk inside. Here you can see the hard anodized aluminum flywheel and aluminum clutch shoes. AE now uses a barrel filter with a silicone elbow to run the filter inline on the chassis.
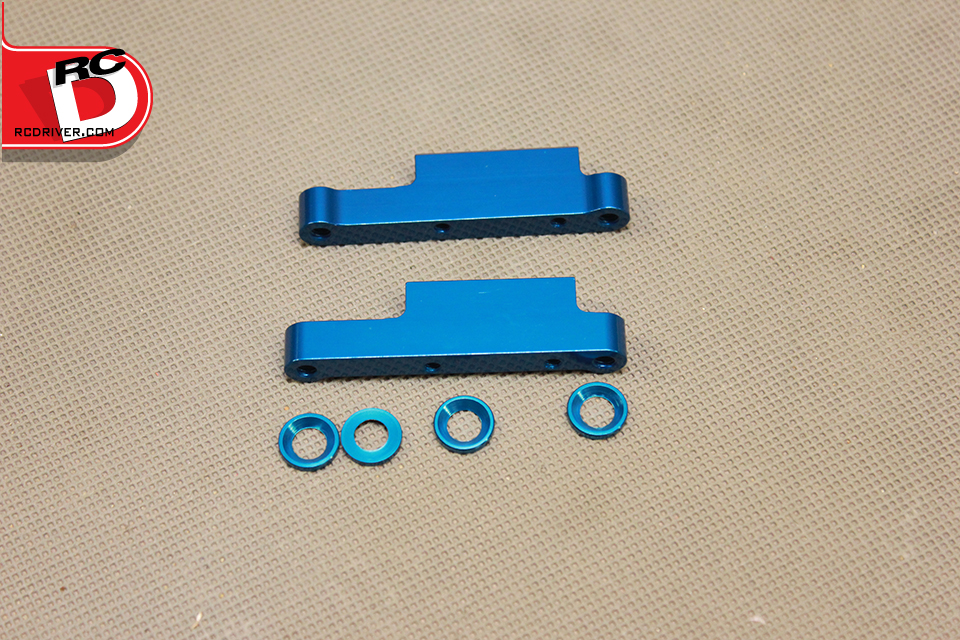
Finally we have the engine mounts which are machined from aluminum and anodized blue along with low profile countersunk washers for the mount screws.
THE BUILD Let’s talk quickly about the build. Our kit was fairly uneventful to build and I mean that in a good way. Just about everything fit together just fine. You should build each differential dry before and check their feel before adding oil to make sure you need the number of shims suggested. The diffs should have a slight drag feel when building them but not too notchy or loose. Once you determine they will build with the right feel, fill them up. The quality was almost perfect with everything else with the exception that one linkage collar didn’t have any threads, just a fluke on my kit, most likely. Finally, my last tip is to be extremely careful when threading the stop screws into the front uprights. You do not want to cross thread the screws or you won’t be able to tighten the screws all the way.
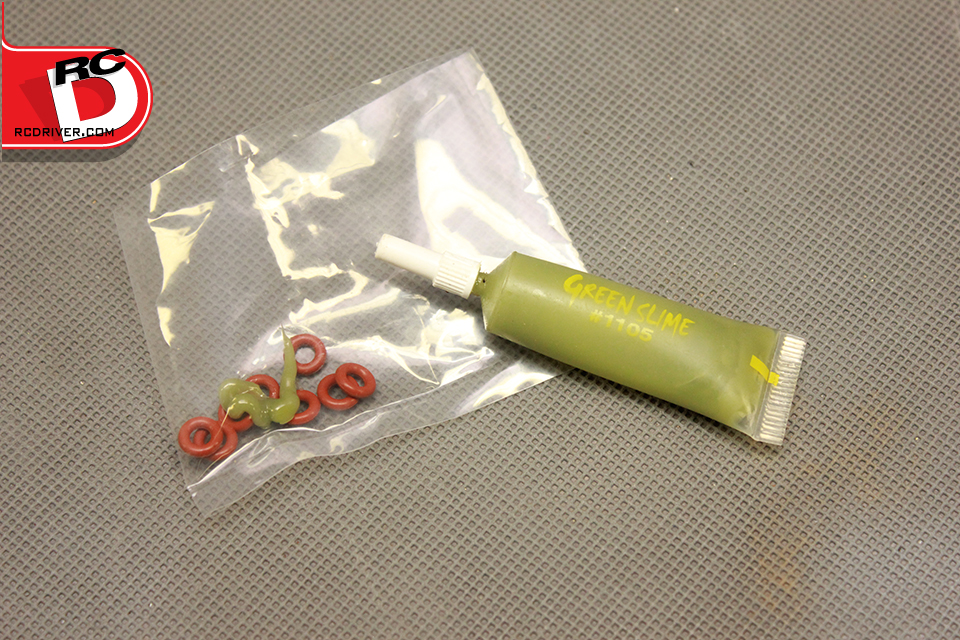
Green slime does not come with the kit, but we picked some up to coat the o-rings during the build
Reedy’s new digital receivers are ultra fast, strong and a perfect choice for the buggy.
The buggy will be run with a Hitec Lynx 4S radio and Axion receiver.
Reedy offers the perfect size LiPo pack to fit the RC8B3’s battery tray.
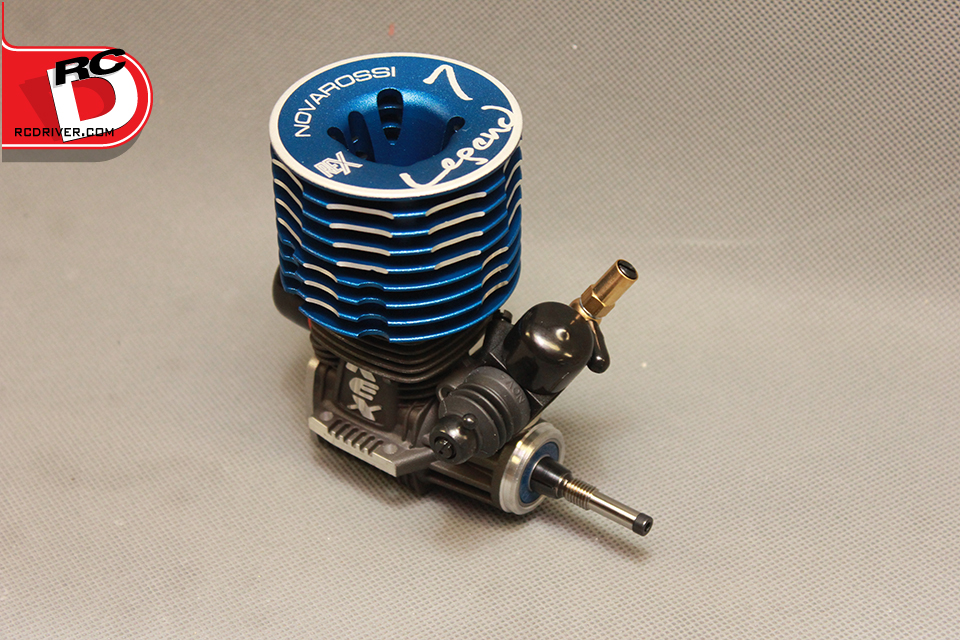
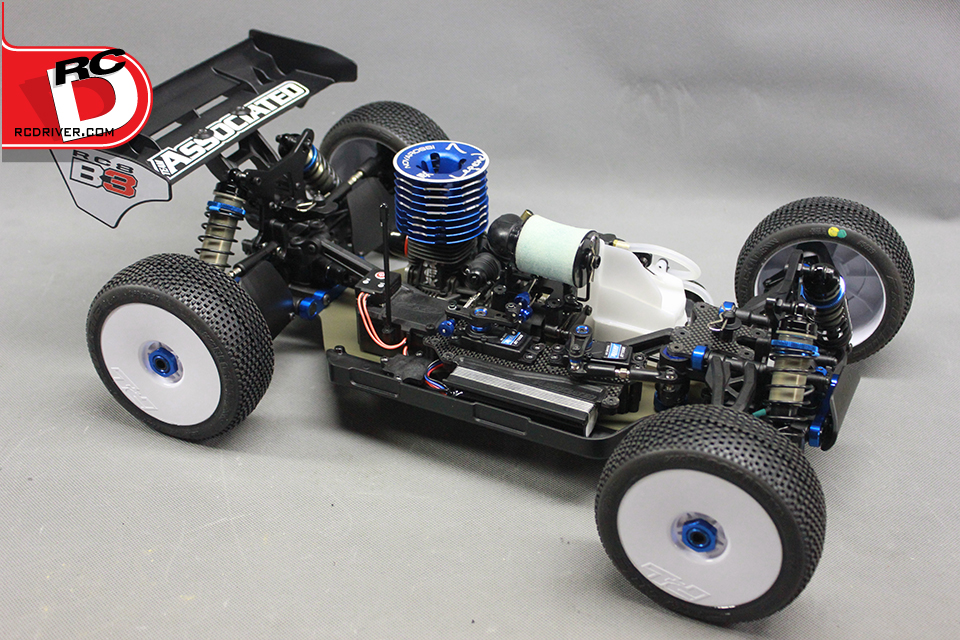
We selected a REX Legend 7 engine to power our RC8B3
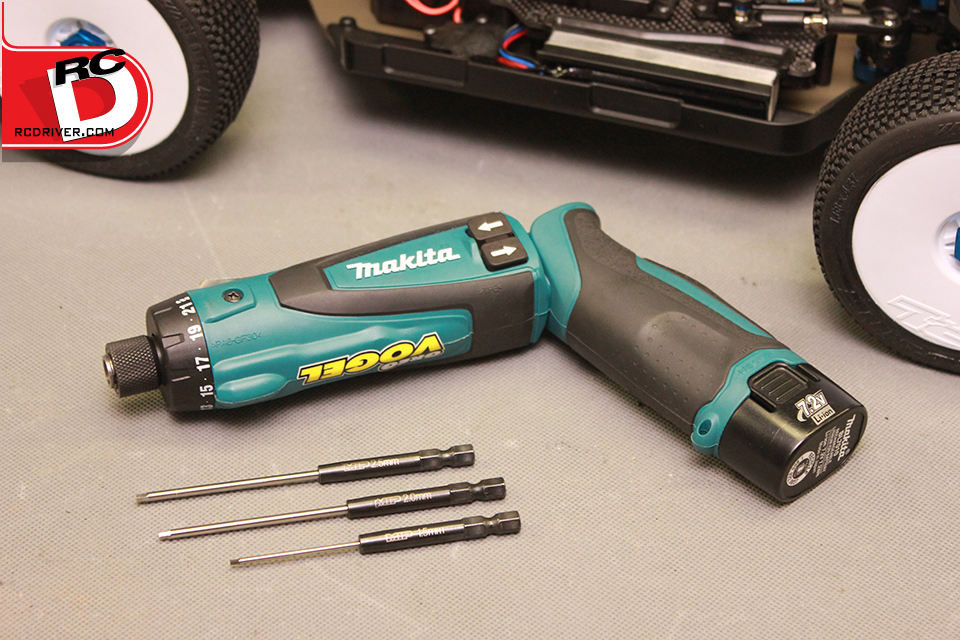
Makita’s Li-Ion driver with MIP hex driver bits made the build much easier.
Want to know more? We bet you do, make sure to check out Day 2 of the Team Associated RC8B3 vehicle week where we talk about our thoughts of this buggies exciting new features.