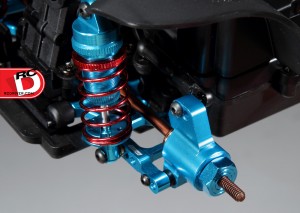
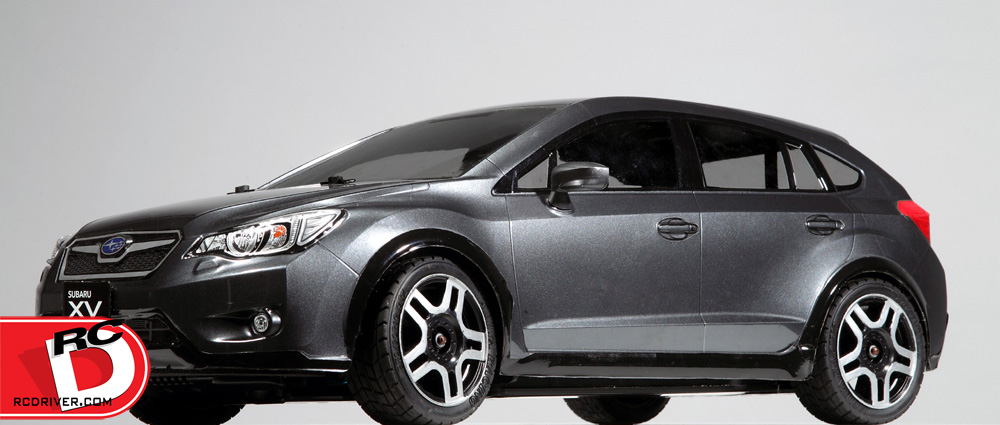
 A while back I bought myself a full sized Subaru Crosstrek XV (not an RC car). I then proceeded to review the Tamiya XV-01 because it was the RC version of my real car and I just had to have it. Seeing all the cool goodies that AsiaTees had on their online store for the XV-01 got me itching to deck out the mini me version of my daily driver and before too long I ordered a plethora of parts for it. Now it has more option parts and bling than my “real” car… But it still can’t get me to work!
Boom Racing
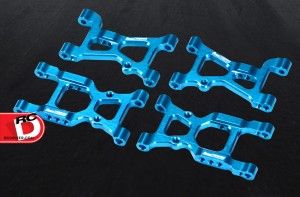
Blue Anodized Aluminum Front Suspension Arms – BRXV102B, $12.99
Blue Anodized Aluminum Rear Suspension Arms – BRXV105B, $12.29
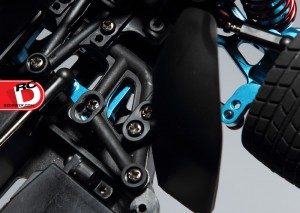
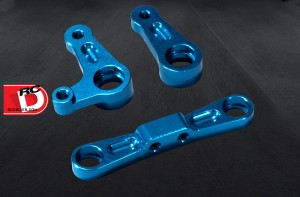
Blue Anodized Aluminum Steering Bellcrank – BRXV103B, $12.93
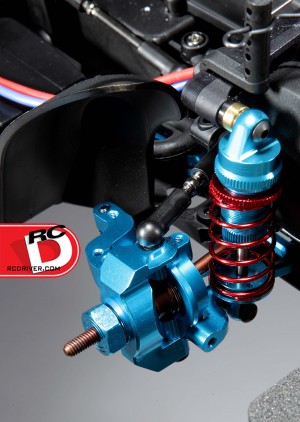
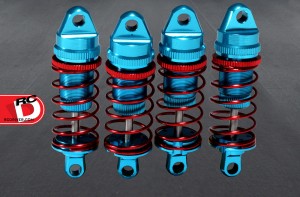
Blue Anodized Threaded Aluminum Shock Set – BRXV106B, $24.38
Blue Anodized Front Aluminum Castor Blocks – BRXV101B, $13.34
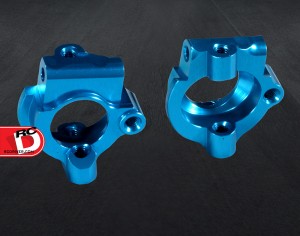
Blue Anodized Rear Aluminum Hub Carriers – BRXV104B, $12.29
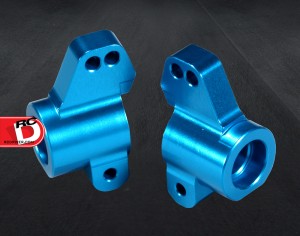
Blue Anodized Front Steering Blocks – BRXV100B, $15.54
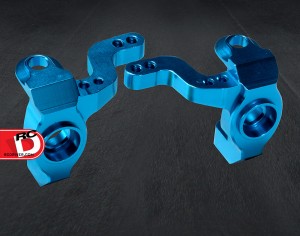
Blue Anodized 12mm Locking Wheel Hexes – BRXV108B, $9.07
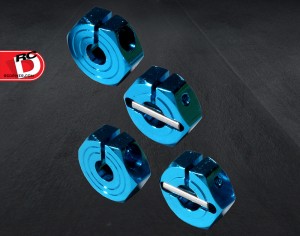
GPM
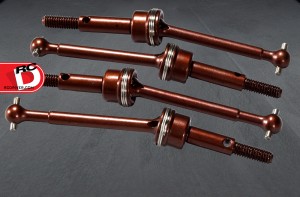
Spring Steel Rear CVD Set – XV1238FSTOC, $16.90
Spring Steel Front CVD Set – XV1240FSTOC, $16.90
LRP
AI Runner Reverse V2.0 – 83020, $48.29
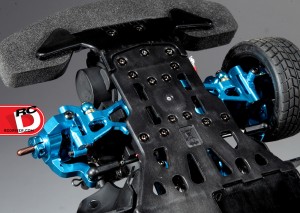
I installed the front suspension arms, castor blocks and steering blocks CVDs, 12mm hexes all at the same time. The most time consuming part of this task it the removal of the entire front end, including the belt, and shocks, in order to remove the stock suspension arms and install the aluminum arms. Once that is done I turned my attention to the steering blocks and installed the CVDs into them and then took 2 of the 12mm hexes to hold them in place. I then attached the steering blocks to the front castor blocks. I then attached the castor blocks to the front suspension arms. With all that taken care of I went and reassembled the entire front end. Next up was the steering linkage. Again, I needed to remove quite a few parts to get the stock linkage out and the new linkage in but once it was complete I was amazed at how smooth it felt in my initial bench test.
Next up was the back end. An easier task than the front end, before I went to take the stock parts off I installed the CVDs into the rear hub carriers, used the 12mm hexes to hold them in place. I then removed all the stock parts, including the shocks, and attached the rear hubs to the suspension arms and then installed everything on the chassis.
Finally, I installed the new, super smooth threaded shocks. They come with all the required hardware and bushings to keep slop to a minimum. In addition to all the Boom Racing and GPM goodies I got from AsiaTees I also installed an LPP AI V2.0 esc and an old school Madness Motors tuned 540 motor for some extra speed.
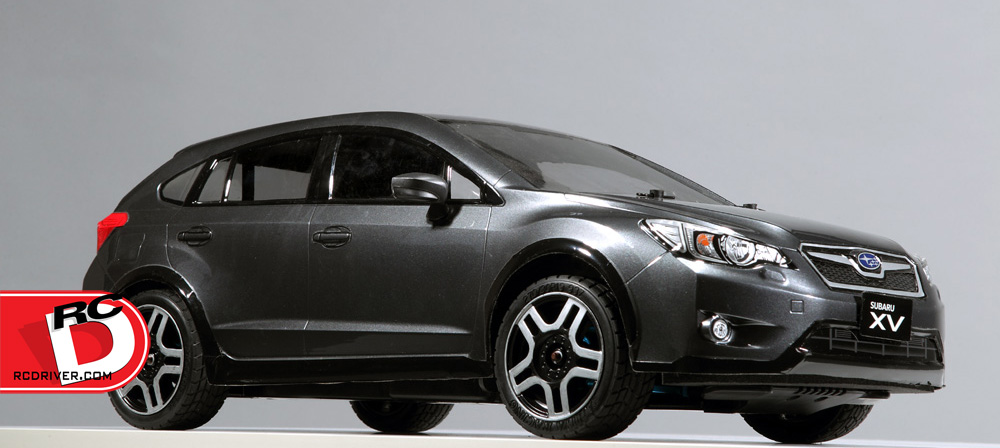
With everything installed I headed for the street to give the XV-01 a spin. Right off the bat it was considerably quicker than before with more speed out of the hole and more top end speed. It also handled any imperfections in the asphalt much better thanks in part to the new Boom Racing threaded shocks and rigid suspension components. Cornering was better too as I could drive deeper into corners on throttle and was able to get back on the throttle faster when exiting. All in all, the hopped-up XV-01 was hooked up and a blast to drive.
While I highly doubt my Tamiya XV-01 will see much use as I really like looking at it because it is my personal “shelf queen” it is much better equipped than it was in its stock form. If you have a Tamiya XV-01 and are looking for some hop-ups or bling but don’t want to break the bank consider these bits as they are very well priced and take performance up a notch or two!
 RC Driver The Best In RC Car & Truck News, Reviews & Video


