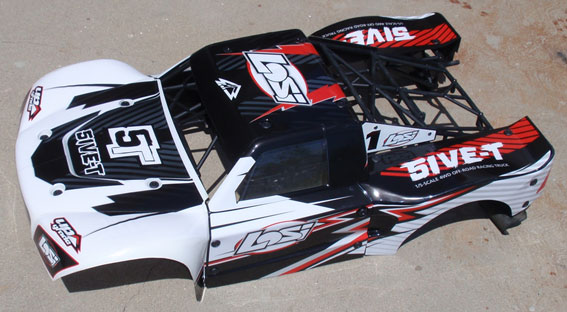
Being a 1/5-scale junkie, when the news hit that Losi was releasing the 5IVE-T, I knew I had to have one! Lucky for me, Losi caught wind that I had won a few 1/5-scale Nationals and decided they would let me do the first test drive and review on it for RC Driver Magazine. It’s a pretty wicked truck and responds really well to upgrades, but the one thing I couldn’t get over was the lack of color choices with the body; white front and black rear or black front and white rear. That’s about your only choice…even the factory wrap is the exact same on both trucks.
During the test run, Adam Drake showed up with his truck and it just happened to be outfitted with a custom wrap from Upgrade RC. So as soon as I got home, I made the call over to them to request a custom wrap and today I will be installing it!
Items Needed:
• A Lexan body you need to remove the stickers from
• Heat gun (or hair dryer)
• Hobby knife
• 2.5mm hex wrench
• Goo Gone (found at most hardware stores)
• Windex (found at most grocery stores)
• Some clean cloths
• Upgrade RC Vehicle Wrap (or similar)
 Step 1:
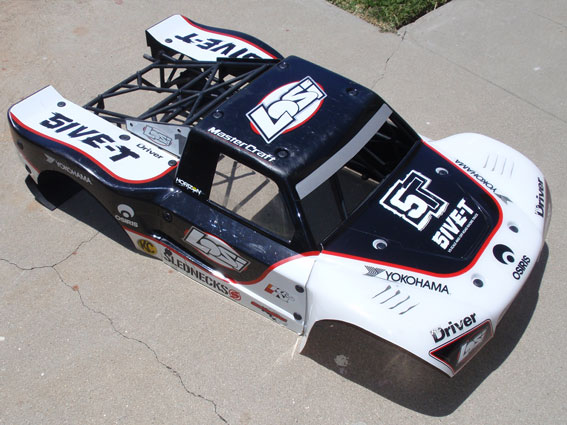
The first step is to remove the body from the truck and clean any dirt or mud off of it. This just keeps things a little less messy when you’re removing the stickers.
 Step 2:
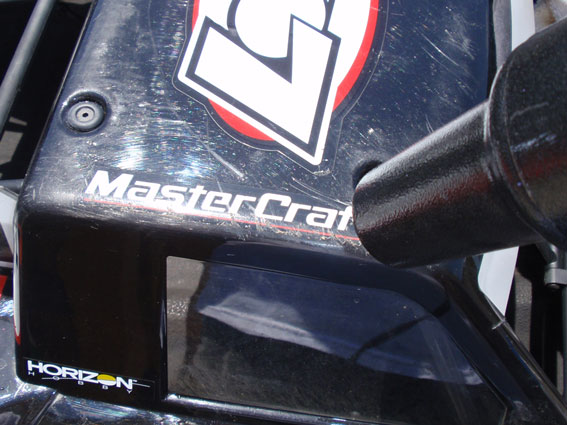
After you’ve sufficiently cleaned the body, take your heat gun or hair dryer and start applying heat to the sticker. It’s best to apply the heat back and forth instead of on one spot at a time. I also suggest keeping the body connected to the cage during this step. It makes the panels much easier to work with.
 Step 3:
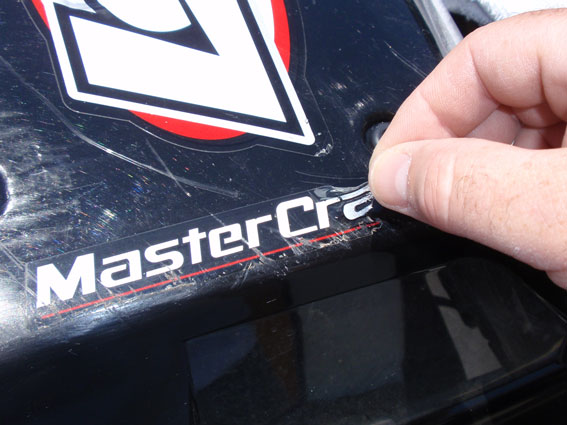
After about 5-6 seconds of applying the heat, pick away at one corner of the sticker and start peeling. Depending on the stickers used, it might all come up at one time or not. For larger stickers, try applying the heat to one section, peel, then re-apply heat to the middle section, peel, etc. BE CAREFUL! The heat gun/hair dryer will make the plastic and sticker really hot. It’s quite possible you could burn your fingers so please take caution when doing this.
 Step 4:
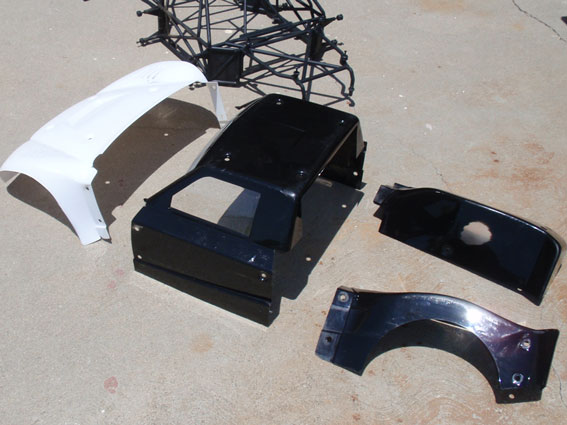
Once all of the stickers have been removed, you can use your 2.5mm hex wrench and remove all of the body panels. Keep track of the screws and inner/outer body washers.
 Step 5:
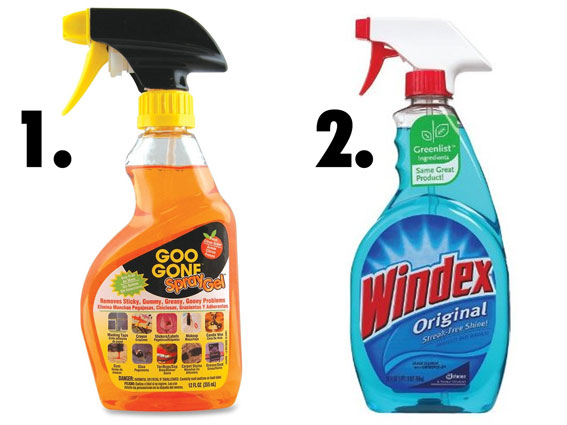
Spray the Goo Gone on your clean cloth and buff out the body. You’ll want to focus on any residue left behind from removing the stickers. This stuff works great so it shouldn’t take much elbow grease. Once you’re done with that, you can either wash the body panels in soap and water or use Windex to clean them. This second step is a must as the Goo Gone will leave the body panels a bit oily. Oily panels and new stickery stickers do not like each other.
 Step 6:
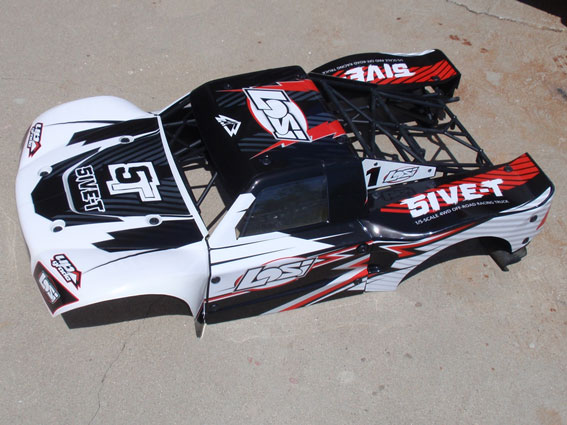
Apply your Upgrade RC Vehicle Wrap to the body panels on the truck. Unlike taking the off, it’s easier to do this step with the panels OFF the truck. Use your heat gun/hair dryer to soften up the wrap so that it molds around corners and complex areas.
 Step 7:
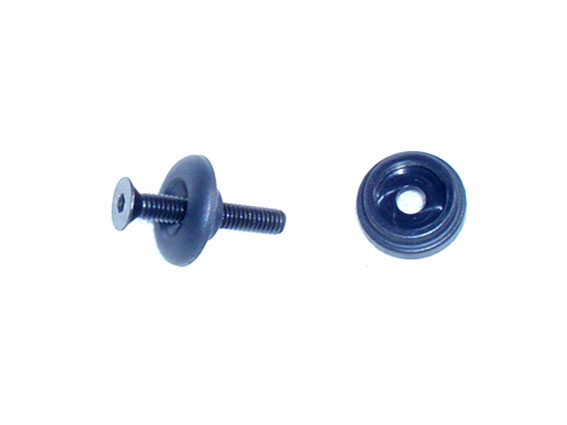
Now reattach the body panels. Don’t forget to use the inner/outer body washers from step 4. The inner washers are directional so make sure you get them back on the right way. Double check the wrap in the complex areas and on the edges. Make sure it is stuck the body. If not, heat it up and press it down!
In the case of the Losi 5IVE-T, a body wrap is a cheaper alternative than purchasing $250 worth of clear body panels that need to be painted (another additional cost). In addition, since the Lexan is uber-thick and reinforced by the cage, the chances of you actually needing a fresh body are probably rare. In about 2 hours I transformed my 5IVE-T from stock to killer-custom, and I love it!
 Links:
Losi, www.Losi.com
Upgrade RC, www.Upgrade-RC.com
 RC Driver The Best In RC Car & Truck News, Reviews & Video


 Step 1:


