Few vehicles put more stress, wear and tear on a servo than an 1/8-scale buggy, truggy or monster truck. First of all, they’re larger and heavier than just about any other car or truck (1/5-scale not included), second, they’re run in some of the worst conditions imaginable and third, they have to withstand the occasional cartwheel off of a big jump. Have you ever wondered why some people can run the same servo week-after-week, race-after-race while you can’t go more than a few runs on the same servo? There are a number of ways you can quickly and easily help your servo live longer and save money. Let’s get into How To Install Your Servos Properly!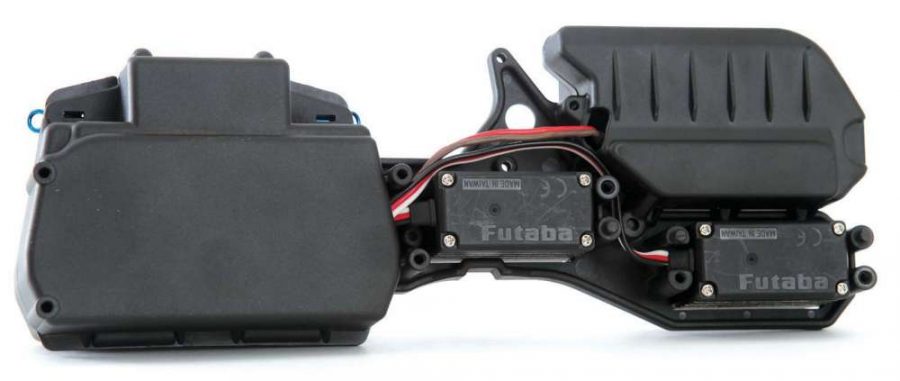
Let’s be frank here for a moment: most of the vehicles we’re talking about installing a servo in cost between $300 and $1,000 by the time they’re completely decked out and equipped. Why would you opt to install an under-powered, slow, questionable servo from overseas with zero support into a vehicle that costs that much? Do yourself a favor and spend a little more initially for a better quality servo to begin with. You’ll want a servo with at least 120oz. of torque. Speed is more of a personal preference but use one with at least a .18 transit time. Also go with reputable manufacturers such as Futaba, Spektrum, Savox or Hitec as they all have great service if you have an issue.
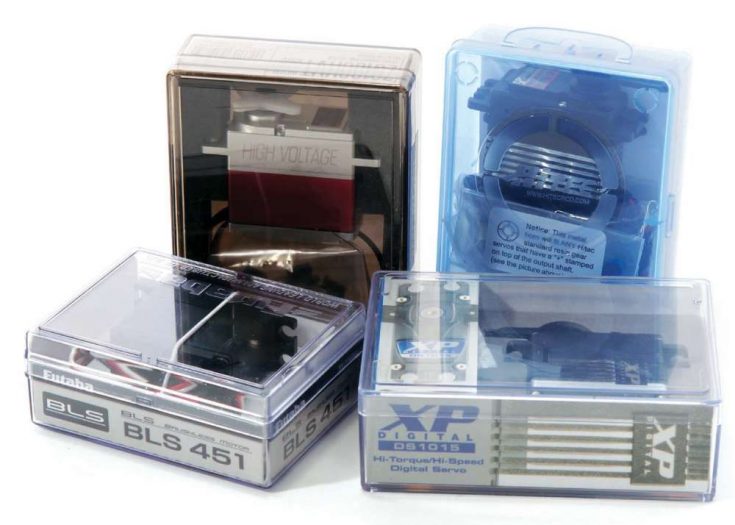
One of the things that can kill your servo faster than anything else is not setting your endpoints and overdriving your servo. Also known as dead stalling your servo, setting your end points prevents your servo from continu- ing to try to move further even if the physical travel, either steering or throttle/brake, has been reached. By using either the software or knobs on your radio you can limit the throw of the throttle or steering servos. Doing this will prevent the motor inside the servo case from overheating, burning out prematurely and potentially causing the epoxy that holds the motor in place to shift or drop.

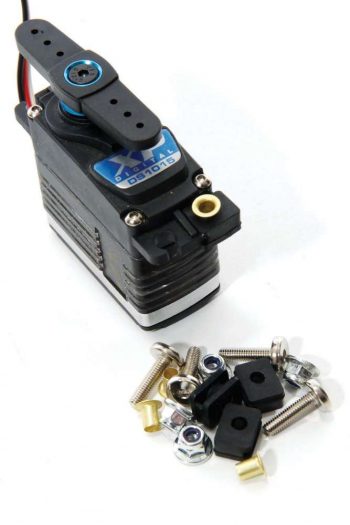
I must admit to not doing this for years but, for the love of Pete, soft mount your servos to the chassis or radio tray if you are hard on your equipment. It is super easy to do and it only takes a few moments when you’re installing the servo. Heck, they’re even included with the servo! Install the grommets into the eyelets in the servo and, if your screws fit, install the brass tubes too. This will provide a little extra give in an impact and help isolate the servo from chassis vibrations.
Before you install your servo into the radio tray, you should check the clearance between the sides of the servo and the radio tray itself. If the opening is too small and the servo rubs on the radio tray it can cause issues, similar to those you encounter if you don’t soft mount your servo. Having the servo rub on the radio tray can, again, cause the motor to vibrate loose from inside the casing which would be a bad thing. Use a rotary tool to open up the servo hole slightly if need be. The other issue regarding the radio tray is related to the overall height of the servo if you’re using a vertically-mounted servo. Some servos are longer than others and you may need to space the servo up slightly to provide clearance between the chassis and the servo. While you may be able to see some space between the servo and chassis you’ll want to make sure there’s enough space to account for any chassis flexing too. While rare, it is possible for a servo to be slammed against a chassis during a hard impact and severely damage it.
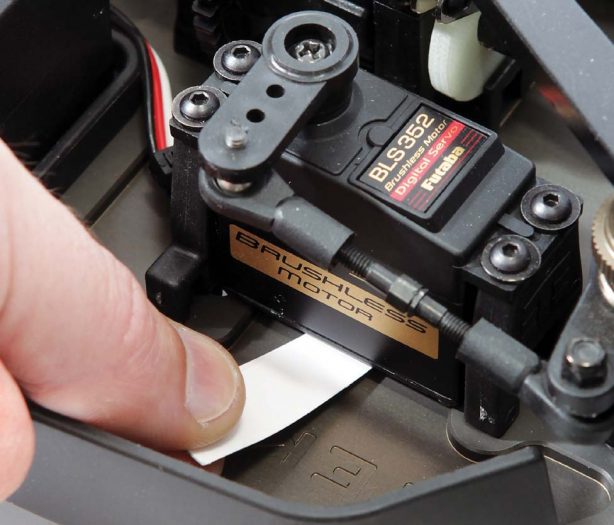
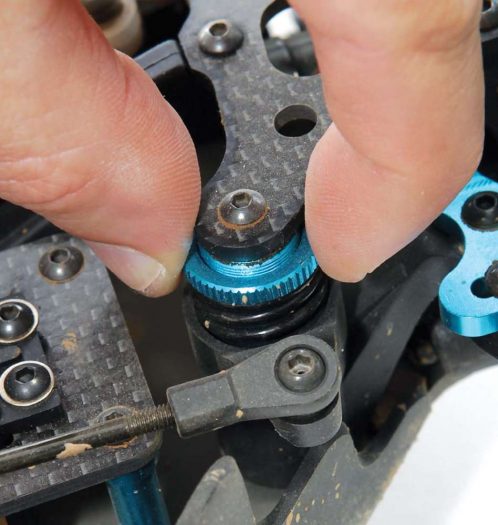
It’s amazing how many times I’ve seen people crank down their servos entirely, essentially rendering their servo saver completely worthless. Manufacturers do tremendous testing, research and development in an effort to optimize the chassis flex, component rigidity and, yes, the give in servo savers. Don’t put your servos at risk by tightening the servo saver nut down all the way and neutralizing the effectiveness of your servo saver. Have some give in there; it’ll save your servos. Ironic, I know.
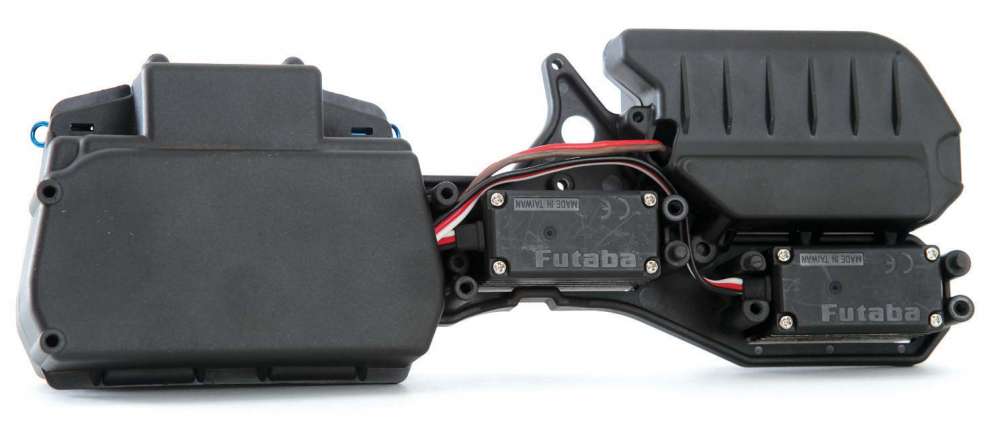
The wiring in your car or truck has a number of obstacles to avoid when traveling from your servo to your receiver. Spur gears, clutch bells, rocks, a clumsy marshal, you name it; the wiring is exposed to some of the worst environments. Use zip ties to keep your leads neat and tidy and, most importantly, away from moving parts around your car. Not only that but don’t just bundle up your wiring and jam it all into your radio box. Use zip ties to bundle your wiring together and keep things nice and neat.
By paying a little more attention to detail when you install your servo you not only have a cleaner install but also a servo that will live longer and work as expected each and every time. Nothing we’ve discussed here is difficult or overly time consuming; it just requires that you take a little extra time. And the time you spend now will save you time and money later.
By Scot Donaldson
 RC Driver The Best In RC Car & Truck News, Reviews & Video


120oz for an 8th scale? Whatever you guys are smoking, please pass it here
I have a vrx cobra 1/8 scale rh 818 ebl 4×4 truggyl rc car that I just got. Third time driving it I was at the park and I was going straight and bam I think there was like a squirrel hole that I didn’t see. As my car was going straight it like hit the hole and then shot to the right on its own I tried turning toward the right to make the car come back to me so I could check for damages. Instead of it turning it just kept going straight so I tried to turn it left and it made a clicking noise and acted like it was wanting to turn left but it wouldnt. If I was gonna want to turn around going left it will only make a big wide left turn. But it turns towards the right perfectly. Could that be my servo that is messed up or something else. Also i want to upgrade my servo it has a 6kg plastic servo in it i want a metal one but don’t know which kind to buy. Could you steer me in the right direction? No pun intended lol