I really enjoy my Axial Yeti XL and wherever I take it, it constantly gathers a crowd. People seem to love its enormous size as well as its alarming amount of power! While I don’t run it on 6S much anymore (it was scaring the local children as well as many small animals), I figured it was time to start investing in some hop-ups to bolster its wow factor even more. It was right about this time that I contacted Gear Head RC to talk about a few other projects when they shared a pic of their new roof rack and light system for the Axial Yeti XL. It’s pretty bad ass looking and, since it was specifically for the Yeti XL, I had to use it for this project. So Jim sent over the roof rack (GEA1298), Desert Torch Light Bar Set (GEA1162) and a Six Shooter LED Light Bar (GEA1159) for the front of the rig. Installation is just a few easy steps, so let’s jump right in.
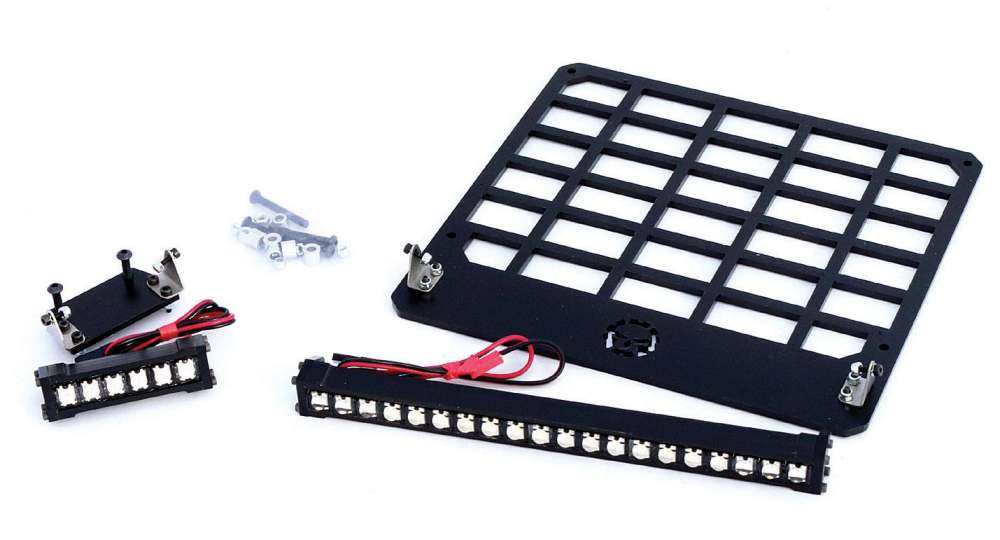
 1 Here’s a quick look at what you get in the packages; a wide roof rack with mounting hardware http://amzn.to/2n0bRki, a pre-wired Desert Torch LED bar http://amzn.to/2nCM1kA, a pre- wired Six Shooter LED light bar http://amzn.to/2nCVAjM and a pre-built mounting bracket http://amzn.to/2n0gTNK.
 2 The roof rack already has the mounting hardware attached for the Desert Torch LED bar, so attaching this is pretty simple. You can attach the LED bar to be on the top or bottom – it’s up to you how you want to do it. I initially installed it below the rack, but liked the top-mount look better. Note that the top-mount does put the light bar directly in harm’s way should you roll the Yeti, so keep that in mind when you decide on a final mounting position.
 3 To attach the roof rack, you have to first remove the four screws holding the roof panel in place. Once that’s done, insert the included longer screws through the rack, through the included silver ‘spacers’, through the roof panel and into the pre- existing holes in the upper cage. Secure the screws with the M3 locknuts. You’ll want to feed the light bar power lead down and through the driver’s compartment.
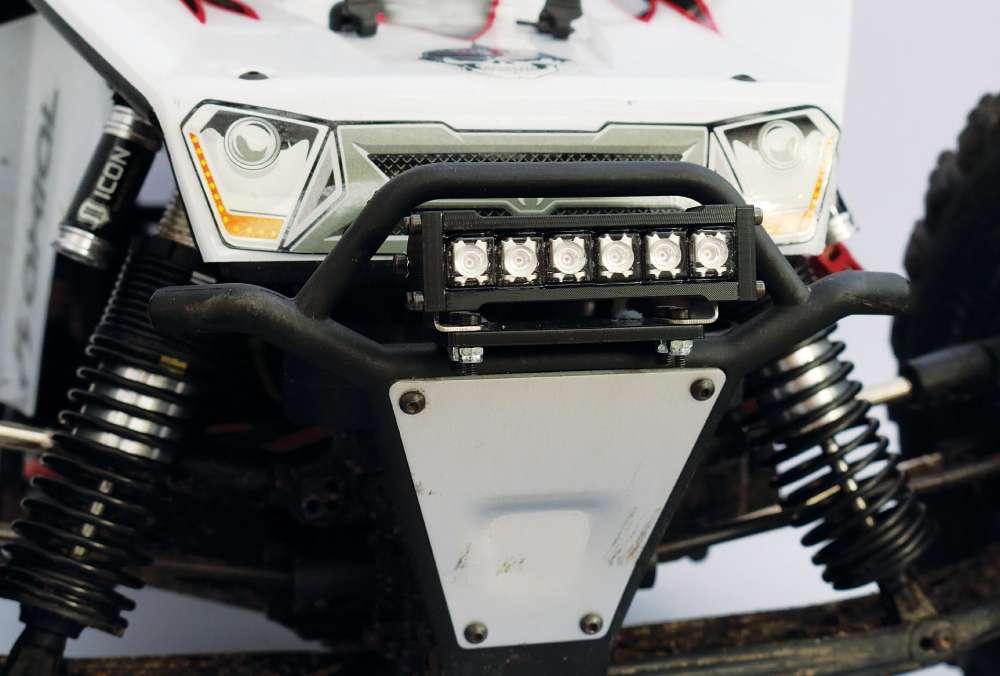
 4 Attach the Six Shooter to the included mount. It’s a quick and easy step.
 5 Slide the included screws through the Six Shooter LED Light Bar assembly into the pre-existing holes in the front bumper. You’ll need to attach M3 locknuts to those screws, so I suggest removing the metal front bumper to make things a lot easier. Feed the power lead into the Yeti and over to the radio box. Both leads are a bit short and since you’ll have to install them through the rear of the radio box, I would suggest picking up a pair of extensions prior to installation. The main thing is that they look amazing! I opted for the white and amber Desert Torch and all amber Six Shooter simply because I dig the way it looks with my paint scheme! Time to do some night driving!
LINKS
Gear Head RC, gearheadrc.com
Axial Racing, axialracing.com
 RC Driver The Best In RC Car & Truck News, Reviews & Video


