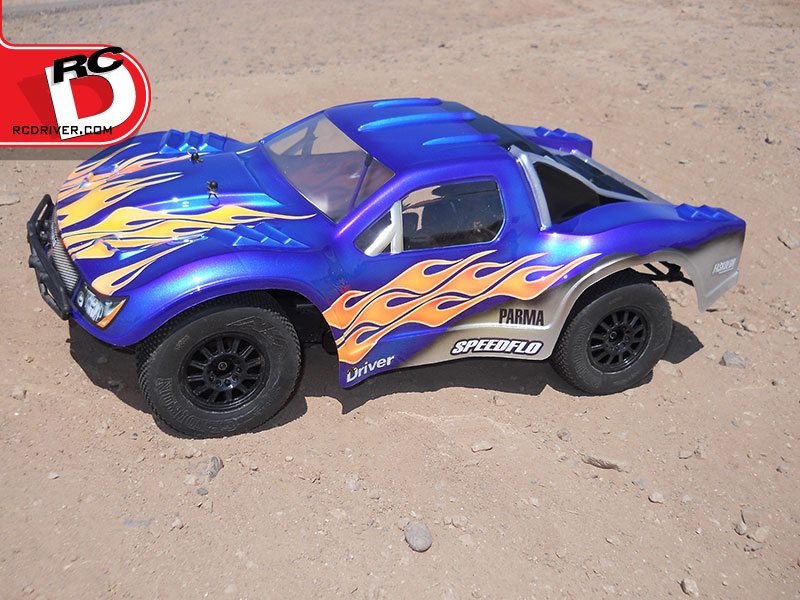
 Here’s a problem I know some of you have. You’re out at the track practicing all the time and you’re getting good and winning races on a regular basis but this leaves you no time to do fancy paint jobs, much less learn the skills. Plus, you’re dumping a pile of money into your car, keeping spares of all your parts, running fresh tires every race and trying to keep up with the latest battery and power system technology. This leaves little room in the budget to pay big bucks to an artist to airbrush a body for you. When the big race comes to town, you’re ready to run with the pros and show your stuff but they all have fancy matching paint jobs and you’re running this single color blob. It doesn’t quite seem fair and you’re probably wondering how you can get your own fleet of cool matching paint jobs. I have a solution for you. Parma’s precut graphics will have you looking like a pro in no time!
Items Used:
Parma
Speedflo body #1237
Long Licks Vinyl Paint mask #10839
Fasescent Purple #40152
Faspearl Blue #40055
FasKrome #40300
FasTint #40191
Faspearl Silver #40050
Fasflourescent Yellow #40101
FasWhite #40000
Fasflourescent Red #40105
Fasflourescent Flaming Orange #40304
FasBlack #40001
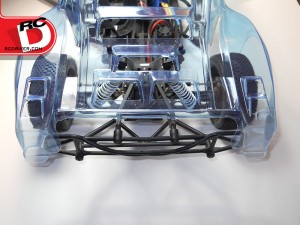
The Speedflo body has numerous vent holes you can cut out but I wanted to try an experiment. This truck flies nose heavy, so I left the holes in the front filled and just opened the rears to see if this would help keep the nose up. The body is designed to be a universal fit body for any short course chassis and while there are numerous marks for mounting holes to use with several different chassis, I always have to be the oddball of the group. When I initially lined it up on my Hyper10 SCE, the body mounts came right through one of the vent holes. To fix this, I switched the body mounts from right to left so they could be mounted on the back of the shock tower. I also had to cut out the rear section and notch the front end to clear the bumpers.
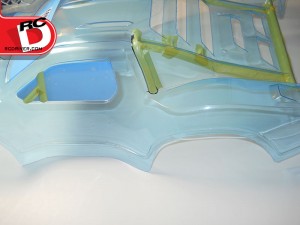
Once the body is trimmed, mounted and cleaned, it’s time to start masking. The window masks are included with this body. To apply, I just line up one corner, then the edge, then I work my way back and forth, avoiding wrinkles and trying to get out as many bubbles as I can. The side windows are in three pieces to leave the hint of a roll cage exposed. I just used small strips of ½-inch masking tape to cover the bar and while I was at it, I roughly masked the roll bar in the bed. It only has to line up on the body line behind the cab. I’ll take care of the bed area later
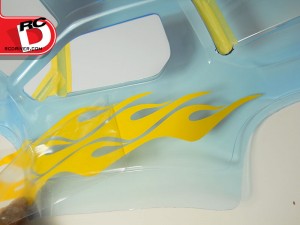
Now I’m going to apply the precut mask. To do so, I must first remove all the excess material from the masking sheet, leaving the flames and outline behind. On a flat surface, I rub the included lift-off tape down over the graphic and then slowly pull back. If some of the graphic doesn’t come off right away, I bend the paper to work it off. When transferring the graphic to the body, you have to be super careful and patient. I line up the tip of the flame then the top edge and work my way across. After removing the lift-off tape, I work the mask into the crevices.
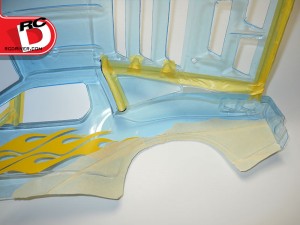
I want to add more color to the body in the rear and I know an easy way to get a cool effect is to just tear masking tape to make it look like the paint has been torn away. So I take some 1¼-inch medium tack masking tape I purchased at the hardware store and tear it down the middle. After laying a line of tape across the body, I just fill the remaining area with more tape.
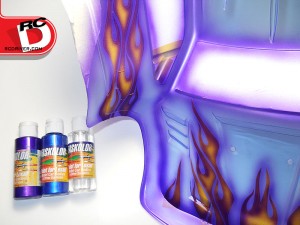
Now it’s time to start laying Parma Faskolor Paint. This is all about moving out of the one-color comfort zone so, rather than use a solid color for the background, I shade some Fasescent Purple around the graphics and body lines before filling in with Faspearl Blue. These metallic colors can sometimes be thicker and harder to spray so if you find your airbrush is sputtering, you can use some Fasthinner to thin it down.
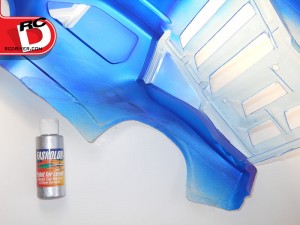
The pearl colors will dry semi-transparent so to help make them more opaque and give them some extra sparkle, we’re going to back them with FasKrome. First I peel away the masking tape from all the roll bar areas so I can fill them in at the same time.
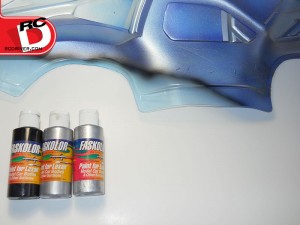
With background colors in place, I peel off the torn masking tape and then shade along the torn edge. I fill the area with Faspearl Silver because I want it to look like metal. Then I back the silver with FasKrome and give everything else another coat while I’m at it.
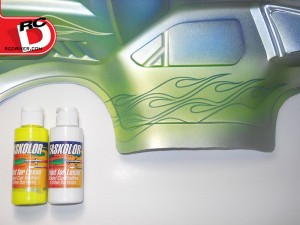
It’s time to start spraying the graphics. I start by peeling away the thin outline, using my hobby knife to get the ends started. I fill the outline with Fasflourescent Yellow and back it with FasWhite to make it bright and opaque.
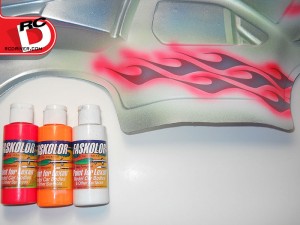
Next, I remove the flame area. I shade around the edges with Fasflourescent Red and then hit the tips of the flames again. Then I fill the area with Fasflourescent Flaming Orange before backing with FasWhite. While I’m at it, I fill the whole body with FasWhite for a uniform finish.
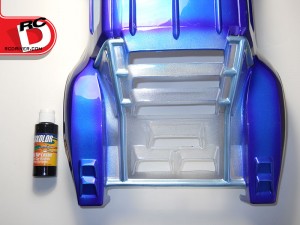
To finish the bed area, I cut and remove the overspray film in the areas inside the roll bar and then spray some FasBlack in those areas. When I remove the overspray film the roll bar will be exposed. I just remove the window mask; add the included decals and it’s done!
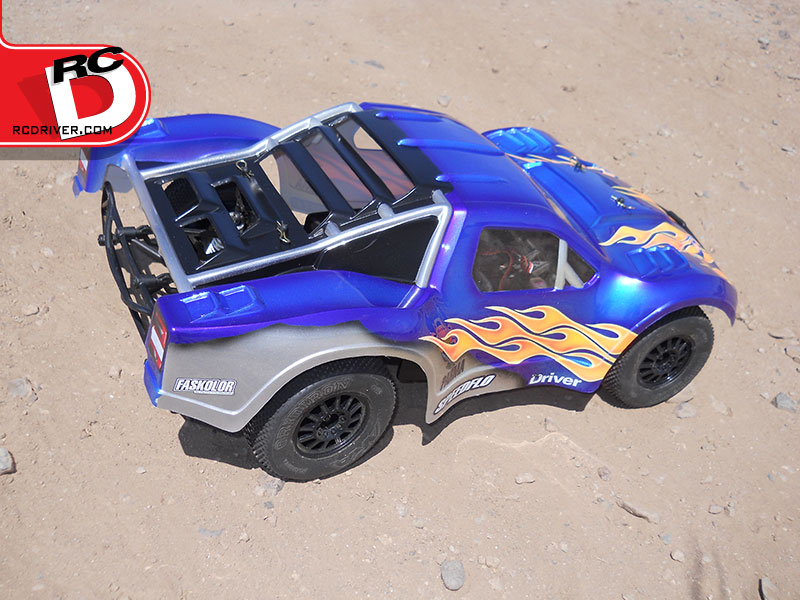
Wrap Up
You’re rocking the show, with your Parma Speedflo. You’re lookin’ like a pro, ’cause you’re in the know… Uh, yeah, I’m sorry about that outburst. I’ll just get to the point and I promise I won’t try to rap again! First impressions are everything and you want to look good. From bodies to paints and even precut graphics, Parma gives you the tools you need to represent yourself properly!
Words and photos by David Harrington
 RC Driver The Best In RC Car & Truck News, Reviews & Video


