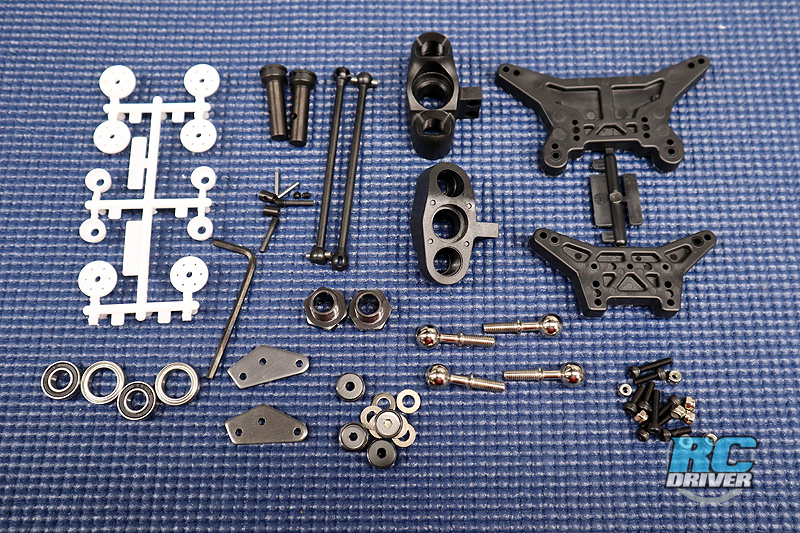
We’re pretty impressed with how smooth and simple the build is going on our Pro-Line Racing Pro-Fusion SC. The differential assembly went together well and we altered it a bit with our diff oil choice. The front gearcase assembly and arms almost fell together and now we’re onto Bag C. This is a continuation of the front end build. We’ll be assembling the steering knuckles, universal driveshafts and install the tower in the blog. Build time!
NEED TO KNOW
Product Pro-Fusion SC 4×4
Part Number: 4006-00
Price: $399.99
Link To Buy: http://bit.ly/2H3WrYw Use Code RCDRIVER10 to save 10% on your entire Pro-Line order at checkout.
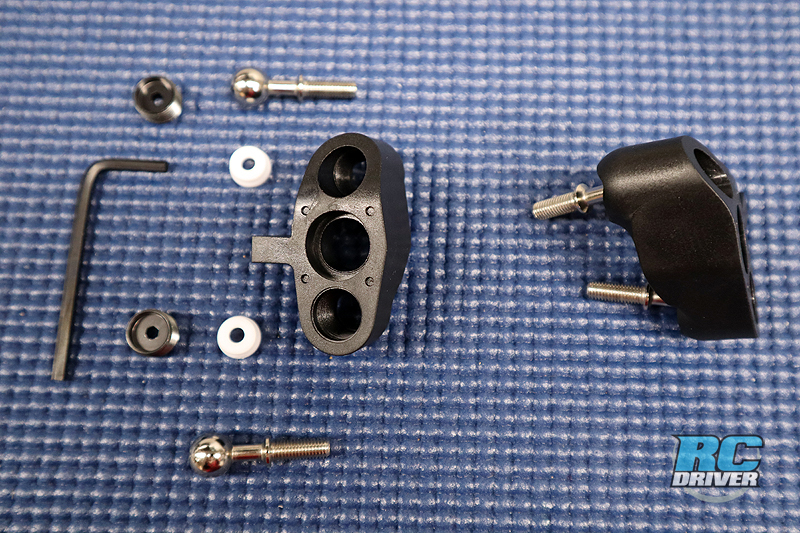
First up in this build is installing the revised pillow balls into the steering knuckles. Slip the pivot ball into the knuckles followed by the white plastic bushing and then use the supplies allen wrench to install the retaining screw-caps. We put a drop of CA on the screw cap threads when installing them because the fit was not very tight.
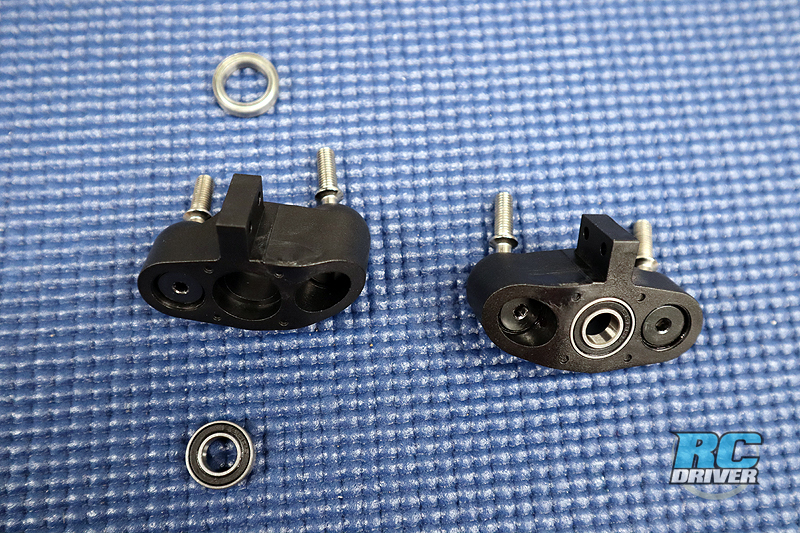
Next press the bearings into the knuckles. Be careful pressing the bearing into the back of the knuckle. If you are not careful it may go in on an angle making the driveshaft install a problem.
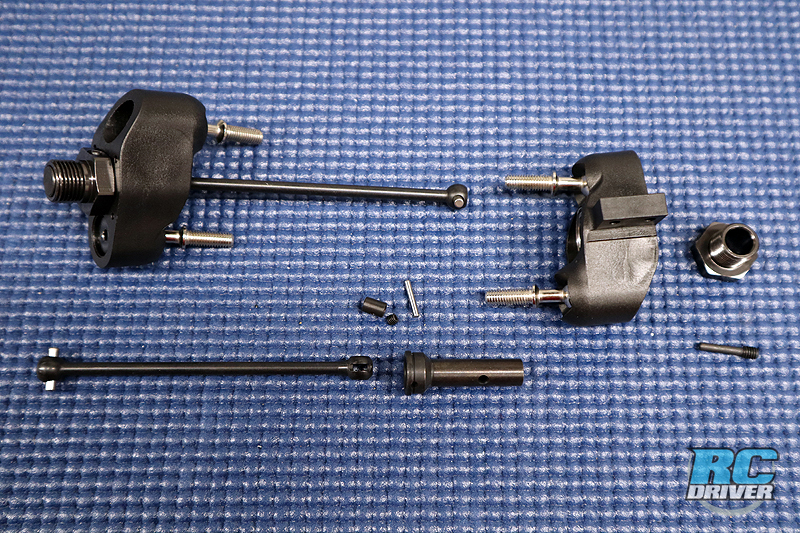
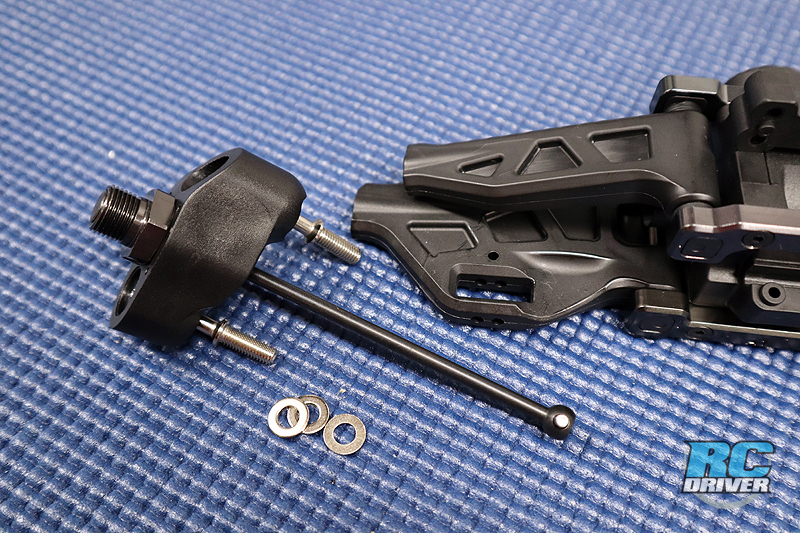
The universals need to be assembled and installed into the steering knuckle bearings. Use a drop of thread lock compound on the set-screw in the universal. Also coat the universal barrel with grease so it pivots freely during use. A drop of threadlock on the hex screw pin doesn’t hurt either.
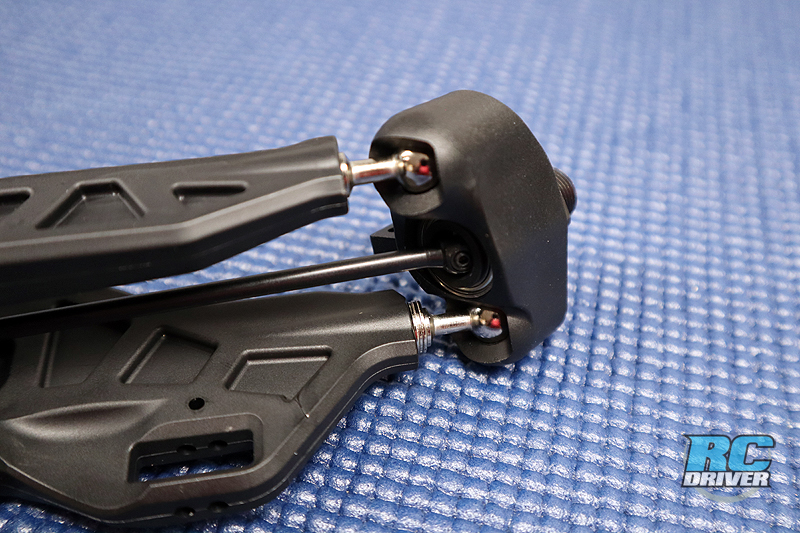
Using a 2mm hex driver, screw the pivot balls into the arms. The lower pivot ball gets the three washers. Alternate screwing the upper and lower pivot balls into the arms a few threads at a time until you have snugged them into the arm.
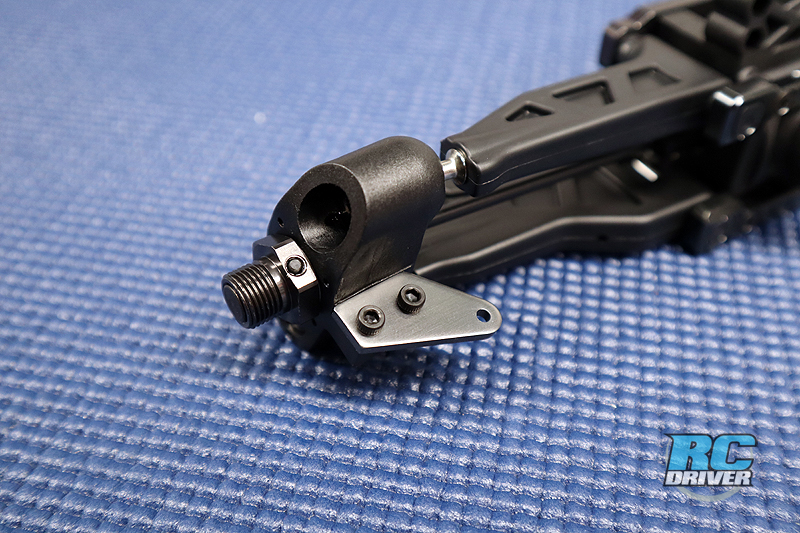
Here is how the assembled steering knuckle looks. Note the off-set of the knuckles and how it meets up with the arm.
The aluminum steering arms are secured to the knuckles with screws and lock-nuts. We like this set-up!
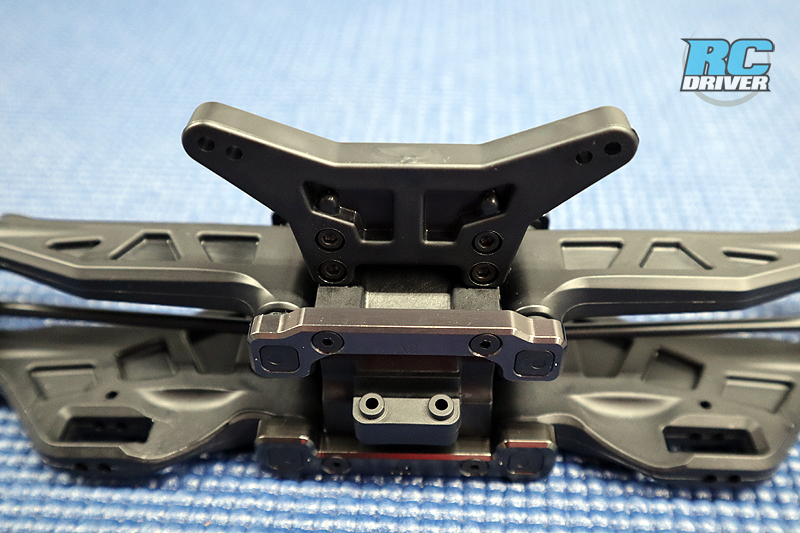
The front shock tower is installed next. Even though its composite plastice this tower has a very solid feel.
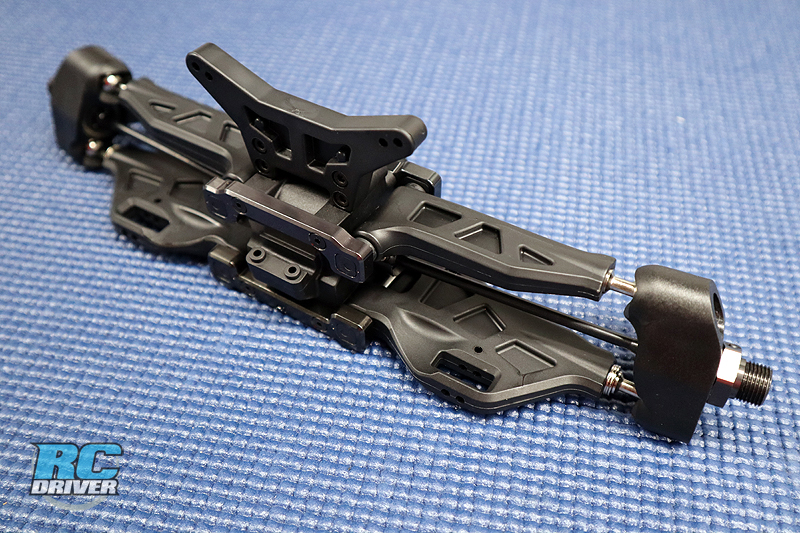
BAG C Finished
Your front end should look like the photo above. If it doesn’t consider taking up stamp collecting. Kidding! The assembly continues to be a breeze. Up next, the bag every RC builder chuckles over; Bag D.
 RC Driver The Best In RC Car & Truck News, Reviews & Video


