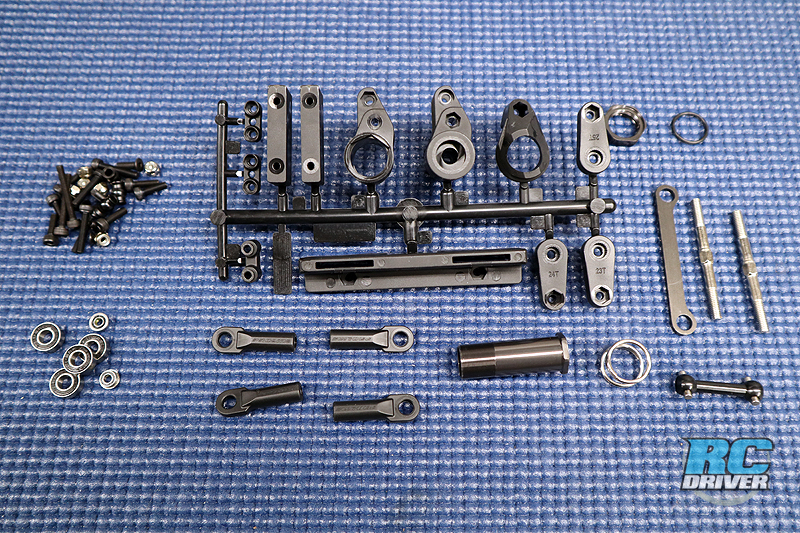
It’s time to start making this build look like something. In this blog we’re assembling the steering on the Pro-Line Pro-Fusion SC 4×4 which will lead to installing the front gearcase with suspension arms on the chassis. The Pro-Fusion SC does come with the revised steering crank arm, something that was found to be a weak spot on early Pro-MT 4×4’s. We of course have a few tips and tricks to share along the way, so let’s get to building.
NEED TO KNOW
Product Pro-Fusion SC 4×4
Part Number: 4006-00
Price: $399.99
Link To Buy: http://bit.ly/2H3WrYw Use Code RCDRIVER10 to save 10% on your entire Pro-Line order at checkout.
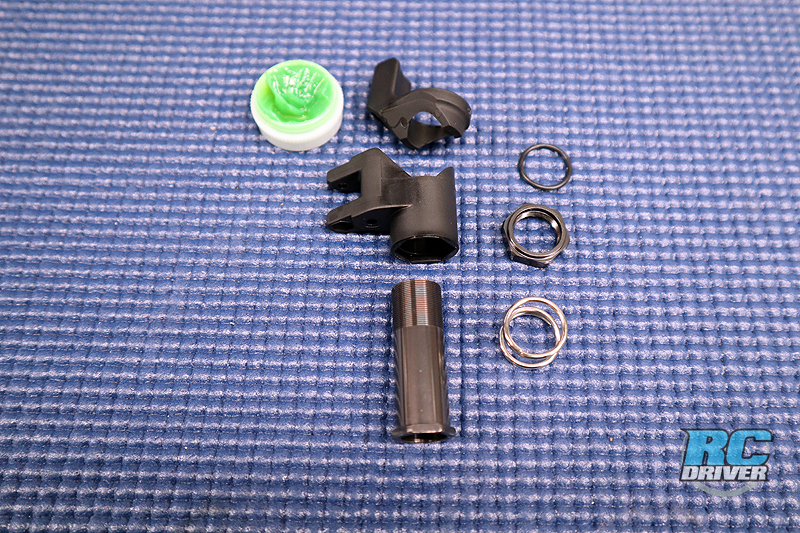
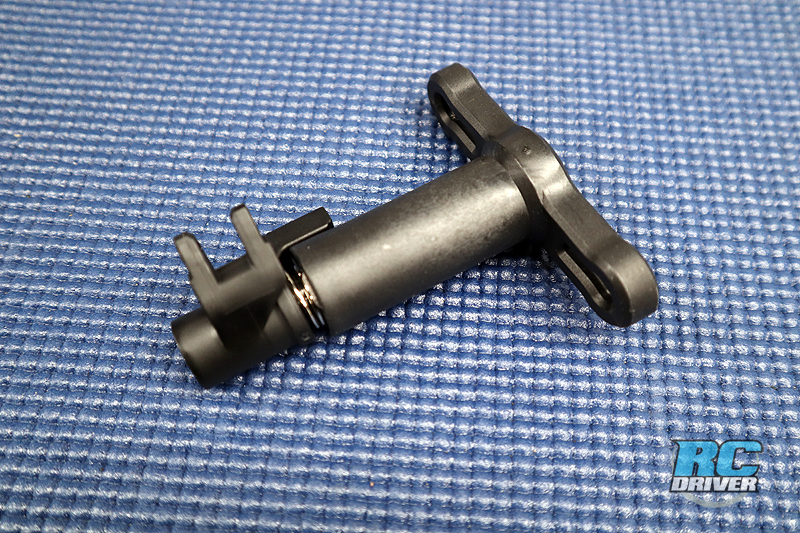
Here is a look at the revised steering crank composite components and how the servo saver will be assembled. We like to put a very light coating of grease inbetween the two composite crank parts so when it does need to move, it can do so without binding.
If you didn’t know, the servo saver nut is 17mm. That means you can use the included 17mm wheel nut wrench to screw the servo saver nut on the extension tube.
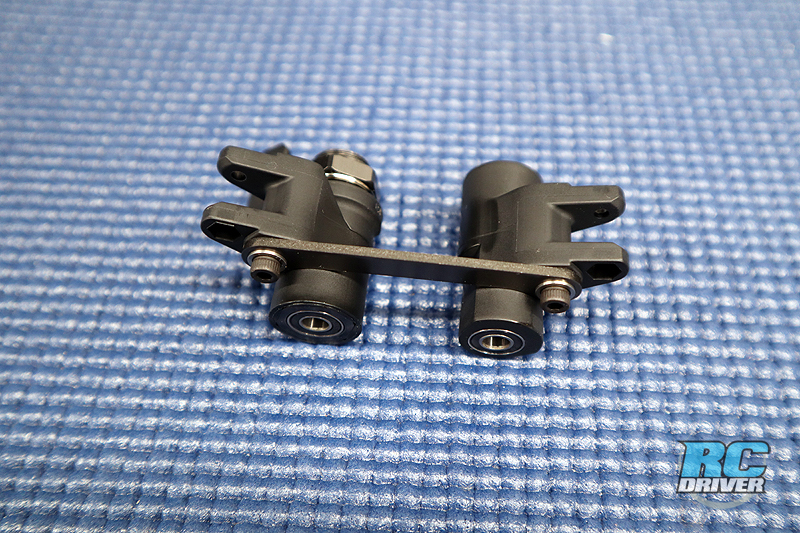
Here is the bellcrank assembly. When installing the drag link bar, make sure you don’t overtighten the screws which will bind the steering operation.
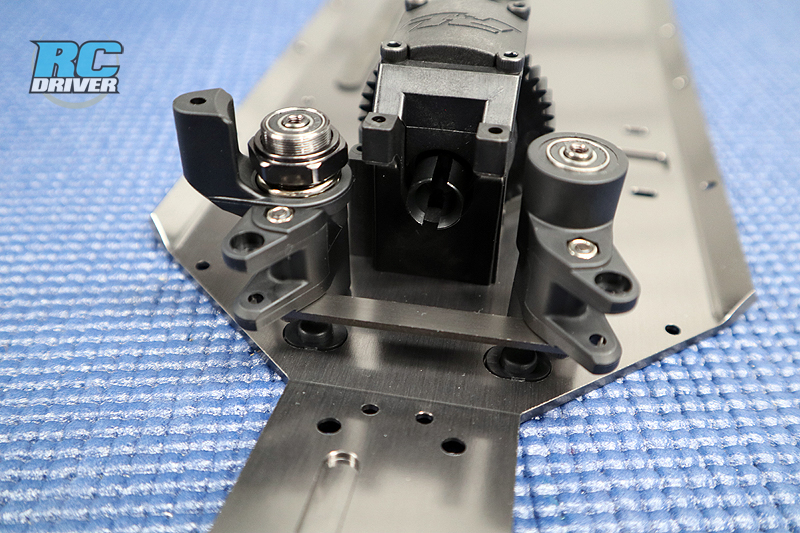
Install the two plastic inserts into the chassis. These are used to access the drag link screws without taking the truck apart if you ever need to perform any maintenance.
Slip the steering cranks onto the posts.
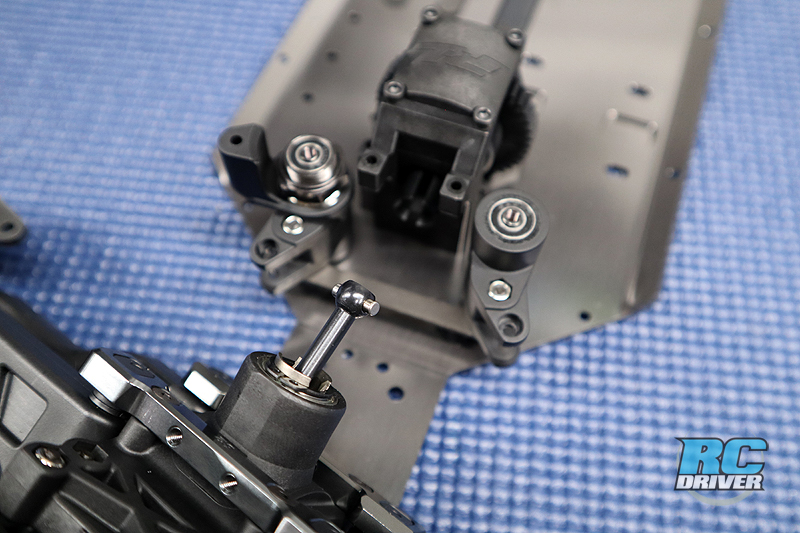
Aww, how cute is that little dogbone. Slip it into the gearcase side and slip it into the center diff outdrive as you install the front clip onto the chassis.
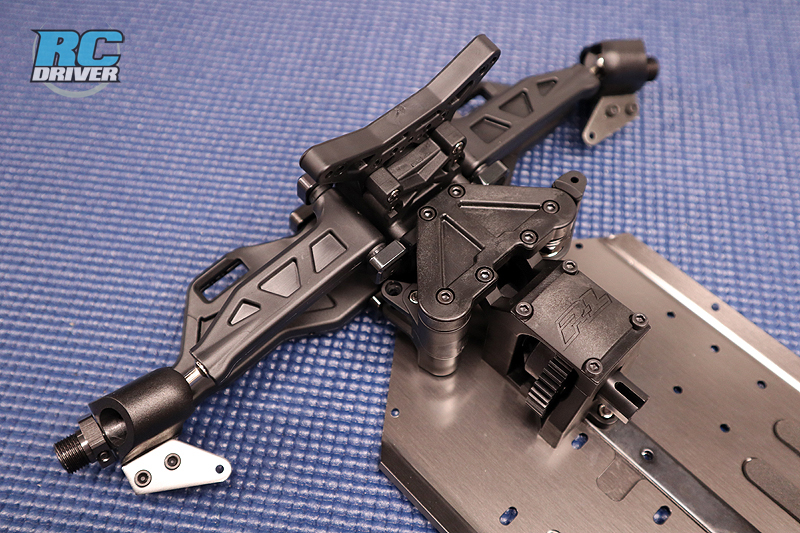
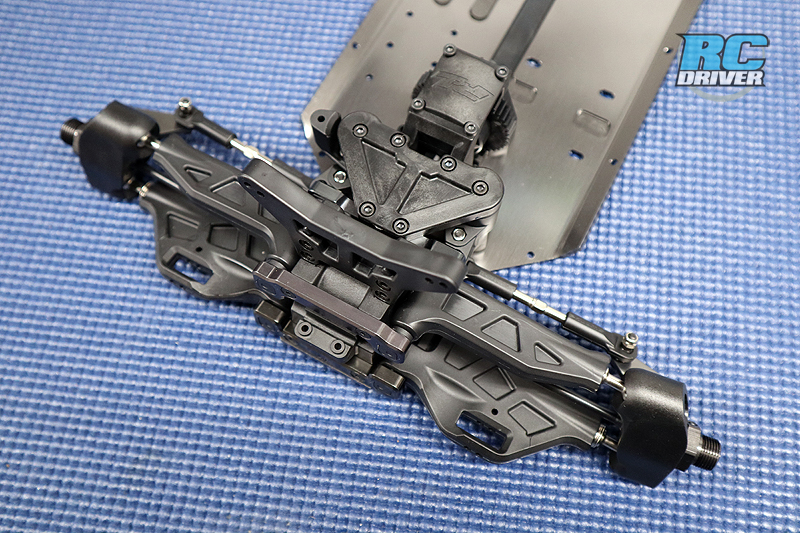
Screw the front clip to the chassis using the M3 screws with a dab of threadlock into the pivot blocks. Then screw the top deck into place. Tip: Get all of the screws “Started” in the top deck before tightening them down.
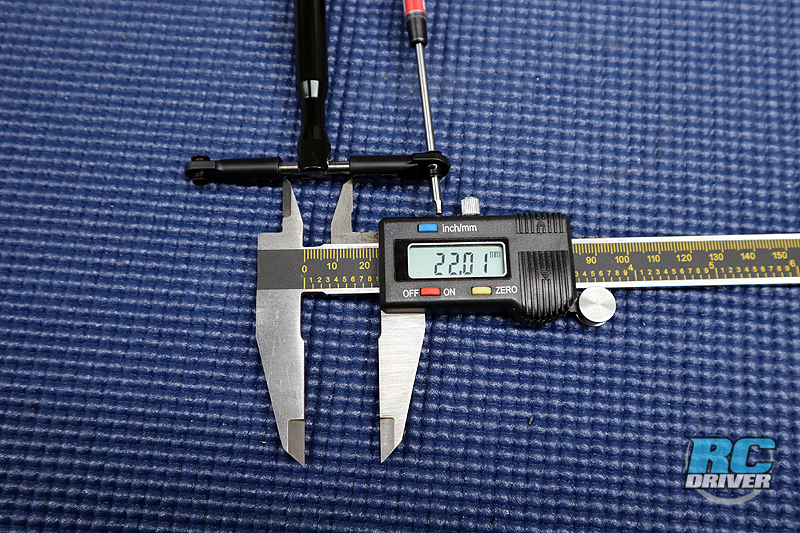
The steering turnbuckles are assembled next. We like to pop the ball studs into the ball ends to help screw them on the tie-rod. Use a turnbuckle wrench to hold the tie-rod, slip and allen driver into the ball stud and screw the ends on. This is better than having sore fingers from twisting on the rod ends. Check your length measurements.
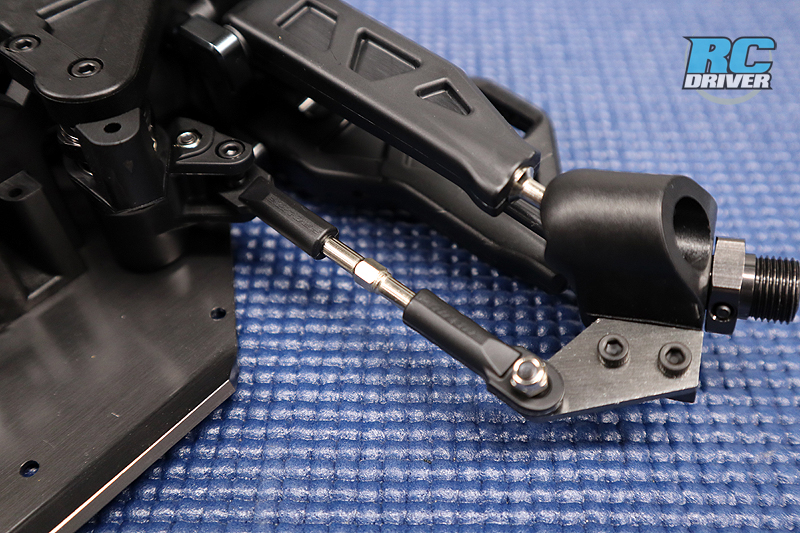
Install the tie-rods to connect the cranks to the knuckles with the supplied hardware.
BAG D Finished!
The front end is assembled and on the chassis. We’re moving on this build! Now that the steering assembly is nearly complete, it’s a good time to check and make sure it works freely. If there is any bind, now is the time to locate the source and fix it. See you in the next blog for BAG E.
 RC Driver The Best In RC Car & Truck News, Reviews & Video


