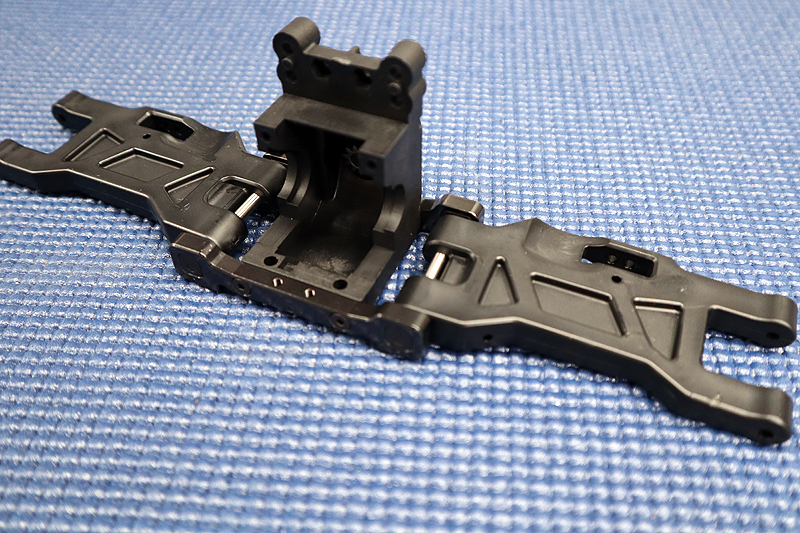
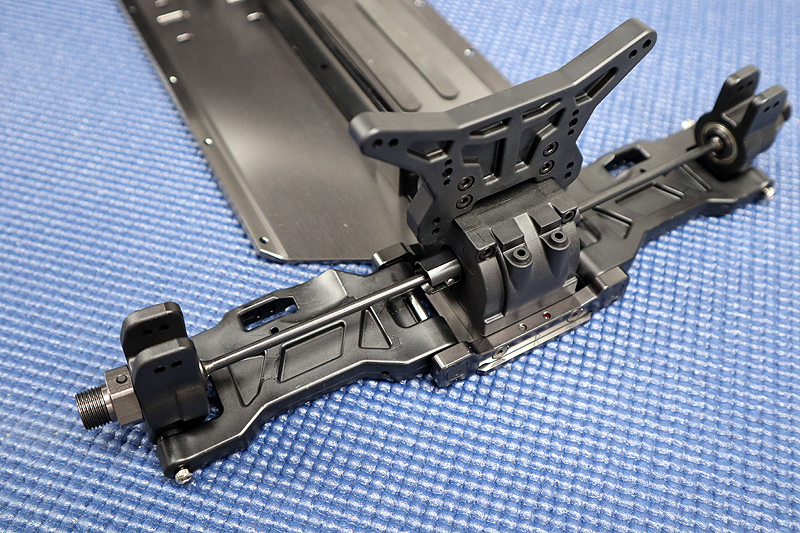
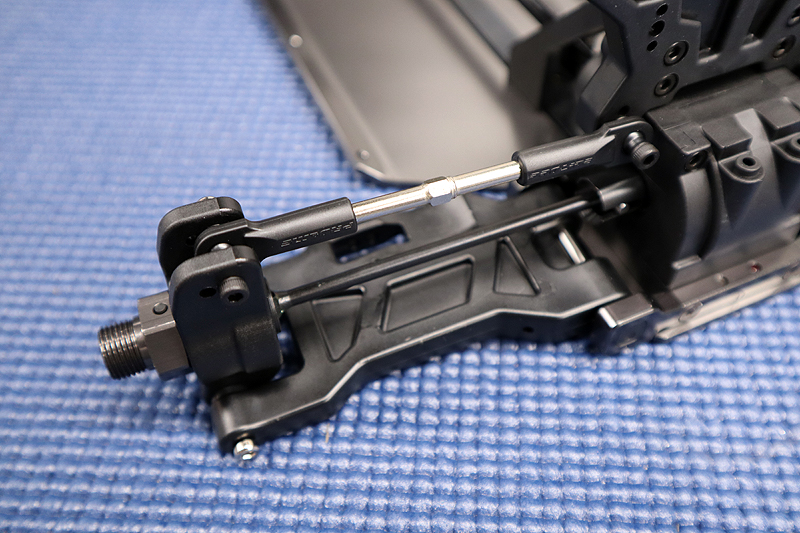
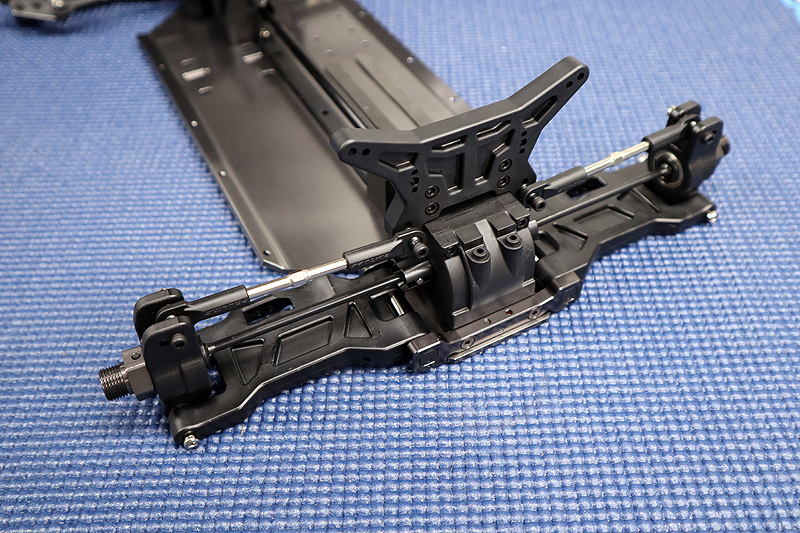
Ready to move on to Bag E of the Pro-Line Pro-Fusion SC 4×4 Bag E Build? The correct answer is yes! Bag E contains the parts to assemble the rear of the vehicle. We’ll get everything bolted up from the gearcase to the arms and even carriers. The thickness of the arms and carriers are impressive. The hinge pins look strong, we like the sealed outter bearings and the included universals are a nice touch. One change here that makes the SC kit different from the Pro-MT 4×4 is the 17mm hex hubs. The SC hexes have a bit wider offset than the MT. Let’s build!
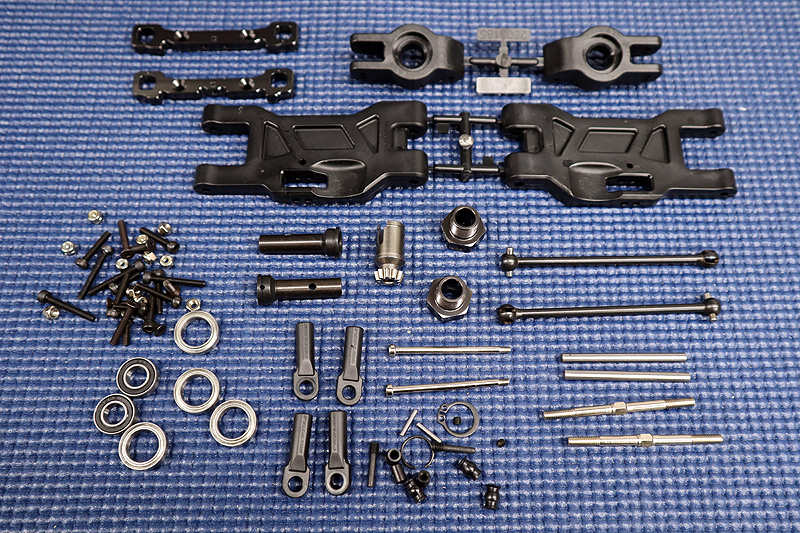
NEED TO KNOW
Product Pro-Fusion SC 4×4
Part Number: 4006-00
Price: $399.99
Link To Buy: http://bit.ly/2H3WrYw Use Code RCDRIVER10 to save 10% on your entire Pro-Line order at checkout.
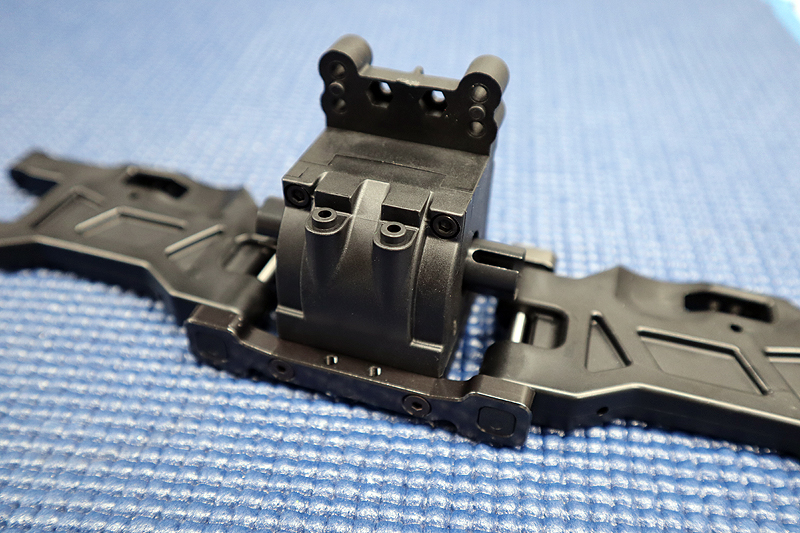
The aluminum hinge pin mounts are secured to the gearcase. During this step, make certain the arms are pointed in the right direction. You don’t want to have to flip them later. Also make sure the dots on the inserts line up with the dots on the hinge pin mounts so you have the correct toe and anti-squat.
Slip the rear differential into the case making sure the ring gear is on the correct side. You did grease the ring gear right? Ok the, cap off the diff case with the cover.
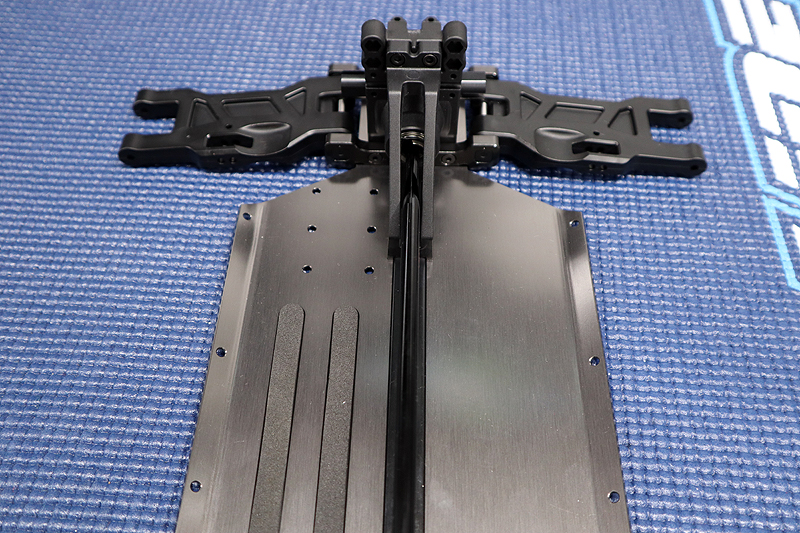
Slip the center driveshaft into the gearcase side, then feed it through the rear brace to the center diff and bolt the rear clip down. Remember to use threadlock on the screws that go into metal.
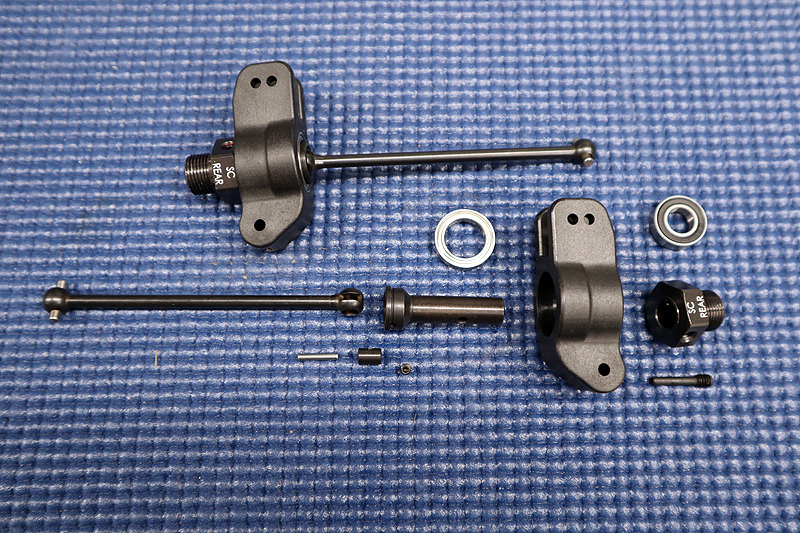
The universals get assembled and placed in the hubs. TIP: grease the universal of the driveshaft well with the included grease. However don’t get grease inside the barrel threads. Use thread lock on the barrel set screw and firmly tighten it down on the pin. A little thread lock on the hex hub screw pin is a good idea too.
Slip the hubs into the arms followed by the hub spacers and then push the hinge pin through them and secure it with the lock nut. The spacers are actually used to adjust wheelbase. Move them if you need to tune your truck for racing. The shock tower gets bolted in place in this step too.
Assemble the rear tie-rods using the same technique we showed you when building the steering tie-rods. Then of course secure them in place.
BAG E Finished!
It’s really starting to come together now! Of course you should once again make sure everything moves freely. On cause for binding could be the hinge pin inserts were not properly cut from the tree. Any plastic left on them from the tree may not allow them to sit properly in the pivot blocks causing the suspension to bind. We’re done for today. See you for Bag F!
*Notice: Some of our articles, videos and descriptions may contain affiliate links or coupon codes, which means that if you click on or use one of the product links/ codes, we may receive a small commission. This helps support the website and social media channels and allows us to continue to produce content. Thank you for the support!
 RC Driver The Best In RC Car & Truck News, Reviews & Video


