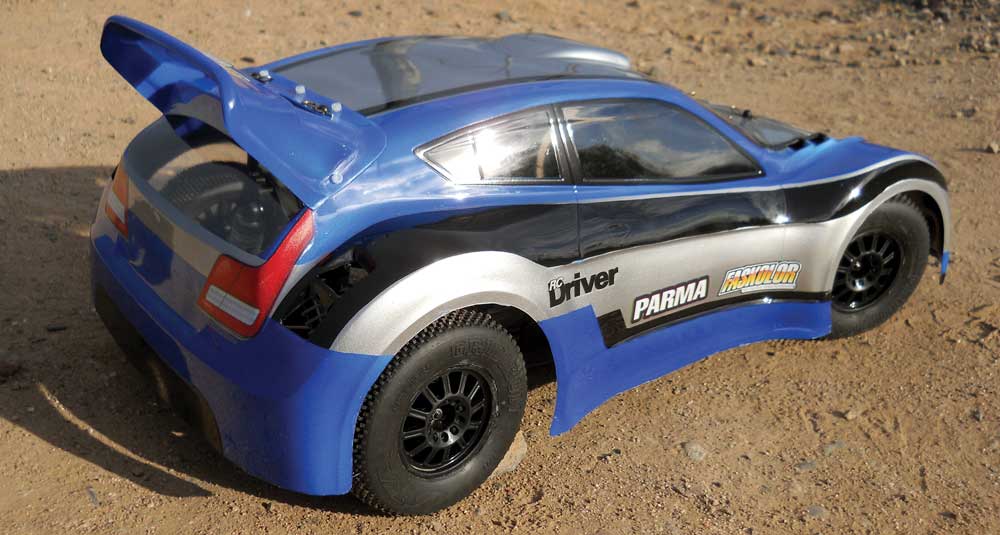
Rally cars have always appealed to me, but in the past many RC rally cars have been little more than touring sedans with off-road style tires. Recently, companies such as Traxxas, Losi and Kyosho have released rally cars based off of short course chassis. The idea of a rally car based on an off-road chassis sounds really appealing, but it occurred to me that since I already own so many short course trucks, I could just convert one to a rally car. Fortunately for me, Parma has come up with the Rally Extreme body. Meant to be a drop on replacement for the Traxxas rally car, I didn’t see why I couldn’t mount it up on one of my short course trucks. The Hyper 10 SC seemed like the perfect candidate. Something about how it jumps and slides around made me think it already handles like a rally car. So I had me a project, and here’s how it went down.
ITEMS USED
Parma
• Rally Extreme body #1239
• 4-½ in. body post #18053
• FasMask #40281
• FasBlue #40004
• FasWhite# 40000
• Faspearl Silver #40050
• FasKrome #40300
• FasBlack #40001
1

I start by trimming and test-fitting the body. To mount this body I needed to extend the rear body mount post. I wasn’t sure how long they needed to be, so I started with Parma’s four inch posts, and then cut them down to size. I cut the larger bottom off, so it would fit through the hole and when I had them adjusted to the proper height, I cut off the extra, then marked where I would drill a hole through the side. The rear bumper had to go, leaving just the rear skid plate. In the front I removed the bumper, leaving the skid plate and upper brace. It seemed to be missing something so I replaced the bumper with a foam one from a touring car which I had to carve out to sandwich between the skid plate and upper brace.
2
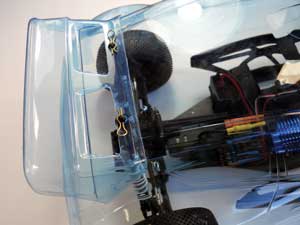
I also trimmed and mounted the wing before painting. I trimmed mine in the standard high downforce configuration. You can also trim out the center section for more of a scale look, but take note that the position of the mounting screws changes if you do so. After everything was trimmed and test-fitted, I scrubbed the body and wing out with dish soap and warm water to remove any residual oils and shavings left over from trimming.
3
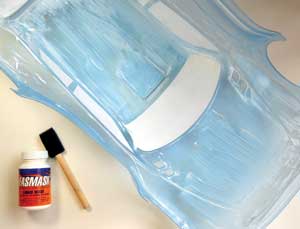
Whenever I’m doing a graphic with full body coverage, I think it is easier to use liquid mask. It may take longer waiting for it to dry than taping it off, but in the long run I feel it is easier. I applied the Fasmask using a foam brush. I gave it two to three good thick coats, allowing a couple hours to dry between coats, and overnight for the final coat. I also sprayed the wing with blue while I was at it. Since I wanted it to be blue on both sides, after I backed it with the white, I sprayed a couple more coats of blue.
4
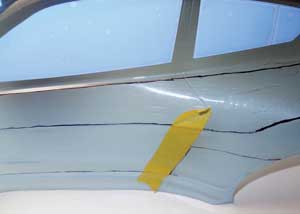
I wanted my paint job to reflect a real-life rally theme without copying any one brand, so after studying some pictures of various rally cars I found the common thread to be somewhat basic, bold geometric graphics. With an idea of what I wanted to do, I started laying out my graphics on the outside with a permanent marker. I used a piece of masking tape to guide my straight lines. Other lines are based off of body lines.
5
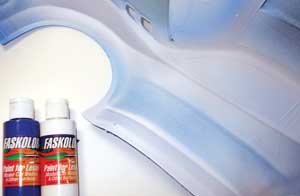
I started cutting my graphics with the sections that will be filled with blue. I carefully cut along my marked line with my hobby knife. It doesn’t take much pressure to cut through the Fasmask, so be delicate so you don’t score the body where it could crack later. I filled the area with three coats of FasBlue. The heavier you lay it the darker the shade will be and I went fairly heavy. Color coats tend to let light through, so to make the blue opaque and brighten it up, I backed it with a couple coats of FasWhite.
6
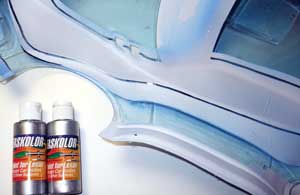
Next I cut out the trim graphics and front grill that will be in black. Then I removed the mask from the background area where I will spray the FasPearl Silver, leaving behind the mask where the black will be sprayed. I lay three coats of the FasPearl Silver, allowing a few minutes to dry between coats. The FasPearl colors are semi-transparent so to make them opaque and give them more sparkle, I backed them with a couple coats of FasKrome.
7
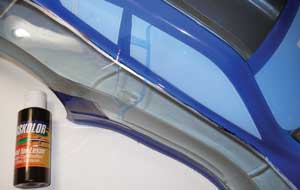
After giving the previous coats fifteen minutes or so to dry, I removed the remaining FasMask in the areas to be filled with black. Before I started spraying, I also cut the overspray film on the outside, around the window trim, front grill, air ducts and in the rear. I started filling in the FasBlack on the inside, concentrating on the areas where the body was exposed, then covered the entire inside to make it good and opaque and give it a clean, finished look. I then sprayed the outside in the areas where I removed the overspray film.
8
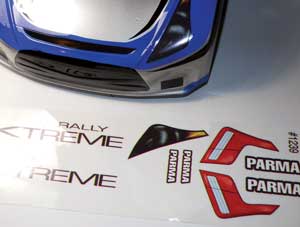
After allowing a couple of hours for the paint to dry, I removed the window mask and overspray film. To finish up I applied the included headlight and taillight decals. They are precut, so you just need to peel and apply. Then I attached the wing using the included nylon screws. You will need a 3/32 in. hex driver and a 1/4 in. socket driver. No need to over tighten, just snug them up. Drop the body on the chassis and it’s done.
WRAP UP
If you’re replacing your stock body, or doing a conversion like me, Parma’s Rally Extreme body is a great looking choice. From the flared fenders to the roof scoop and the wing, it really nails the look of a full-scale rally car. I am particularly pleased with my conversion. The body fits the chassis like a glove, and if you didn’t know any better you would assume it came from the factory this way.
LINKS
Parma parmapse.com, 440-237-8650
 RC Driver The Best In RC Car & Truck News, Reviews & Video


