Words: David Harrington
Photos: David Harrington
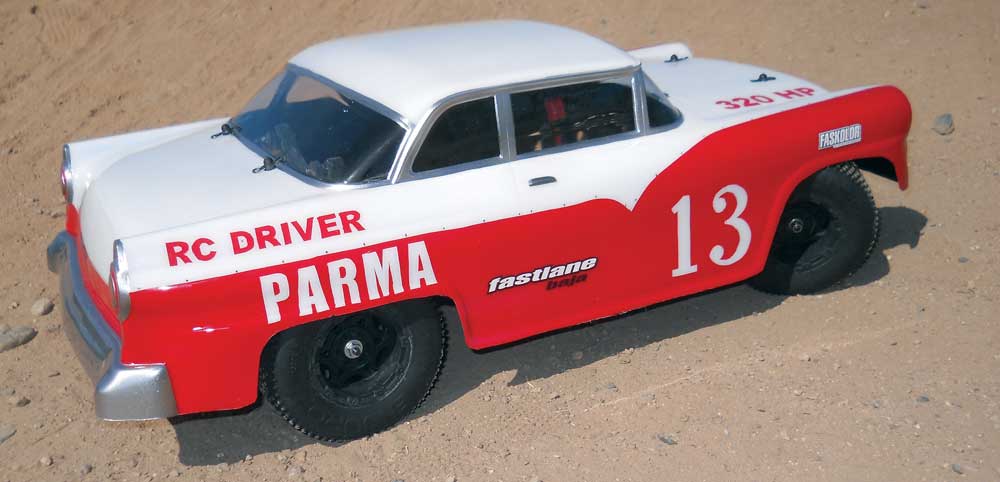
When Parma released the Fifty-Five Baja, I wasn’t sure what to think of a classic car body for short a course chassis. I did a Google search for a “55 baja” and found pictures of old Bel Airs running the Baja 1000 many years ago. So it was feasible, but I wasn’t feeling the vibe. Instead, I did what came naturally to me. I see a classic car, and I think “hot rod flames,” but I felt I could have picked a more appropriate theme for a classic car on an off-road chassis. Then I saw coverage of some dirt oval racing in the pages of RC Driver, and when I saw these bodies on the oval track, it all started to make sense to me. Then I realized, “Old school stock car! It’s so obvious, why didn’t I think of that!” Now Parma has released the follow up, the Fastlane Baja, and I knew exactly what I wanted to do to this one. I looked at some pictures of classic stock cars, and then twisted the theme to an RC Driver-sponsored stocker. Let’s see how it came out.
1
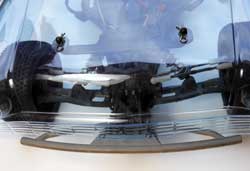
I mounted this body up on my old faithful Blitz. I mounted the body so the bottom of it is level with the bottom of the chassis. To do this, I needed to raise the front body mount up to the last hole. This still didn’t allow the front end to clear the bumper, but I didn’t want it to sit too high, so I notched about a quarter-inch out of the front grill on the body to give me the clearance I needed.
2
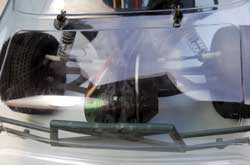
In the rear of the body, I had to raise up the rear body mount to match the front. The posts were going to pop out through the window and I needed a more level surface, so I heated the body mount with a blow dryer, and bent it back just far enough to clear the rear window. Once I had the body completely mounted and test-fitted, I scrubbed it out with dish soap and warm water to remove any dust and oil residuals.
3
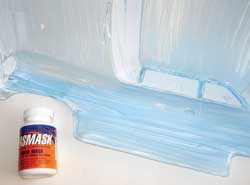
I was up in the air as to how I would mask this one off. Typically, cutting letters would be much easier on a flat sheet of vinyl, but because of the order that I plan to lay the colors, liquid mask is better for masking large areas. A hybrid method would have been ideal, but I decided to just bite the bullet and cut the letters inside the body. So after applying the included precut window and headlight mask, I laid the Fasmask in three heavy coats with a foam brush, allowing a couple of hours to dry between each coat. A little tip concerning the window mask, the front and rear are so long and skinny they can be frustrating to get lined up. I found it easier to cut them in half, apply each half individually, and then I sealed the line in the middle with a scrap piece of mask.
4
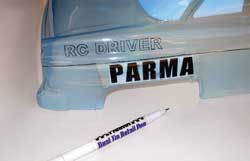
The original Fairlane stock car that I was referencing had a two-tone theme with the split on the chrome trim line. This body does not have the same trim line as a Fairlane, so I wasn’t sure what to do at first, but then I decided to make the color separation where the trim line would be. I had to sketch in the line, kind of eyeballing the placement from side to side. The sponsor logos were hand-painted, so to match that effect, I wanted to hand-cut my logos. I printed the logos out on my computer, and then I taped them on the inside of the body while I traced them on the outside.
5
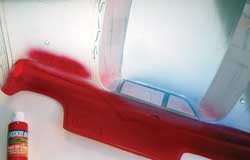
I got most of the major cutting out of the way with this step. I cut out all of the logos, but just removed the “RC Driver,” and “320 HP” ones above the trim line. I cut the trim line, the rear bumper and the sides of the front grill. I then removed the mask from the background area, leaving the logos, bumper, and grill masked. I filled the background area and the logos above the trim line with three coats of FasRed. For solid coats, I laid two lighter coats that dried by the time I came back around, and then a third heavier coat.
6
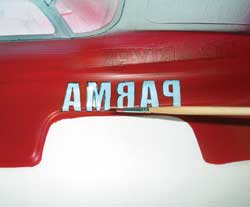
When I was peeling the mask away for the next step, I had a bit of a mishap on the M. I figured this was a good chance to show one of my mistakes and how I fixed it. Even the pros make mistakes; they just know how to fix them. I just dabbed a little more FasRed in with a #1 round brush. After the paint dried, I sharpened up the edges by scraping the excess paint away with my hobby knife.
7
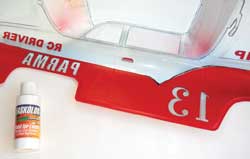
Alright, crisis averted and on to the next step. The FasRed will need to backed up with an opaque color to brighten it up. Since I will be using white as my next color, I started cutting the top of the front grill, the trim around the windows and the door handles so they will stay masked. Then I removed all the mask from the roof, hood, and trunk. I filled these areas in with FasWhite, while also backing up the FasRed. I laid the white fairly heavy to block the darker colors I will be laying.
8
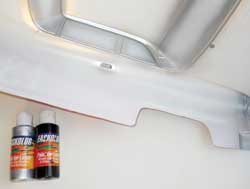
With all the cutting out of the way, this is where it gets easy. I removed the mask from the rear bumper, window trim and front grill, and filled those areas with FasKrome. Then I removed the mask from the front headlights, and just shaded the FasKrome into the top corner. Then I gave the rest of the area a quick shot of white. Then to make the FasKrome really opaque, I backed it with FasBlack. I also filled the rest of the body with the black for a nice uniform look.
9
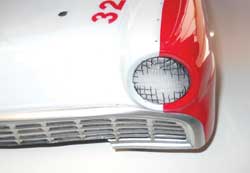
Once the paint has time to dry it is time for the finishing details. I removed the window mask and overspray film. Then I detailed in the headlights with the ultra-fine end of my Parma detail pen by outlining the headlights, and then I accented the lines in the headlights by filling in just the corners and a little more on top. I filled in the voids on the grill with the fine line end of the marker. I got the bright idea to make dots just above the trim line to insinuate that the trim had been removed to save weight. There are decals for rear taillights included. They are cut into rings, but come off in one piece. I applied it as a whole, and then removed the center ring.
WRAP UP
When I finished up, I felt I really nailed the look of an old-school stock car and I should have, seeing that I basically copied one. I just changed the color scheme and replaced the sponsors with RC-branded sponsors, but I did hand-cut logos where the original had hand-painted logos, and used decals where the original had decals. I also had to bump up the horsepower rating though, 260 just wasn’t enough for me. I can’t wait to see a group of these on the track.
LINKS
Parma parmapse.com, 440-237-8650
 RC Driver The Best In RC Car & Truck News, Reviews & Video


