By: Scott Donaldson
From RC Driver Issue: 135
Getting your nitro car or truck up and running with a new starter box properly can save you time and frustration down the road. There’s nothing like having a flame-out and seeing your pit crew struggling to get your car restarted on an ill-prepared starter box. In a few simple steps we’re going to show you how to get things lined up so you can have successful starts every time.
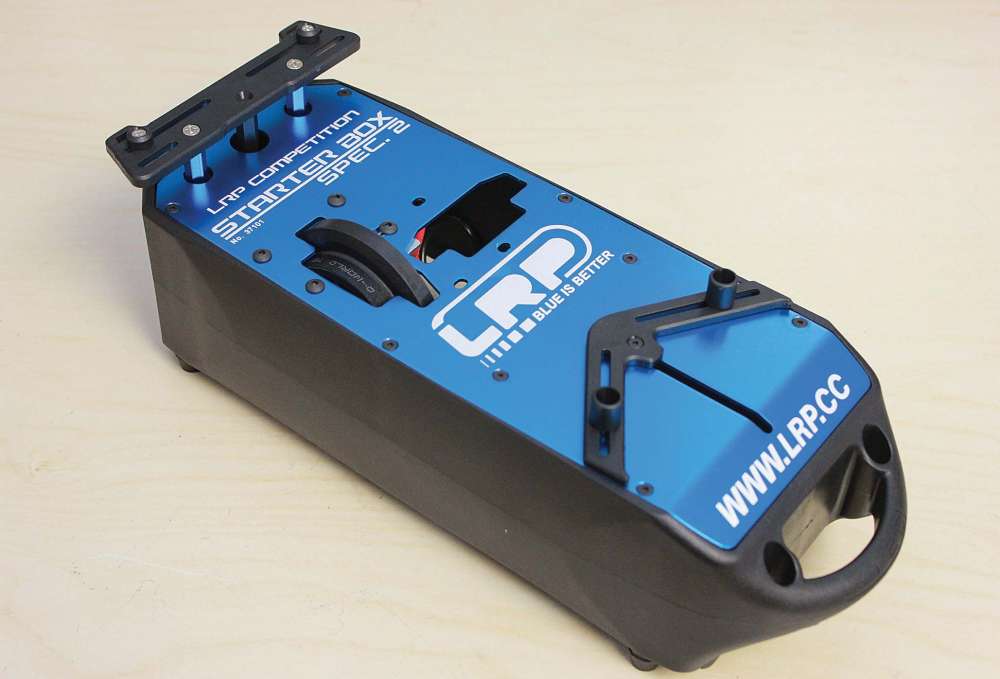
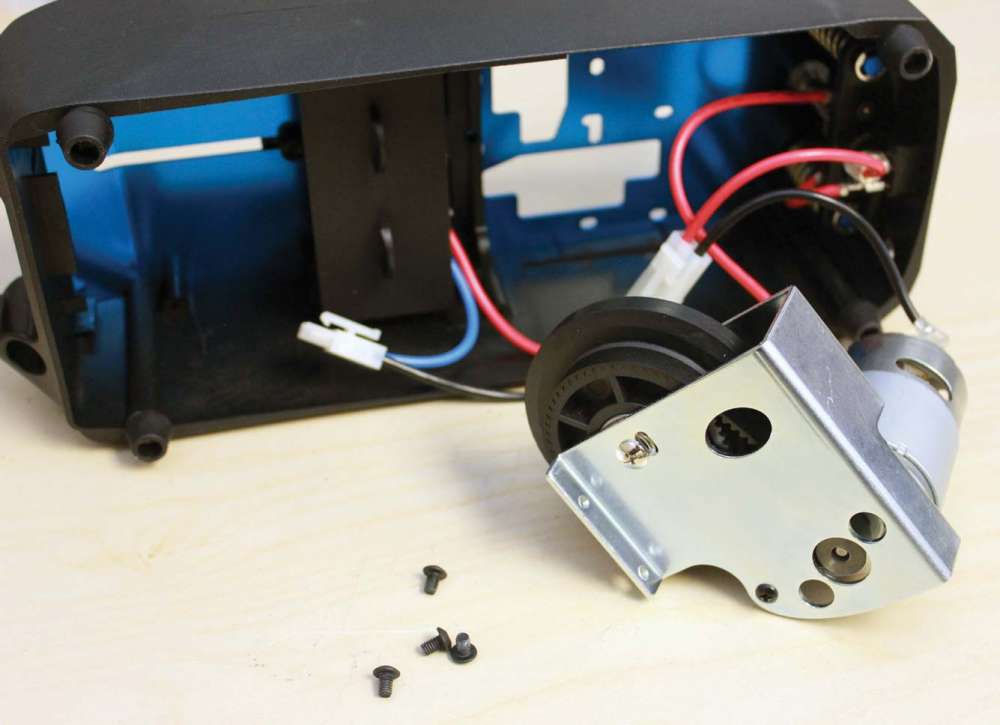
1. Before the your nitro car even goes near the starter box, you first should make sure the starter motor and wheel are in the correct orientation. Many starter boxes are universal and may require you to disassemble the starting assembly and move the wheel so it lines up with the way the engine is positioned in the chassis. We’ll be using an LRP start box with an HPI R10 for this how to. The LRP box comes set up for a 1/8 buggy and we’ll reconfigure it to fit the engine placement in the R10.
2. Perhaps the most important factor in setting up a starter box is to ensure that the starter wheel makes proper contact with the engine’s flywheel. Peeking around an installed engine and having an obstructed view will make this a lot harder than it needs to be. For this reason we highly recommend removing your engine from the chassis before you get started. This will give you the clearest look at the flywheel opening so you can space things out properly.
back. You’ll want to space the front
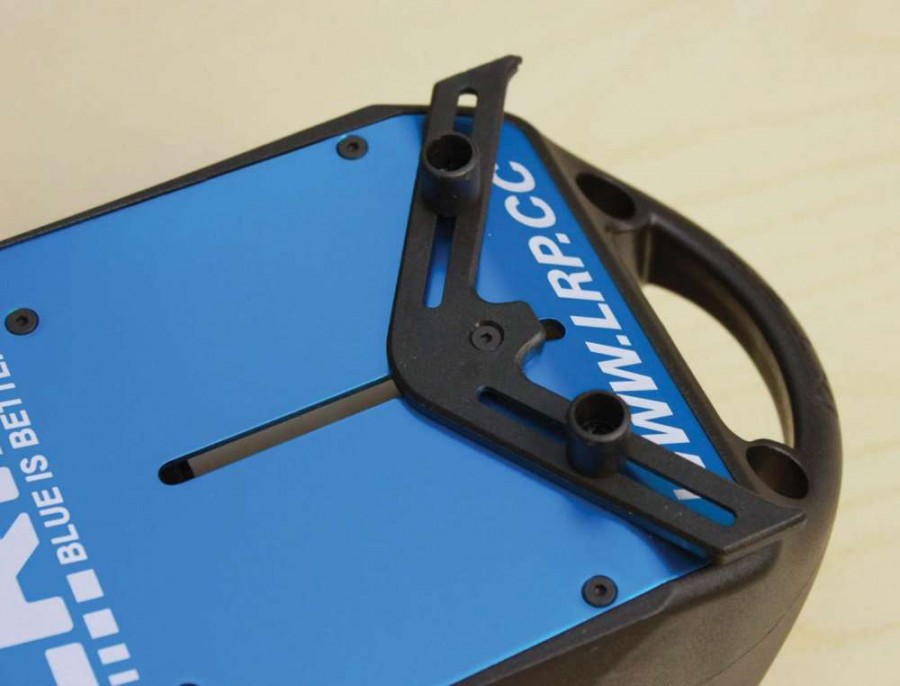
pegs to act as stops to essentially lock the front of the chassis in- place and limit how far forward the chassis can go. You’ll want the pegs to catch the chassis in front of where it flares out behind the droop screw down stops and in front of the bell cranks. Once you have the starter wheel lined up under the flywheel opening, tighten down those peg screws.
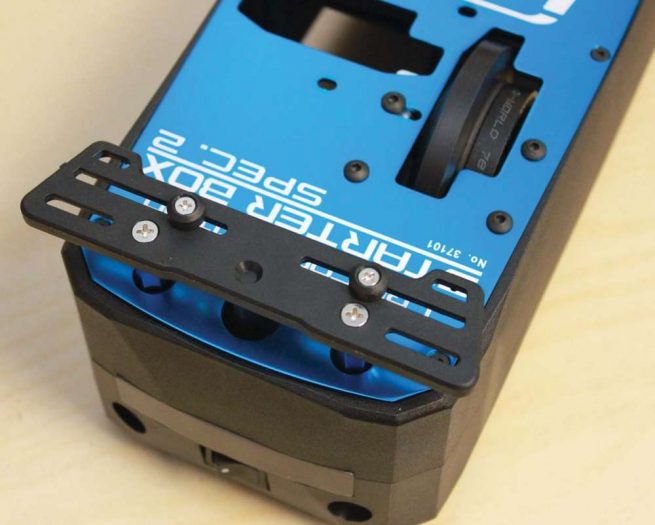
4. With the front of the chassis locked down you need to get the rear situated. Much like the front pegs, you’ll want to set the rear
pegs up so that they catch the rear of the chas- sis between the droop screw down-stops on the chassis and where the chassis stops flaring out near where the rear diff outdrives are. Where the front pegs limit how far forward the chassis will go on your starter box, the rear pegs help keep the chassis lined up side-to- side. One thing I have done in the past, and this generally helps when you’re rushing, is I have installed the peg on the right-rear side of the starter box but not used the left rear peg. This allows me to slide the chassis onto the starter box and the right peg catches and aligns everything perfectly.
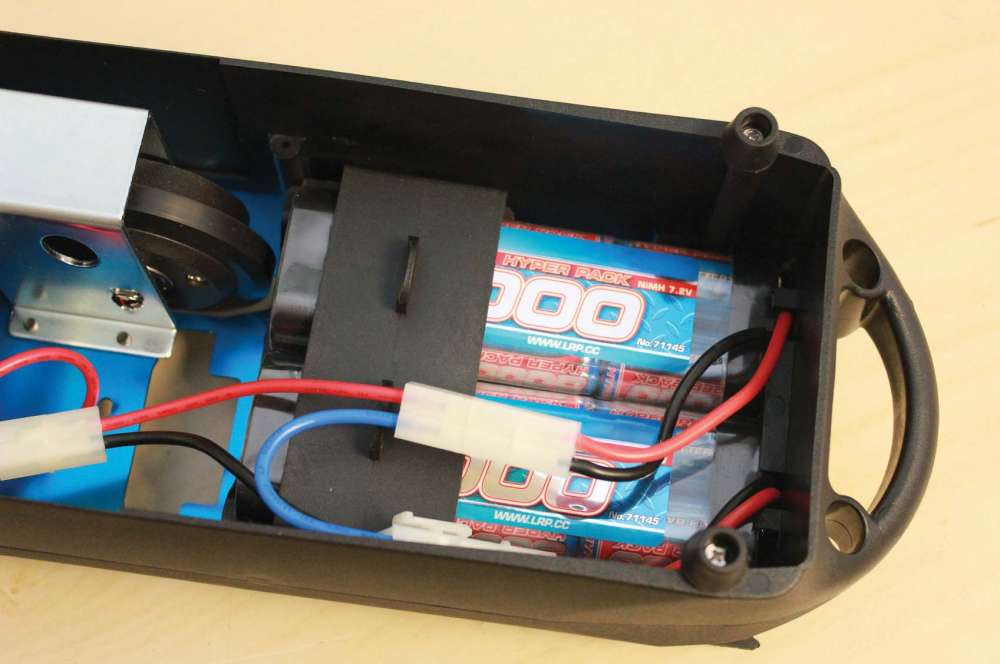
5. The final step in prepping your starter box is deciding on a power source, whether you’re going to use NiMH, LiPo or gel cell batteries. Each one of these power options has its pros and cons. NiMH packs are generally inexpensive but you have your typical issues with NiMH packs such as a high self-discharge rate and memory issues. LiPo packs are more expensive but they hold their charges better between uses, they are the lightest option for power and don’t have the memory issues of NiMH packs. One key issue when using LiPo packs is that you can potentially over-discharge the packs if you don’t use some sort of voltage cutoff or monitor. Finally gel cells or lead acid batteries are the heaviest option out there but they hold their voltage fairly well and are priced between NiMH and LiPo batteries. You’ll need to use a battery charger compatible with the chemical type you select.
WRAP-UP
Spending a few extra minutes setting up your starter box will save you time, aggravation and frustration down the road. You’ll need to do some trial and error to verify that everything lines up properly but as the old saying goes an ounce of pre- vention is worth a pound of cure. A properly configured starter box will also save wear and tear on your start- er wheel, flywheel and potentially the underside of your chassis.
 RC Driver The Best In RC Car & Truck News, Reviews & Video





Best box I have found so far.