The Build – Part 7
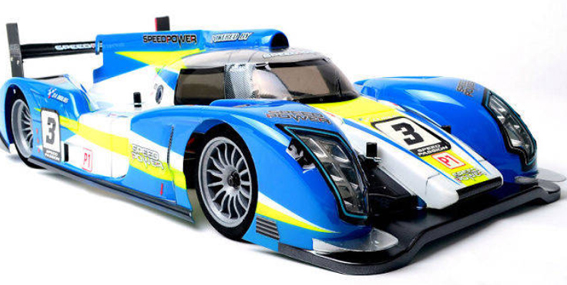
In this step we attach the tire/wheels to the car as well as the body mounts. We also top the LM-1 off with one of the most amazing bodies I’ve ever seen. Thanks to Brad Palmer over at F1 RC Lab for the extraordinary paint work.
Build Notes:
 Nothing odd or crazy for this step.
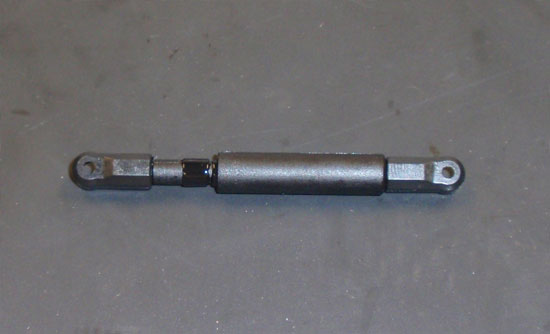
The first step in Part 7 should already be done but if it isn’t, you’ll want to build up the other roll damper.
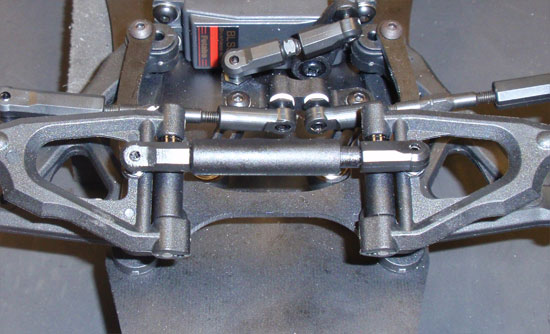
Attach the assembled roll damper to the ball studs mounted on top of the front suspension arms.
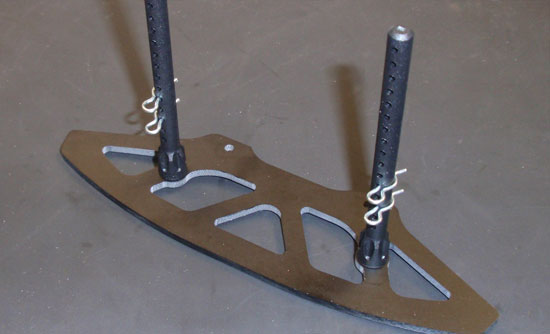
Attach two of the body mounts to the front, fiberglass bumper. Using the diagram in the manual, push a pair of body clips into the holes shown. These are preset to work with the LM-1 body.
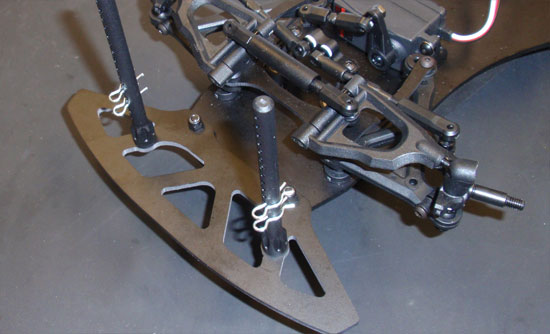
Attach the fiberglass front bumper assembly to the chassis.
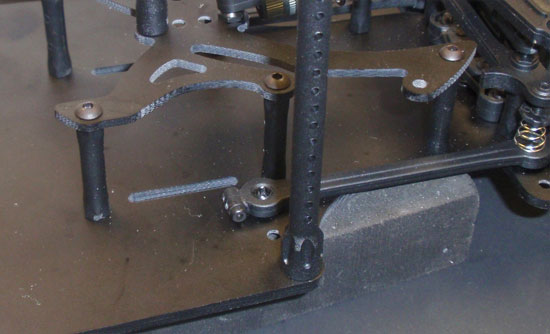
Attach the remaining 2 body posts to the rear of the chassis as shown. Again, using the diagram in the manual, push the body support clips into the holes shown.
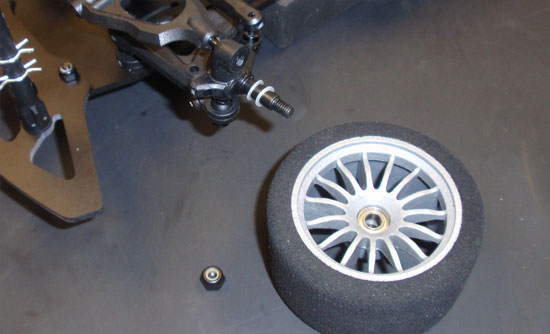
Press a pair of 10x5mm bearings into each front wheel. Slide 2 of the 0.5mm PET shims onto the axle, followed by the tire assembly. Secure with the 4mm locknut. Do not overtighten; you want the tire to spin freely once secured.
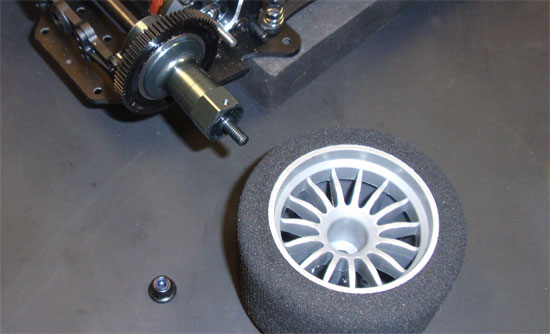
Attach the rear tire onto the axle and secure with the 4mm flange nut.
 Part 8 – Installing the electronics and body.
 RC Driver The Best In RC Car & Truck News, Reviews & Video


