The Build – Part 5
This step is a short one and involves assembling the rear suspension; basically the rear damper, side springs and center shock mount.
Build Notes:
 The side springs are a little bit delicate, so take care when attaching them to the side spring retainers. You don’t want to ‘skew’ them or get them on there crooked.
 Start with the included roll damper lube. If you are running on carpet, you may want a little bit thicker lube.
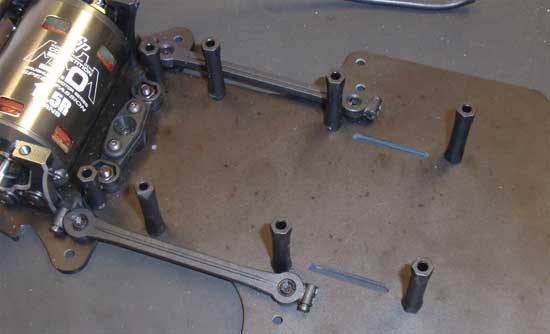
Start off the step by attaching the 8 standoff posts. Make sure you put the 2 short ones closest to the motor with the remaining 6 long ones towards the front.
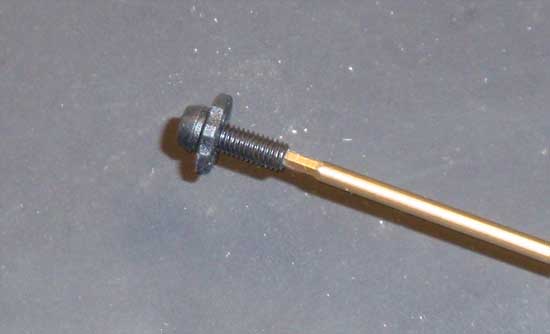
I’ve changed the build procedure here on the next few steps from the manual. While you can build it as the manual states, it’s extremely tedious so I’ve come up with a little easier method. First, screw the setscrew into the side spring retainers.
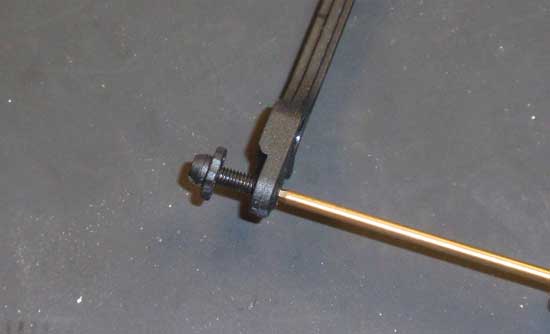
Feed your wrench down though the hole in the pod brace and key it to the set screw. Screw the setscrew counterclockwise and UP INTO the pod brace…basically you’ll be ‘loosening’ the screw into position. Trust me, it’s WAY easier this way.
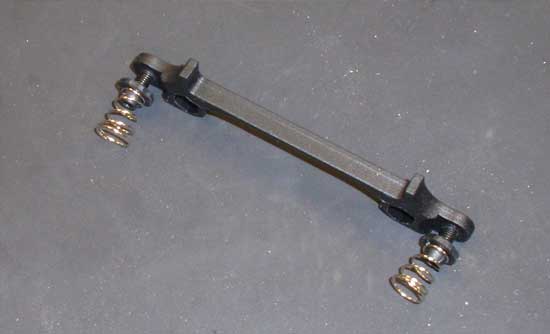
Once you’re got both side spring mounts into position, attach the side springs. Don’t mind the crooked springs…they were fixed prior to final assembly.
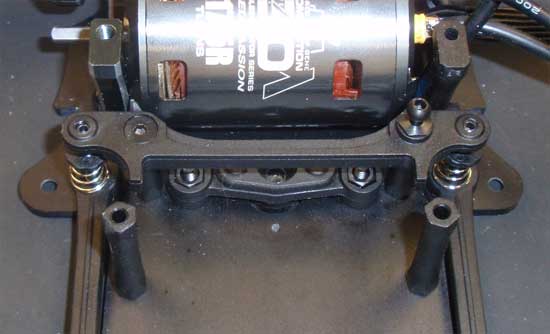
Attach the pod brace to the rearmost, short posts. The ballend actually takes the place of a lefthand screw.
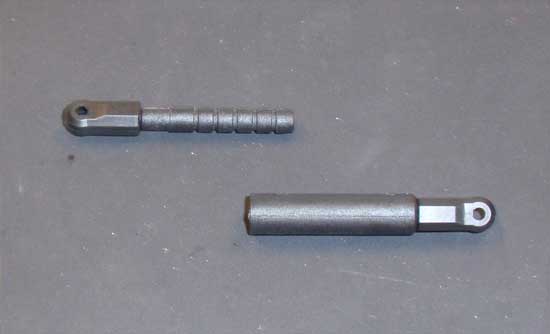
Build two damper roll tubes as shown.
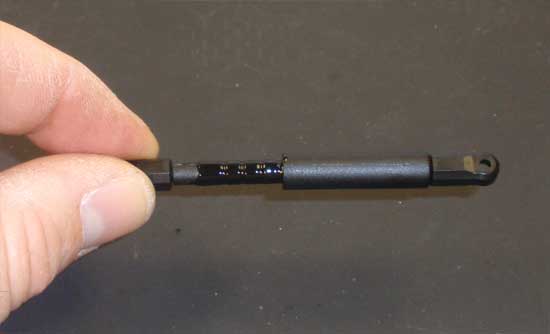
Spread a thin layer of lube over in male half of the assembly and slide together. Start with the lube that comes in the kit.
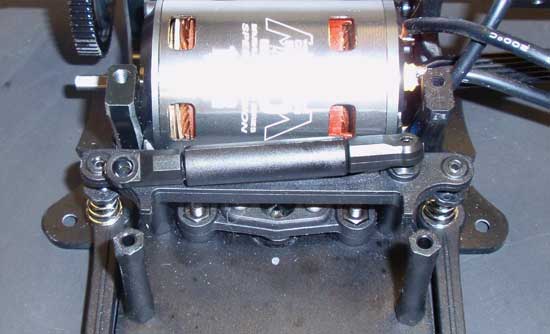
Attach one end of the damper tube to the ball end on the pod brace.
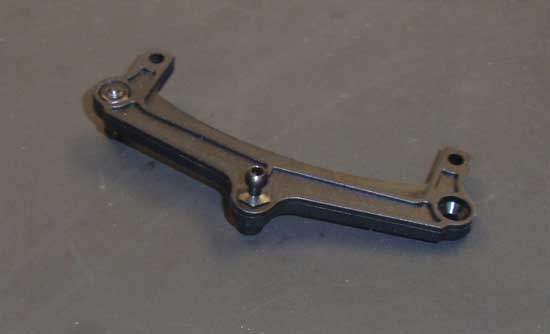
Build the center shock mount as shown.
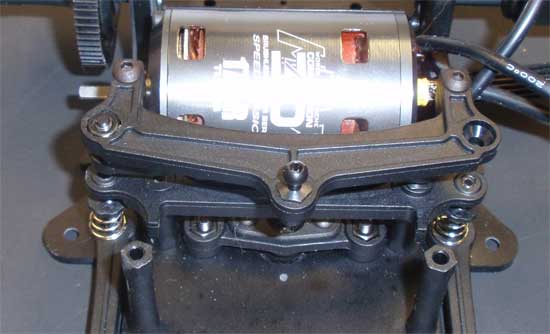
Attach the other end of the damper tube to the lower ball end on the center shock mount, then attach the center shock mount to the chassis as shown.
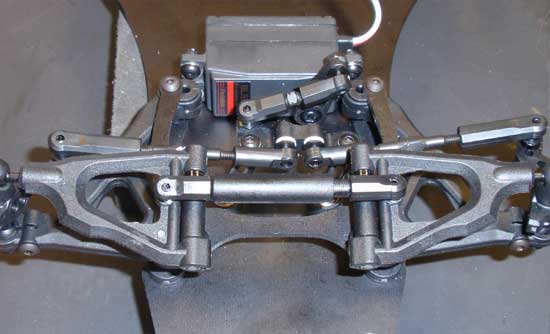
Pop the second roll damper tube on the front ballends as shown.
 Part 6 – Assembling the center shock.
 RC Driver The Best In RC Car & Truck News, Reviews & Video


