Detailing your ride like a pro!
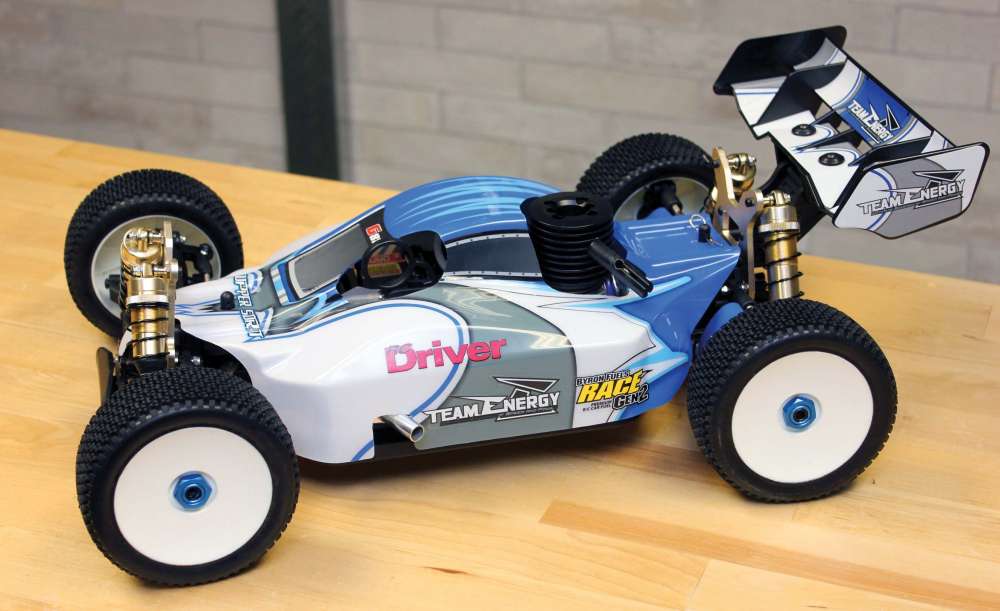
The terms sticker and decal are used interchangeably these days. Here we are talking specifically about graphic designs and/or words that have an adhesive on one side with a backing paper that is peeled off before application. Now you may be thinking that putting on stickers is incredibly straightforward, but there is an obvious difference between someone who knows the proper steps and tricks and someone who does not. Just look at a completed body and you can quickly see the difference between a professional sticker job and a hack one. Here are some must see Sticker Tips & Tricks.
Keep things clean
Before you start placing stickers on the body, thoroughly wash your hands. Even with the washing, your hands will still have some natural oils on them and these oils can get on the surface of the body and hinder the sticker from adhering securely to the body. So, avoid touching the body any more than you absolutely need to.
Prep the body
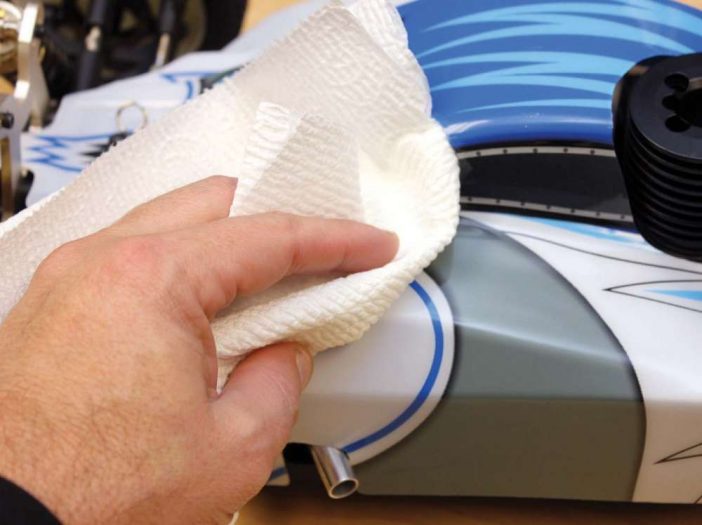
Make sure the body is completely clean and free from dust or lint. I like to use some isopropyl alcohol on a lint free rag to clean the section of the body that I will be working on. As you work your way around the body placing stickers, just clean that section before you begin. Make sure the alcohol has completely dried before putting on a sticker.
Make a plan
Before you start placing stickers on your car or truck body, make a plan of attack. Most of the time, there is an order to putting on the stickers. For instance, some stickers may overlap others. Like window trim is applied over a graphic depending, of course, on the look you are trying to achieve.
Trim off the ‘fat’
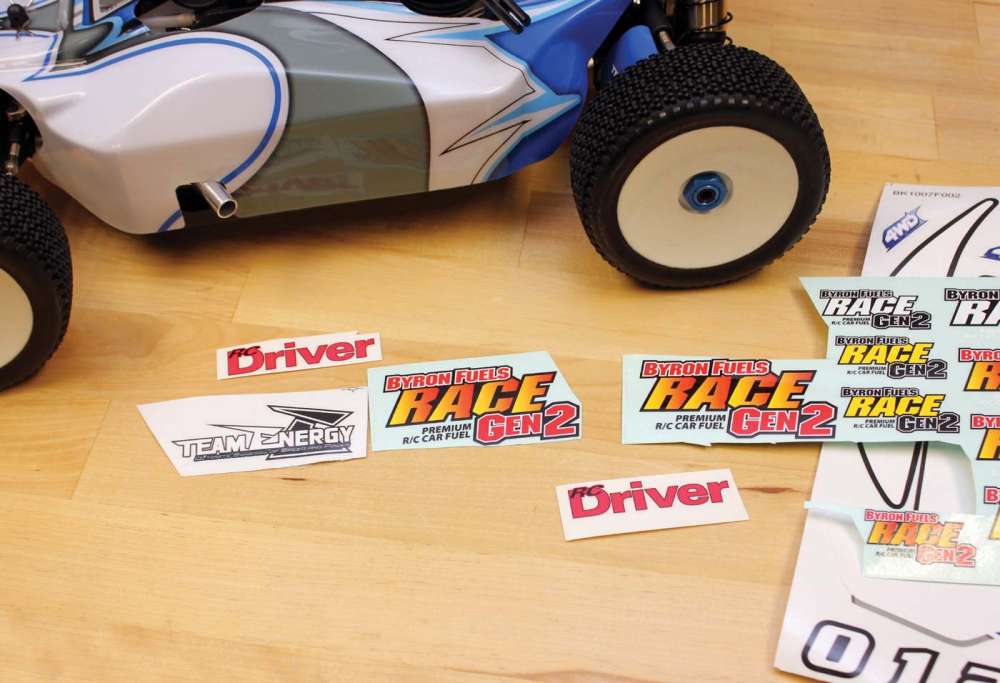
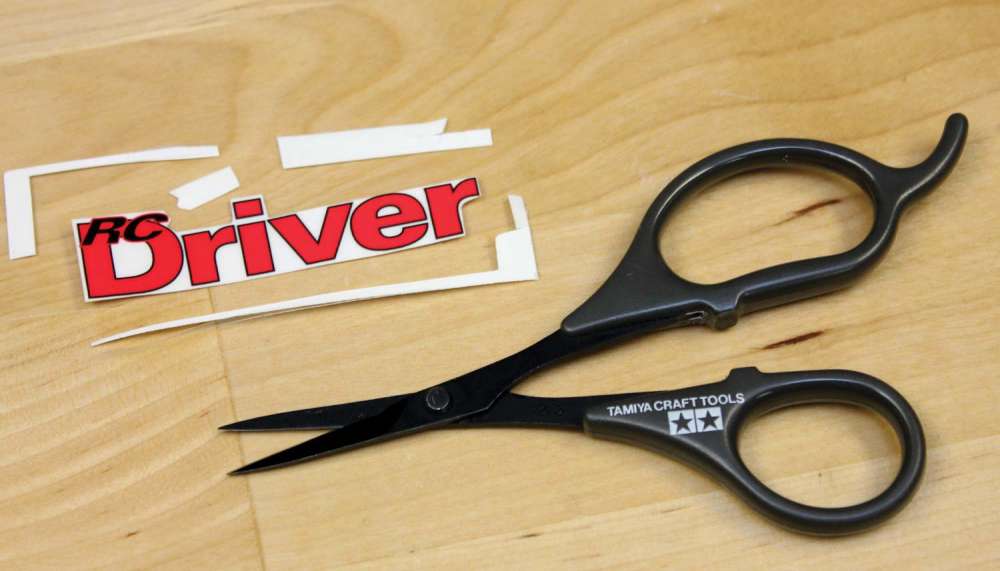
One of the tricks that will make your ride stand out from others is carefully cutting the sticker from the sheet it comes on. For pro results, cut off all of the clear excess sticker material so that only the design or word(s) remain. If you don’t cut it off, even though the sticker material is clear, it will be visible once it is on the body and it looks hack. This also goes for the stickers that come precut because unfortunately, they will typically have a clear border around them. Yes it is a hassle to trim stickers that are already cut out, but the effort will be worth it when you end up with a killer looking vehicle.
Tools of the trade
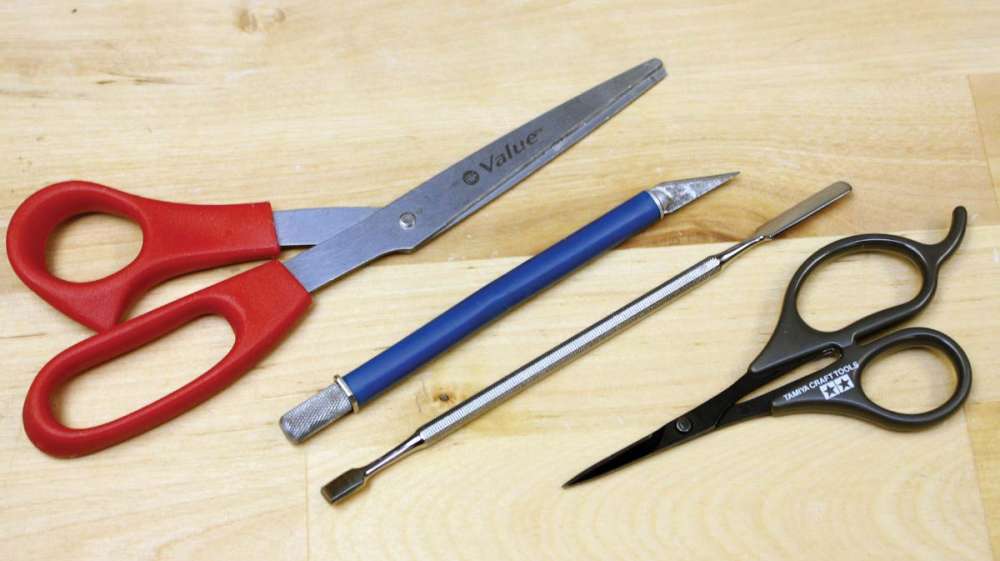
I use three different tools to cut out stickers depending on the sticker: standard scissors, decal scissors and a hobby knife. Most of the time I use a quality pair of regular scissors. When the stickers are very intricate or tiny, I use Tamiya Decal Scissors (item no. 74031, $23). These scissors are just awesome with blades that are short, thin and have a sharp point. Vinyl stickers will make the blades dull but they are too handy not to use for tiny stickers. The hobby knife is handy for weeding out stickers and for making cuts that are too delicate for scissors. What you end up using will come down to what you feel most comfortable with.
Applying large stickers
It can be difficult to position a large sticker exactly where it needs to end up on the first try. If you lift it up to reposition the sticker, you chance tearing it, stretching it and lessening the holding power of the adhesive. A very useful trick is to mix a few ounces of water with a drop of dish detergent and then wipe some of the solution onto the spot where the sticker goes. The soapy solution will allow you to slide the sticker into the exact right position. Once in place, squeegee out the water with your finger, a rag or even an old credit card and then allow it to dry. If any air bubbles get trapped underneath, use the point of a new hobby knife to pop the bubble and then press down the sticker. Windex is another option you can try.
Taking on the curves
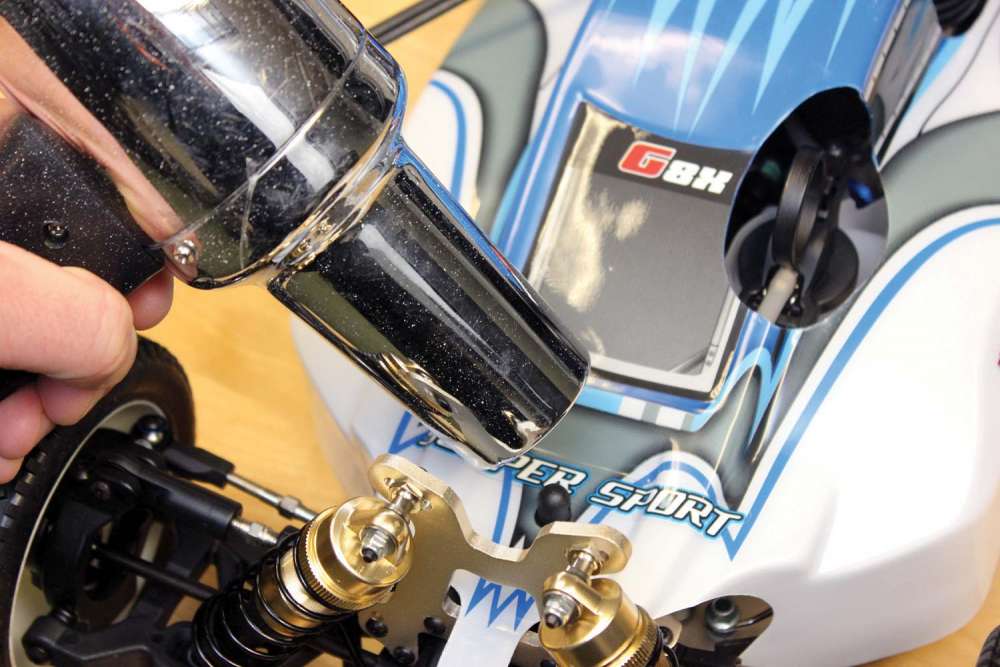
When a sticker needs to go over curves, getting it to lay flat can be nearly impossible. A trick to combat this issue is a hairdryer. Warm the sticker with the hairdryer to make it more pliable so you can work it over the curve and get it seated smoothly. Be careful not to overheat and damage the sticker and/ or body. You can also make a couple of relief cuts into the sticker with a hobby knife to allow the sticker to lay flat.
Placing the stickers
The key with placing stickers is to not touch the sticky backing with your fingers. This will keep it from clinging securely to the body. Here are three options to try for placing stickers:
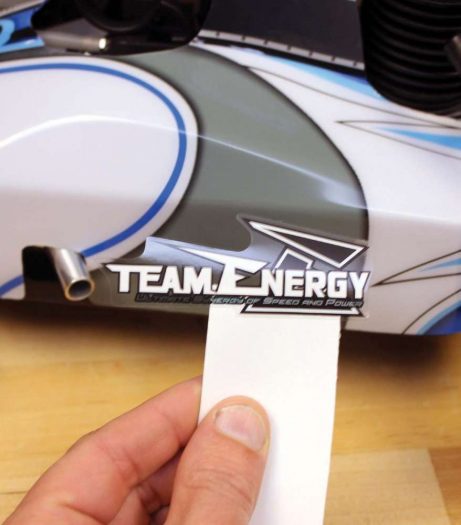
1: Remove the backing and then attach part of it to the back of the sticker and use the rest of it as a handle to position the sticker.
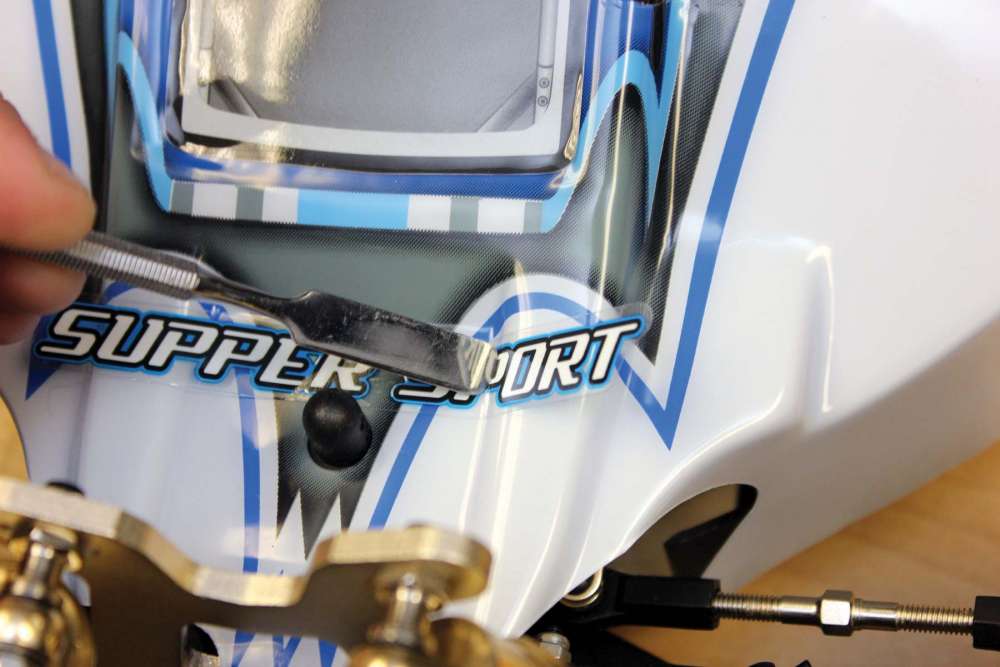
2: Remove the backing and use a thin blade screwdriver or a hobby knife blade to ‘hold’ the sticker. Along with the aforementioned tools I have discovered a small tool perfect for the job. It is a metal carving/spatula tool used for shaping clay and plaster or for applying putty. The thin spatula end of the tool is perfect for holding stickers.
3: Instead of removing the entire backing, peel up about a third and cut it off. Then replace the backing onto the sticker. Now position it where you want it to be on the body. Firmly hold it in place while removing the small piece of backing that you cut off. Rub down that side of the sticker that has no backing and then remove the rest of the backing and work the sticker flat onto the body.
Tip: Sticker Residue Removal
If you need to remove a sticker, whether it is on an old RTR body that you are freshening up or you changed your mind about a sticker that you just applied, this tip will come in very handy to get all of the sticker residue removed from the body. Use a paper towel doused with motor spray. This combo will quickly and completely remove all of the sticky mess from the surface of the body.
By Paul Onorato
LINK
Tamiya, tamiyausa.com, (949) 362-6852
 RC Driver The Best In RC Car & Truck News, Reviews & Video


