The Build – Part 3 We will be assembling the dual bellcrank steering system next in the Team Associated B44.3 build.
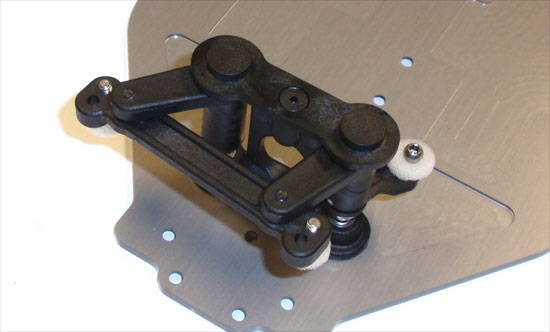
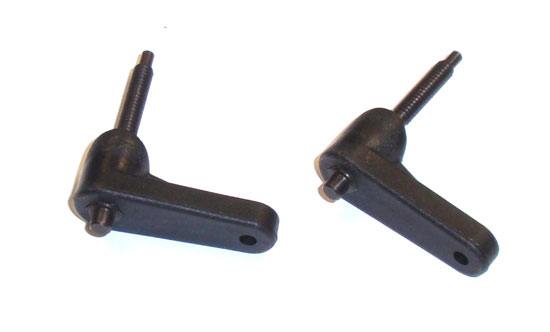
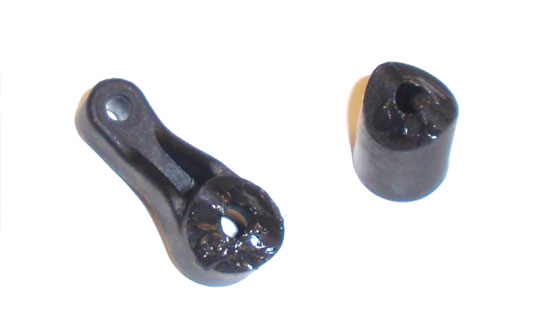
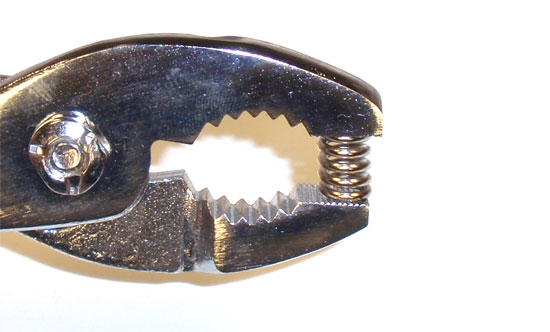
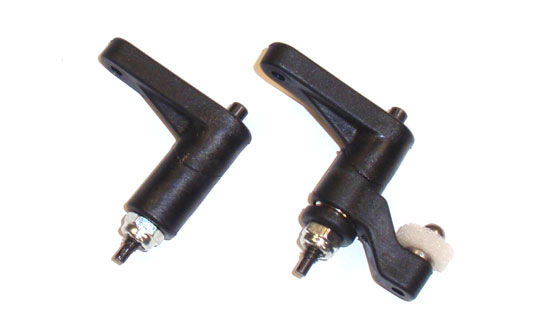
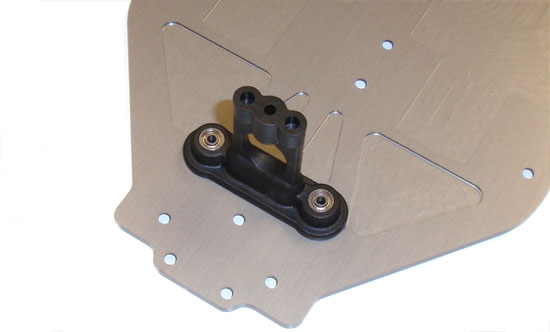
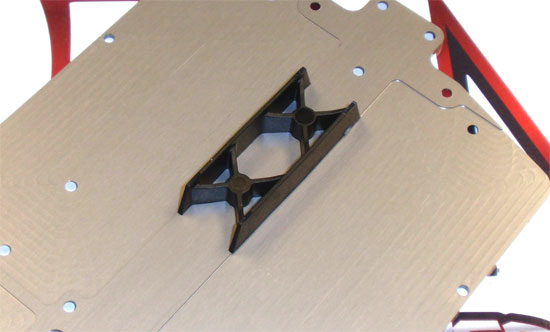
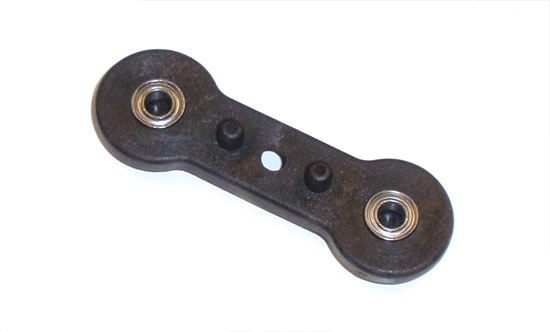
Team Associated B44.3 Build Step 32 Start this part of the build by inserting the two steering posts into the steering arms. Make sure you key the hex in the posts to the hex in the steering arms.Team Associated B44.3 Build Step 33 Apply a little bit of black grease to the lower steering arms posts. This will help keep the plastic lubricated and will help keep the arms from wearing.Team Associated B44.3 Build Step 34 Compress the servo saver spring prior to installation. A couple full squeezes should do the trick.Team Associated B44.3 Build Step 35 Assemble the servo saver post; slide the lower servo saver arm followed by the spring, spring retainer and nut. The instructions say to leave a 1mm gap but my plastic spring retainer started to distort when I got that close. I got it as close to 1mm as possible with as little distortion as possible.Team Associated B44.3 Build Step 36 A look at the pair of assembled steering arms. I also added the ball end and foam dust cover.Team Associated B44.3 Build Step 37 Build the steering rack, adding the two ball ends, two spacers and foam dust covers. Note the orientation of the rack.Team Associated B44.3 Build Step 38 Attach the two steering arms to the rack. Make sure you insert the hat bushing from the top and the screw from the bottom.Team Associated B44.3 Build Step 39 Insert the two bearings into the steering retainer column and attach that assembly to the chassis. You’ll be using the bearings with the smaller holes here.Team Associated B44.3 Build Step 40 Attach the battery cradle to the chassis.Team Associated B44.3 Build Step 41 Insert the other two bearings into the top steering retainer. You’ll be using the bearings with the slightly larger ID hole.Team Associated B44.3 Build Step 42 Set the top steering retainer onto the steering rack and screw into place. Make sure the steering system rotates freely.