The Build – Part 3
The next assembly step involves attaching the rear bulkhead, shock tower and transmission to the chassis. Pretty straightforward with no surprises.
Build Notes:
 Have some threadlock ready as you’ll need it for this step.
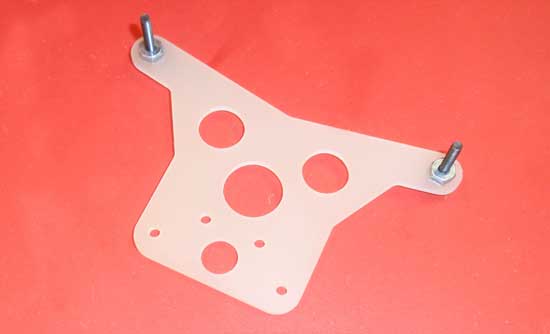
We start off by assembling the rear shock tower. Insert the two 4-40 screws through the tower and secure with the 4-40 nuts. The shock tower is not directional so it doesn’t matter which side you start with. Threadlock is recommended here to make sure the screws don’t loosen up.
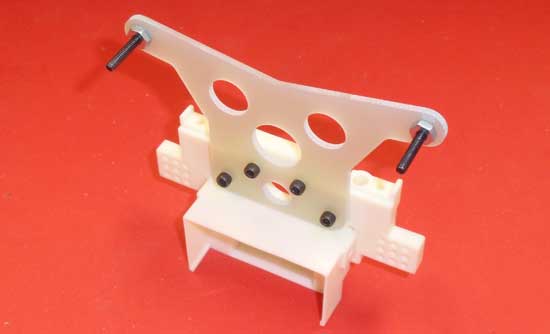
Attach the assembled shock tower to the rear bulkhead as shown. Note the orientation of the top screws.

Flip the assembled rear bulkhead around and insert two of the silver ballends. I used the holes per the instructions, or the inner-upper holes. Do not overtighten these screws.
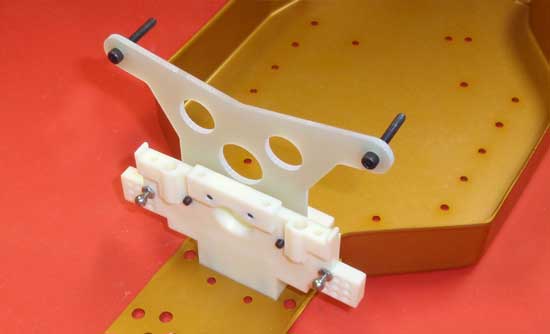
Wedge the bulkhead between the two tabs on the rear of the chassis and secure the bulkhead with two of the 8-32 yellow screws.
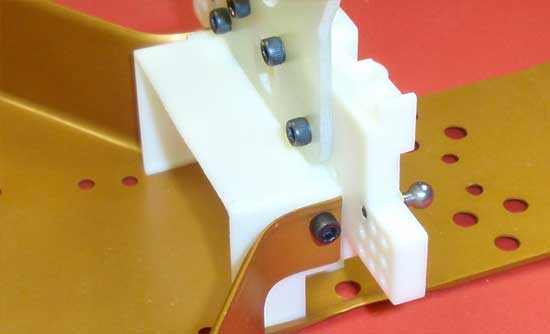
Insert and tighten two of the 4-40 screws into the side of the chassis tabs as shown.
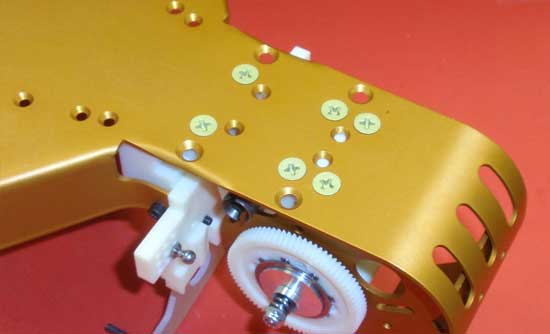
Place the transmission into place and secure it to the chassis with 4 of the 8-32 yellow screws.
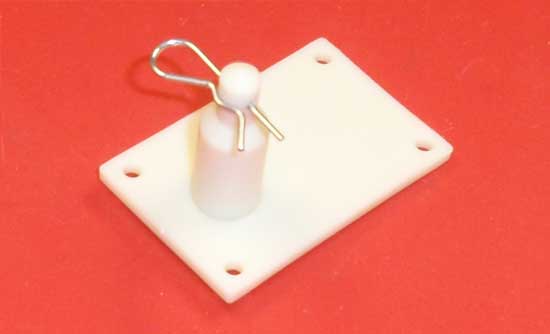
Attach the rear body mount to the transmission brace. As with the front body mount, I inserted a body clip to make holding onto the body mount much easier.
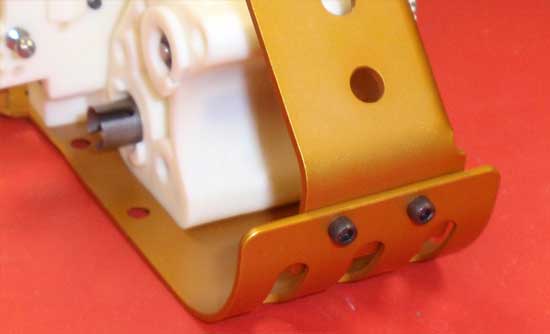
Thread the two 4-40 screws into the back of the motor guard and into the motor plate. Use threadlock to prevent them from backing out.
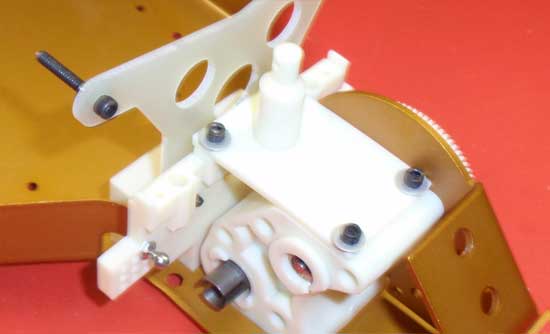
Attach the transmission brace as shown. Be sure the rear body mount is set to the front of the assembly. Do not overtighten these screws.
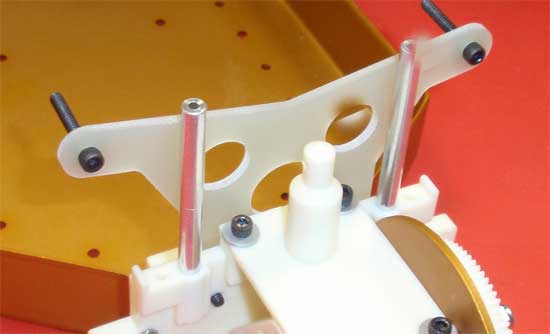
Insert the wing tubes into the holes as shown. This will take a little bit of pressure to do, so it is suggested that you place something soft over the top of the tubes and GENTLY tap into place with a hammer. The instructions say to use a dab of CA to keep them in place, but I would only suggest that if yours slide into the holes easily.
 Stay tuned to part 4 – Assembling the rear suspension.
 RC Driver The Best In RC Car & Truck News, Reviews & Video


