The Build – Part 4
In Part 4 of the RC10 Classic build, we attach the rear suspension and assemble the turnbuckles.
Build Notes:
 Unlike current cars, the roll pins that feed through the rear axles are just that, rolled steel pins. They’re a pain in the butt to install and it is easy to pinch your fingers, so extreme care is suggested during this step.
 The turnbuckles are also old skool…threaded rod with ball cups on each end. Care must be taken here as well to not damage the threads during assembly.
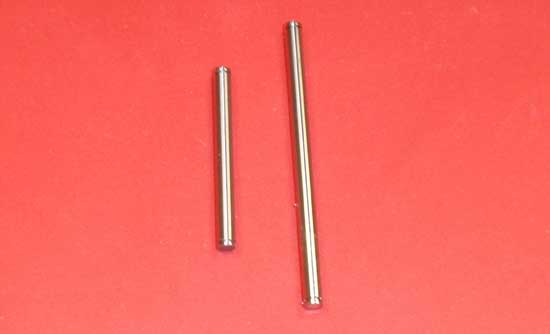
We’ll start off this step with getting our hinge pins in order. There are 2 sizes; a short and a long. The short is your outer hinge pin, used out on the hub carrier. The longer one is your inner hinge pin, used to connect the suspension arm to the arm mount. Let’s grab the two long ones and attach an e-clip to one side.
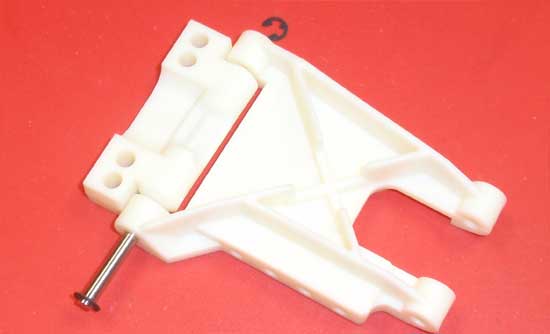
Slide the hinge pin through the arm/arm mount combo. The arms and mounts are directional so make sure you have the left arm mount with the left suspension arm and the right arm mount with the right suspension arm. Once assembled, secure the hinge pin with another e-clip.
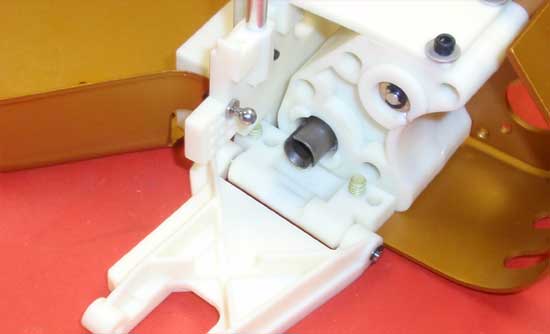
Attach both arm mount assemblies (right assembly to the right side, left assembly to the left side) to the chassis, as shown, using the forward set of holes.
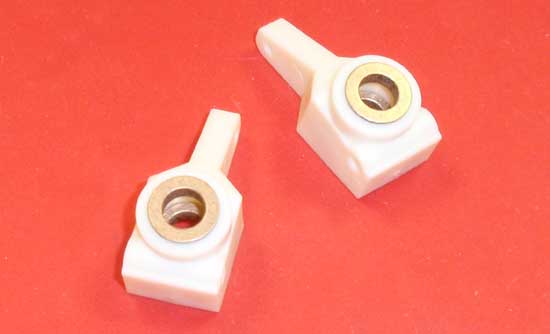
Press the four oilite bearings into the hub carriers as shown. Make sure they seat completely flat.
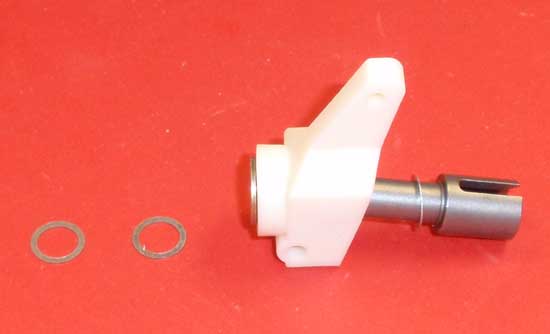
Slide one of the 1/4 axle shims onto the axle, then slide that assembly through the hub carrier. Finish that off with 2 more 1/4 axle shims.
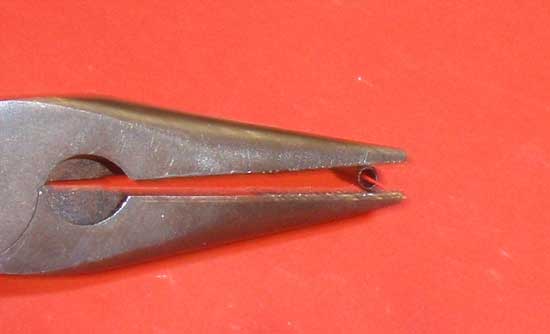
Here is the tricky part. The roll pin is going to be a slight bit bigger than the hole it needs to go into. To make installation easier, crimp one edge of the roll pin slightly, making this end slightly smaller in diameter than the rest of the pin.
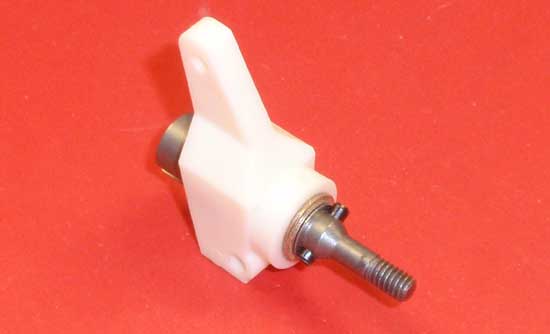
Press the roll pin into the hole in the axle with the smaller edge. Make sure you force the smaller edge you created in step 62 into the hole first. Center the pin in the axle as shown. This will require a little bit of patience.

Test fit the hub assembly into the rear wheel, making sure the roll pin completely fits in the groove. If not, try centering the pin again.
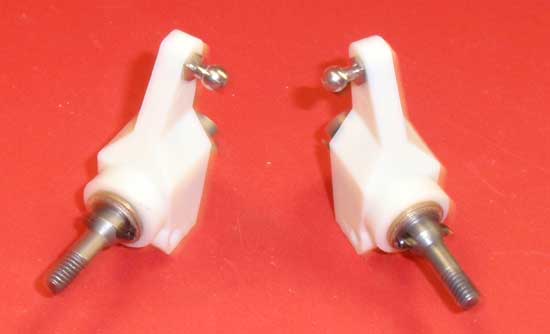
Here is a picture of both of the assembled hub carriers.
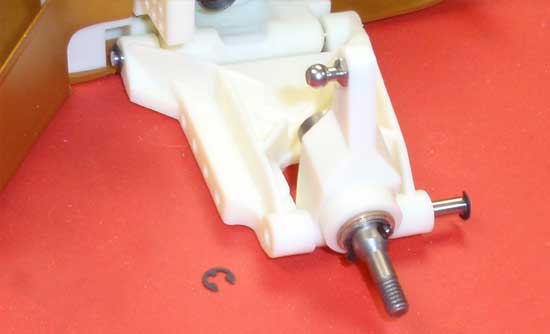
Grab the shorter hinge pin and attach an e-clip to one end. Now attach the hub carries to the rear suspension arms as shown and secure with another e-clip. Note the direction of the hub carrier, keeping the ball end facing towards the front of the car.
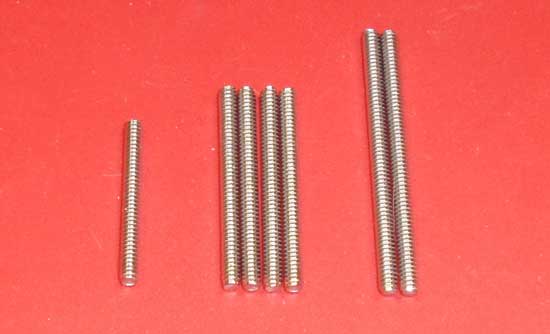
The turnbuckles on the RC10 Classic consiste of 3 lengths of threaded rod. The shortest one connects the steering bellcranks, the 4 mid-length ones are for the camber links and the 2 longest ones are for the steering.
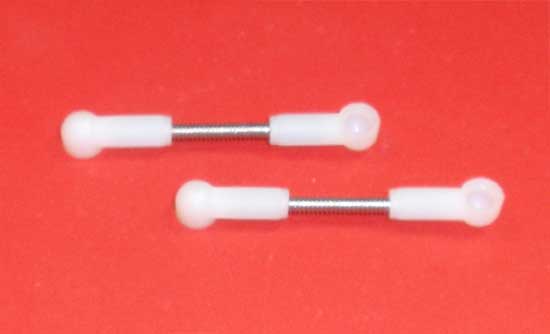
Grab a pair of the mid-length rods and build a pair of links as shown. Use the manual-supplied gap of 14.2mm. A pair of gloves or a spare rag will help keep the ballcups from cutting into your hands as you build.
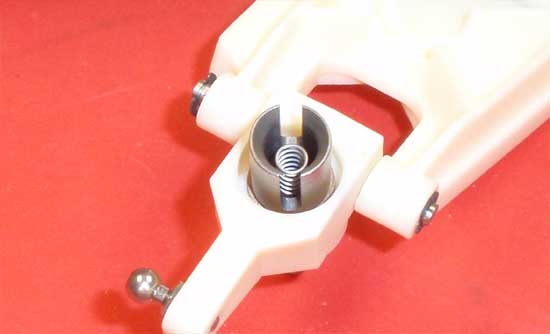
Insert the dogbone springs into the rear axles as shown.
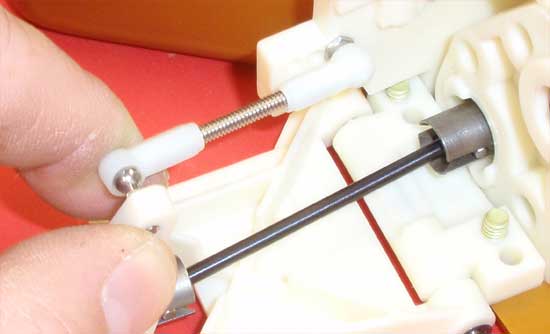
Pop one end of the turnbuckle onto the inner ball stud. Insert the dogbone into the transmission outdrive, swing up the rear outdrive and key the dogbone into the rear axle. Finish this assembly by popping the ballcup onto the ball stud on the rear hub. Do this with both sides of the car.
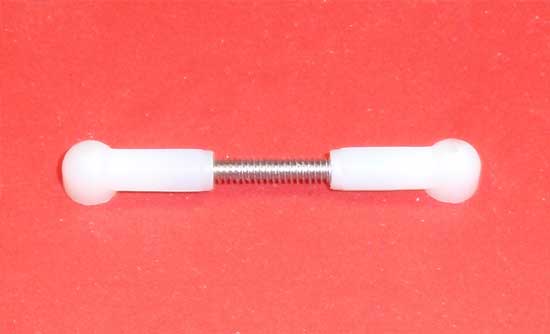
Grab the shortest-length threaded rod and build the drag link. The manual-supplied gap of 12.44mm is a good start.
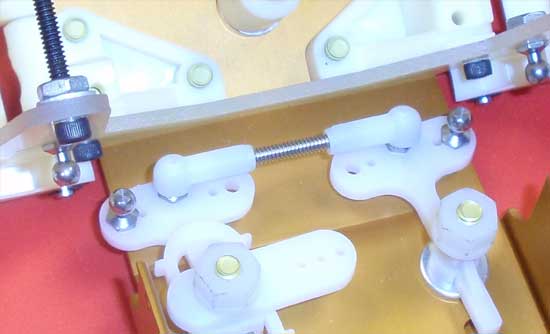
Pop the drag link onto the inner ball studs of the bellcrank as shown.
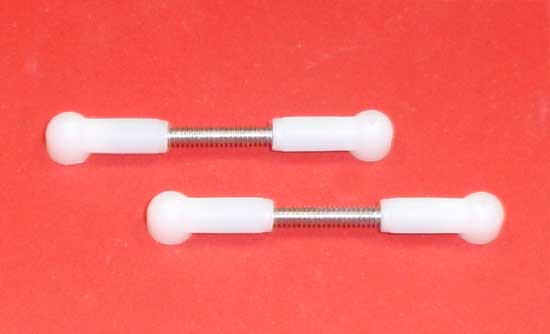
Grab the final pair of mid-length threaded rod and build a pair of front camber links. Use the manual-supplied gap of 13.5mm.
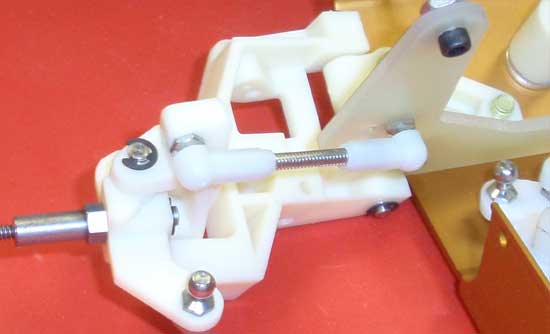
Pop the camber links onto the camber ball studs as shown.
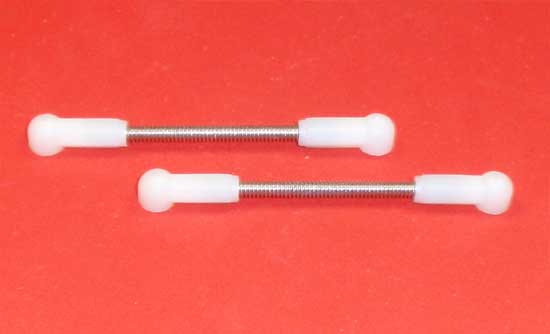
Grab the longest pair of threaded rod and build two steering links. The gap of 27.7mm is a good place to start.
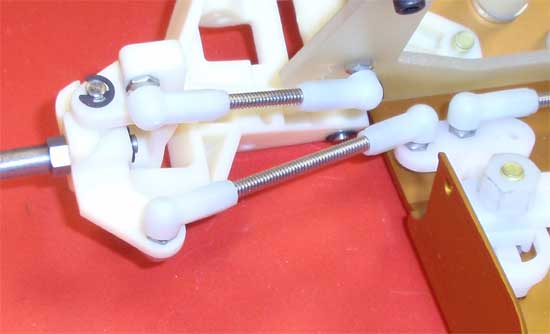
Pop the steering links into place as shown.
 Stay tuned for part 5 – Assembling the shocks.
 RC Driver The Best In RC Car & Truck News, Reviews & Video


