The Build – Part 10
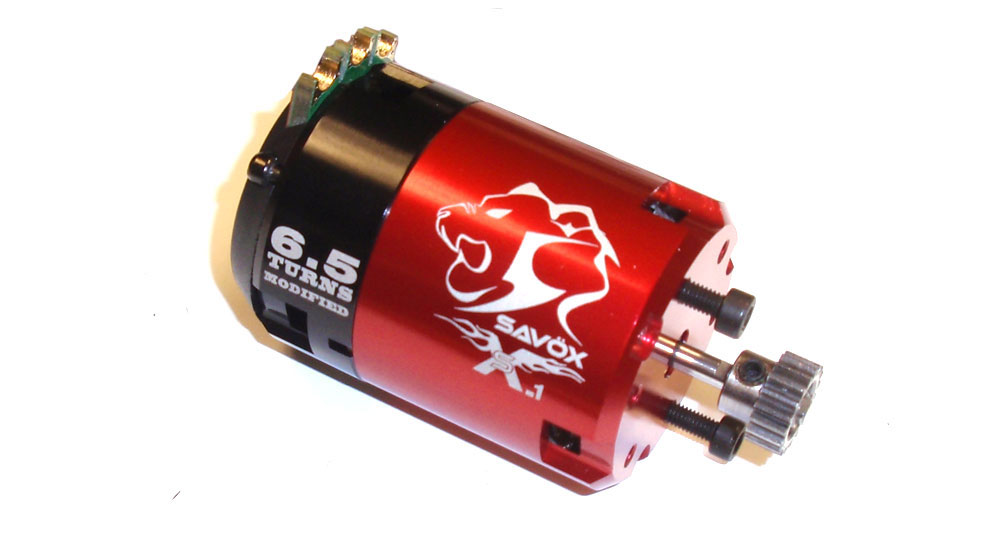
The Team C TM4 does not come with any electronics, so we’ll be installing our own. We’ll be using a Hobbywing Xerun 120A V3.1 Brushless ESC, Savox 6.5T Brushless Motor, Racers Edge 7.4V 75C 4000 Race Edition Short LiPo Battery and controlling it all using a Futaba 4PX Transmitter.
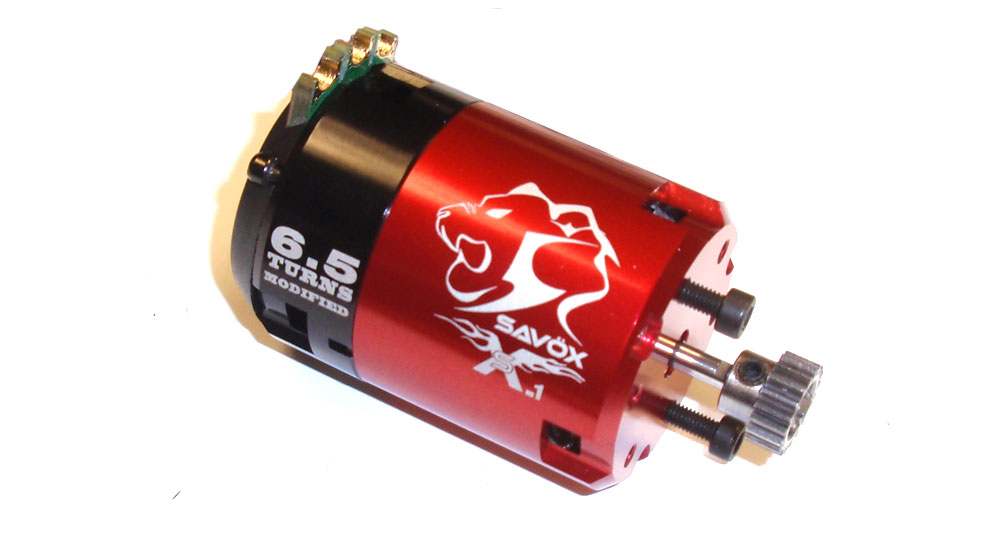
Our first step was to find out what gearing we should be using and that depends completely on what motor we’re going to run. Once you have that figured out, slide the gear on the motor and tighten down. We’ll figure the final position in a moment. Thread the motor screws in a few threads as well.
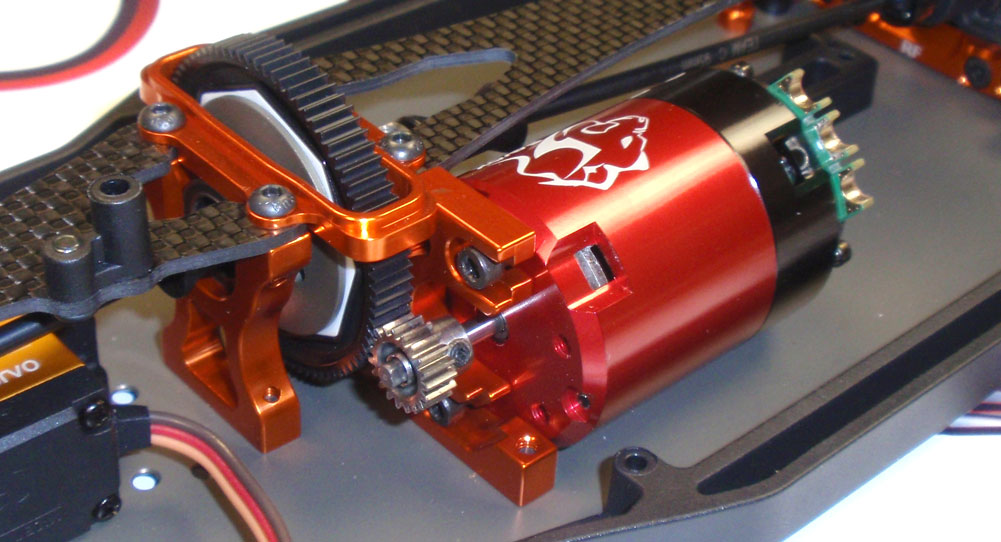
Slide the motor into the motor mount. If it’s difficult to do, back the motor screws off a tad and try again. Once in, you can adjust the position of the pinion. Set the gear mesh and tighten the motor screws. Note the motor wire tabs; you can to make sure those are not coming into contact with the rear top deck.
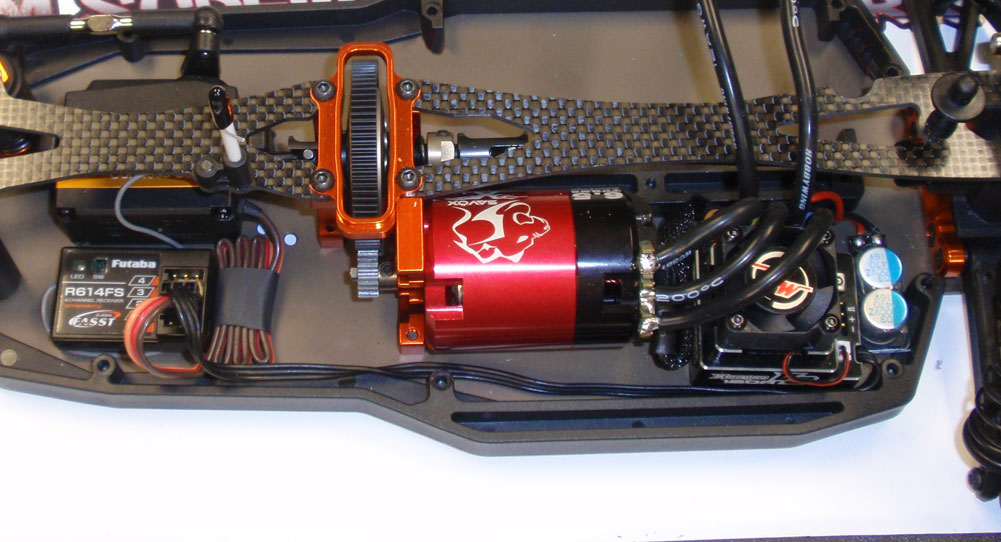
The receiver and ESC have mounting positions, but the final look will be up to you. As you can see, there is plenty of room for both.

Install the 2 orange battery posts. A drop of threadlocker will help keep the screws from backing out.
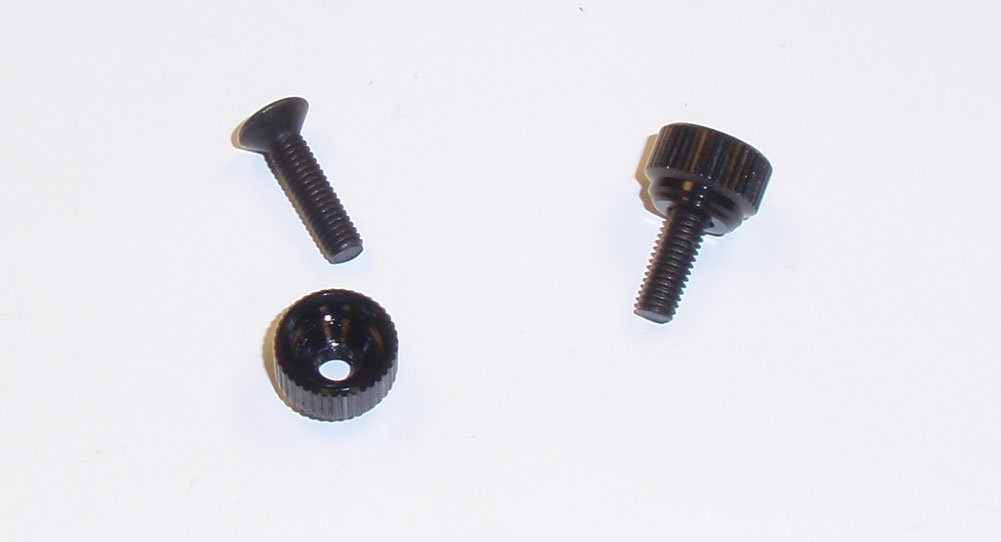
Assemble the battery thumbscrews. You might want a dab of threadlocker here as well.
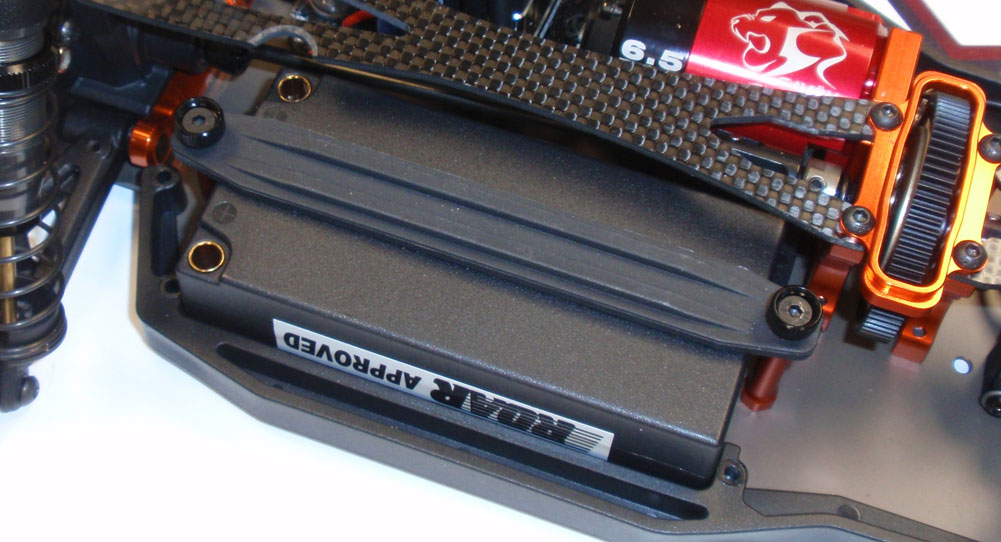
Drop your battery into place and secure with the strap and thumbscrews. You can see here the notch in the upper deck we had to Dremel.
You might want to fire up the TM4 now to make sure everything is working correctly. On to the final build steps…
 RC Driver The Best In RC Car & Truck News, Reviews & Video


