The Build – Part 5
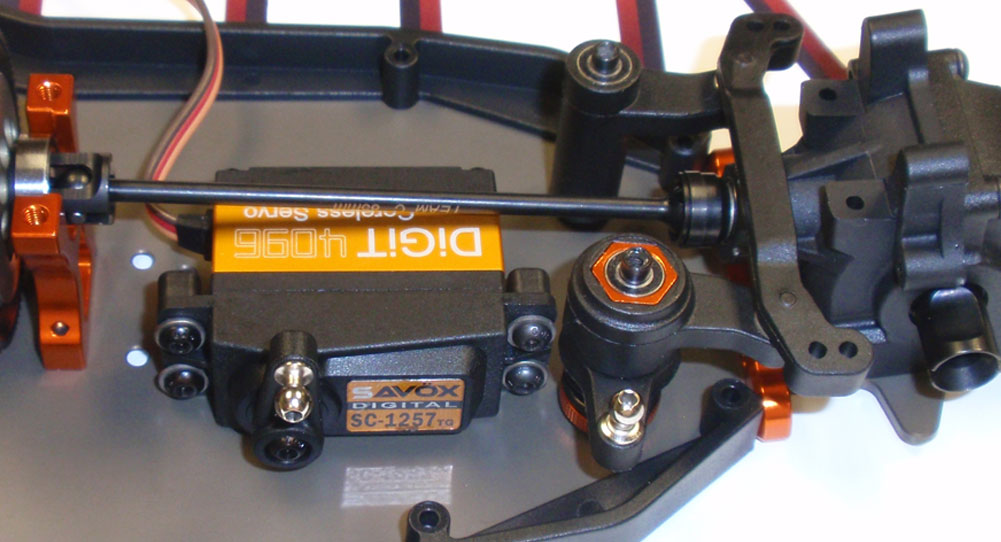
Time to install the steering. The TM4 uses a dual bellcrank system that rolls along on a set of quality bearings. This system also incorporates an adjustable servo saver.
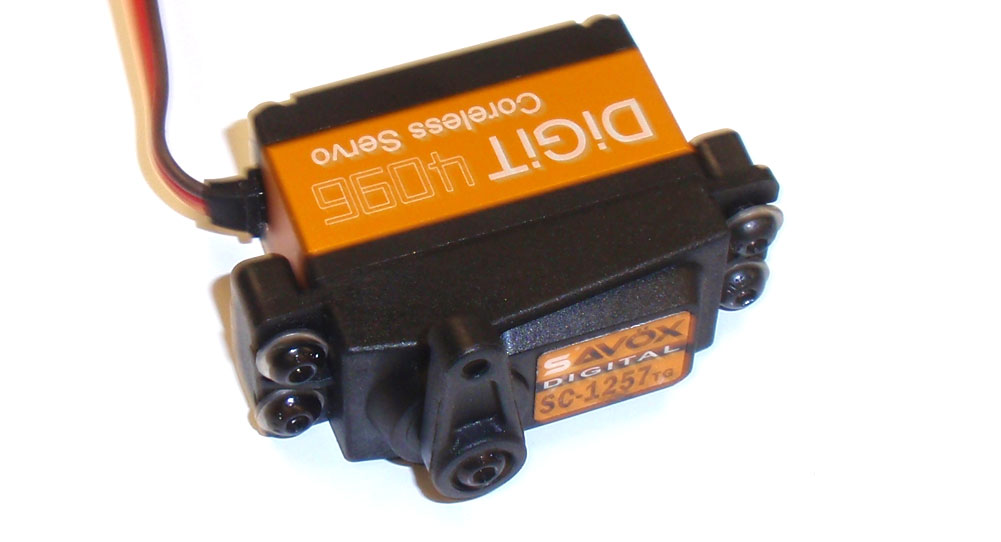
Attach a horn and mounts to your servo. Do not tighten down the mounts yet. For our build we’ll be using a Savox SC-1257TG servo.
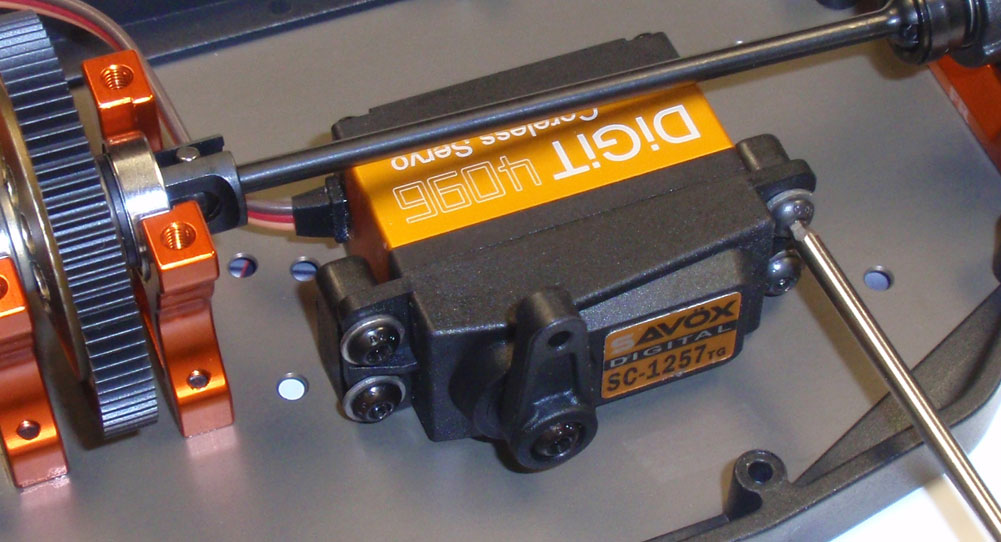
Screw the servo assembly to the chassis. The ‘loose’ servo mounts should make that easy. Once secure, tighten down the servo mount screws.
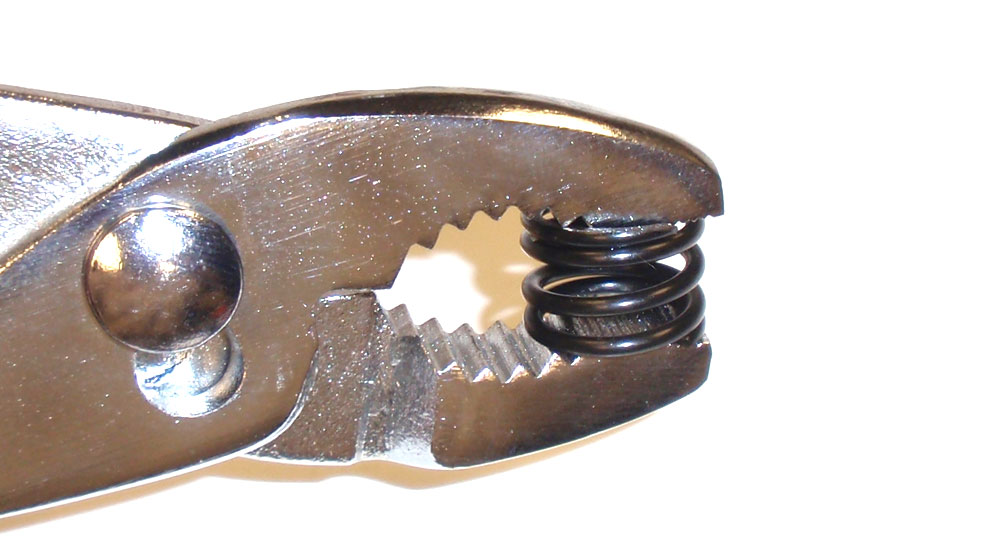
Precompress the servo saver spring a few times to give it a set.
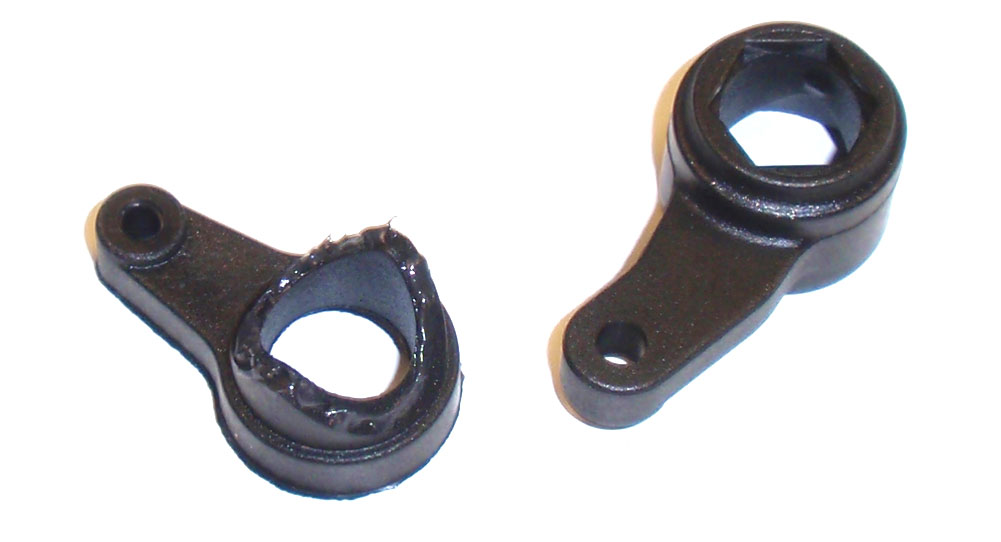
Here’s a little trick I learned to help keep the servo saver from getting crusty. Apply a little bit of black grease to the ‘flex’ area prior to installation.
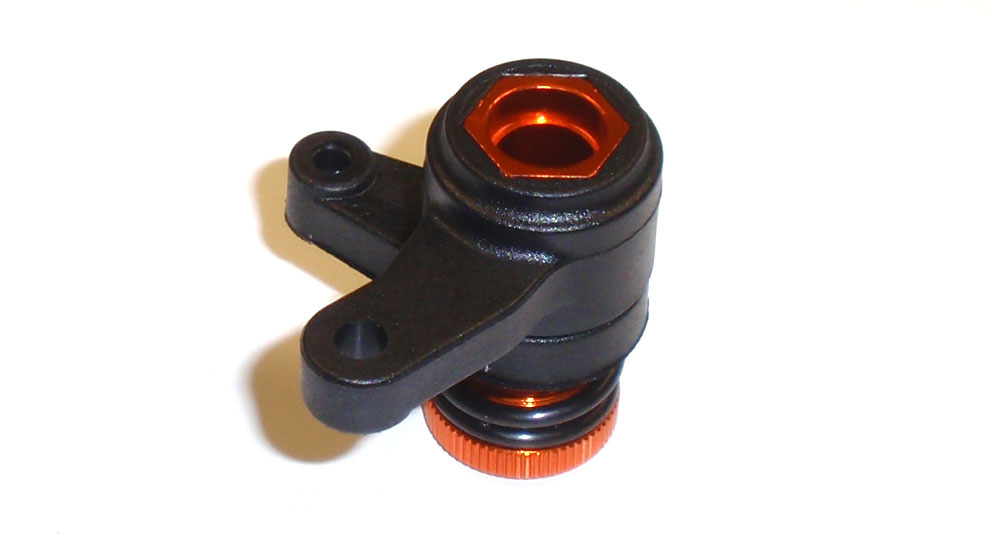
Assemble your servo saver as shown. Tighten the servo saver adjustment nut until there is an 8mm gap between the nut and the bottom of the servo saver arm.
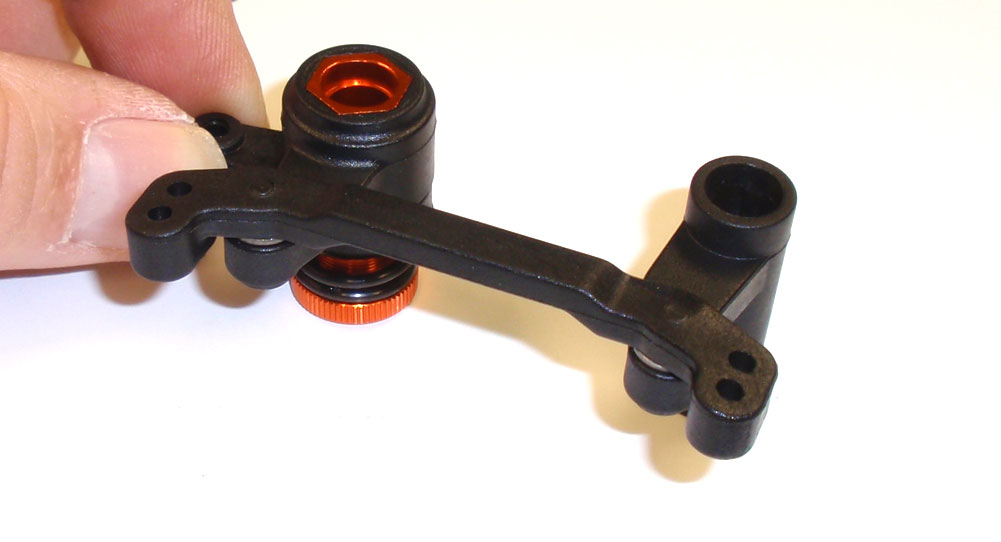
Assemble the steering rack. Don’t overtighten the M3 swivel screws; tighten them down and then test the steering. If it’s tight, loosen the screws 1/8 of a turn and try again. You want the rack to swing freely.
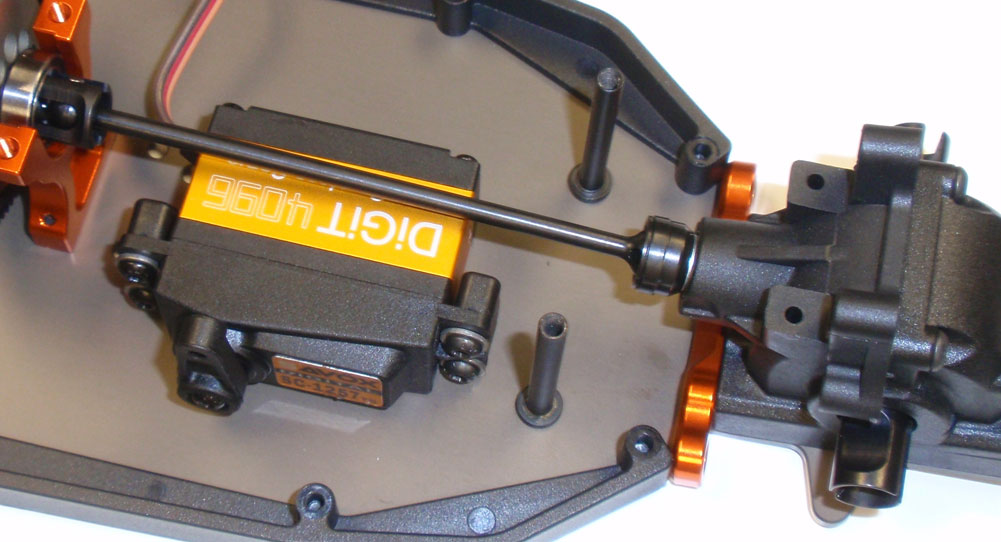
Install the two steering posts to the chassis. A dab of threadlocker is suggested.
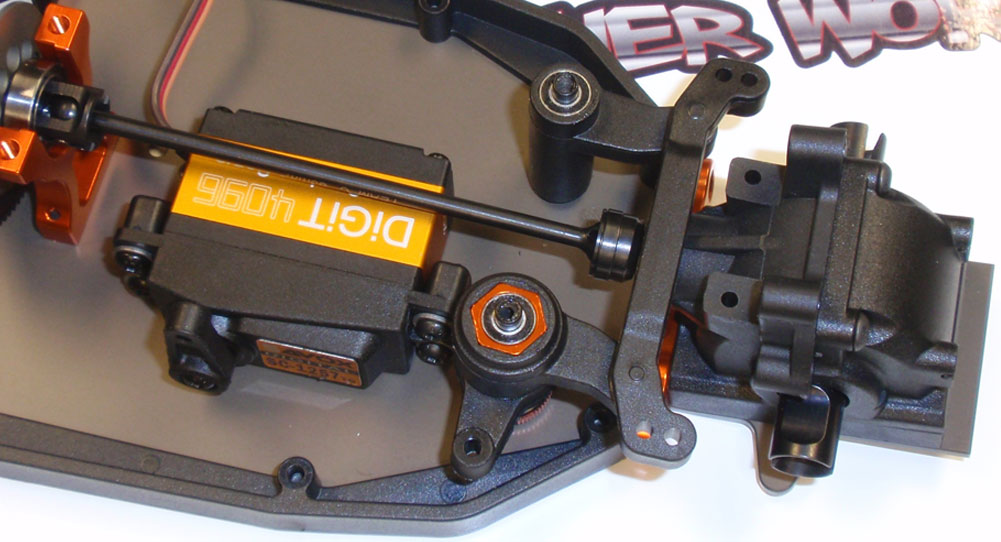
Press the 4×8 bearings into the steering arms and slide the assembly into place over the steering posts. Make sure everything swings freely. Don’t include the orange 4×6 washers just yet.
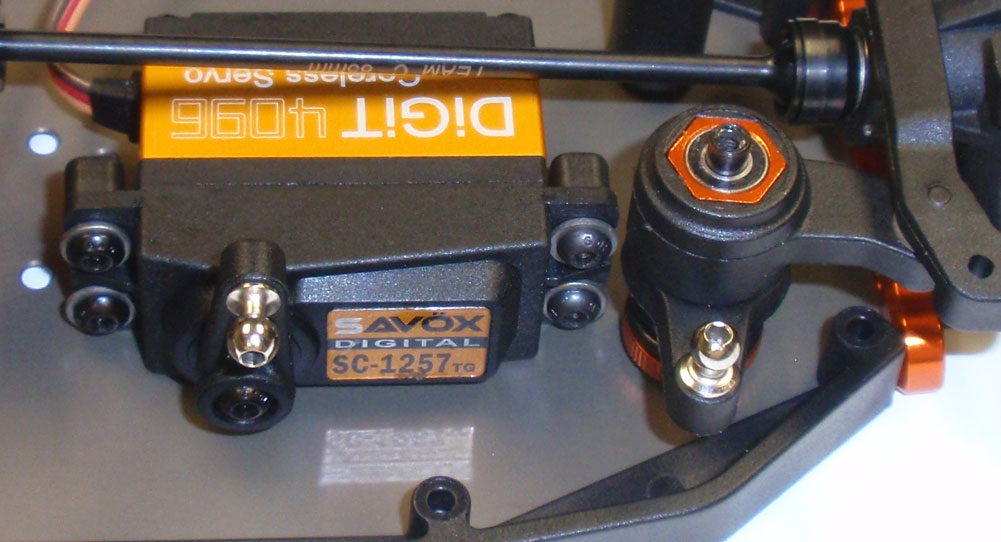
Install a long ballstud into the steering arm and a short ballstud into the servo horn.
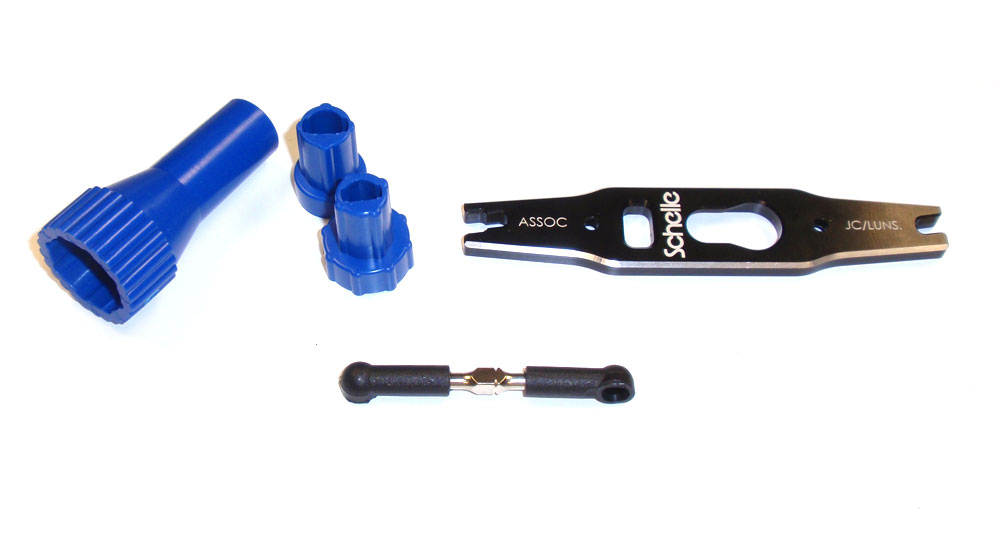
Build a steering link. I’m not a fan of turnbuckles so I like to use tools that make this task easier. Duratrax’s ballcup holder and Schelle Racing’s multi-tool are great items to have in your toolbox.
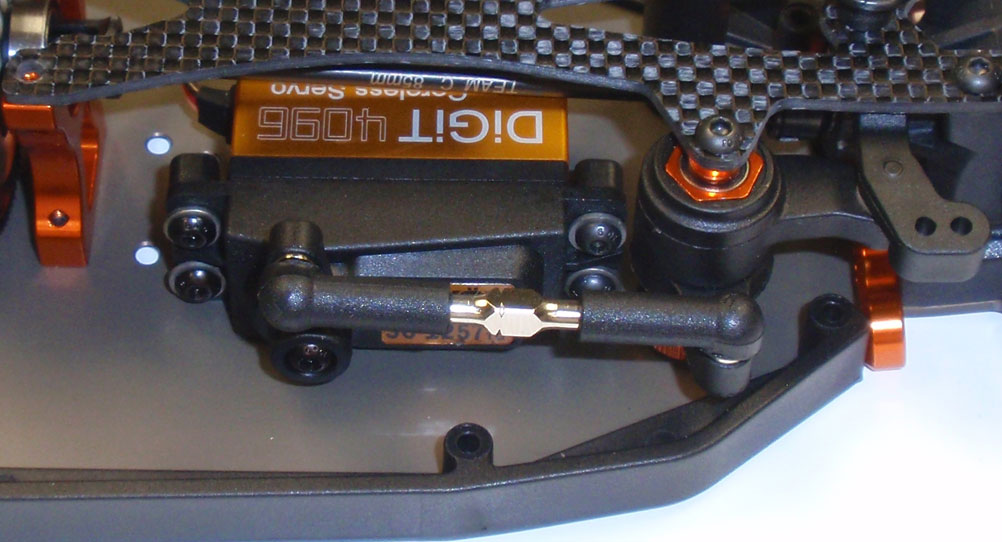
Once built, pop the link onto the ball ends.
Steering complete. Moving on to the top deck and shock towers.
 RC Driver The Best In RC Car & Truck News, Reviews & Video


