The Build – Part 6
The next step in our TLR 22SCT build is attaching the transmission and rear bumper to the chassis assembly. Again, we are building the 22SCT in the RR (Rear Motor) design so your steps for MM (Mid Motor) will be different.
Build Notes:
 The instructions tell you to install the rear body mount prior to installing the upper rear bumper brace. I’ve switched this around a bit to make it easier (and keep the cussing to a minimum).
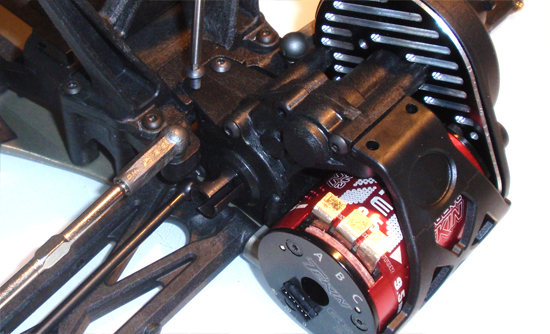
Start off this step by sliding the transmission assembly into the chassis as shown. It may take a little wiggling but it does fit in quite easily. You might also want to slip the drive bones into the outdrives…as you can see I didn’t do that. Secure in place with 2 screws up top and 2 in the bottom.
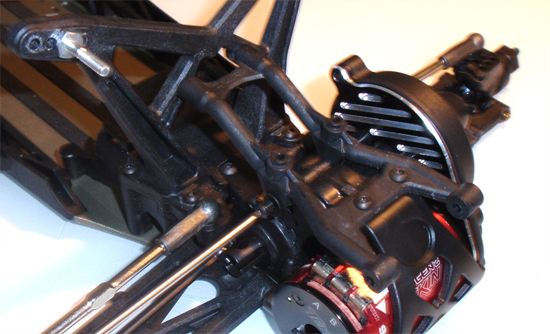
Attach the rear tower/rear bumper support brace.
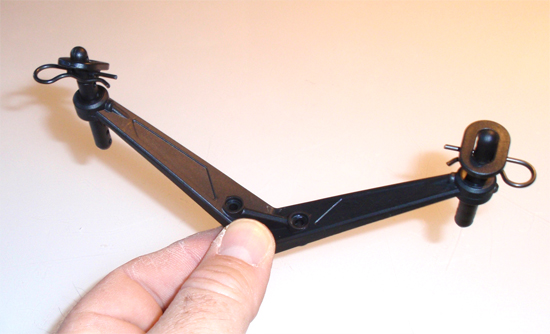
The next couple of steps are going to be a bit out of order simple because they won’t work as it shows…and you’ll see why. First, assemble the rear body mount as shown…

…as well as the upper rear bumper brace.
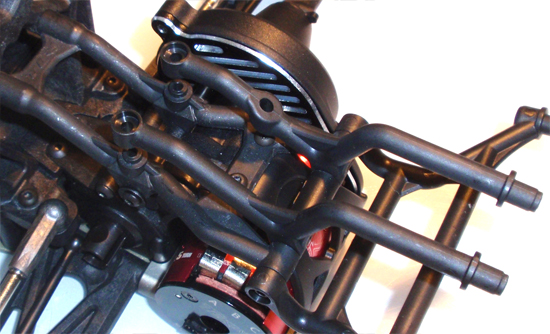
Attach the upper rear bumper brace at the swivel point…
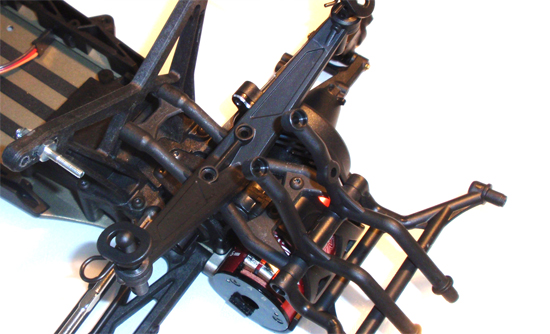
…and rotate them up and out of the way. Place the rear body mount into place, swivel the upper rear bumper brace back into place and secure with the 2 3x18mm screws. Since the rear body mount does not ‘snap’ into place, installing it before the upper rear bumper brace only results in the rear body mount falling all over the place.
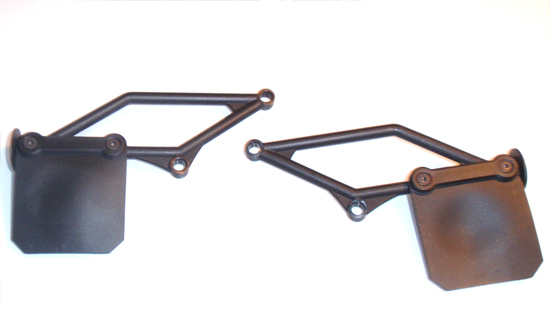
Assemble the mud flaps…
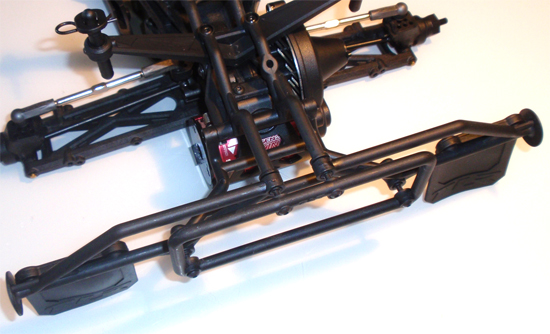
…and bolt them to the rear bumper. You can build the 22SCT with an optional ‘narrow’ rear bumper to eliminates the mud flaps (and mud flap hangers), but I prefer to use them and help protect the body.
 Part 7 – Assembling the shocks.
 RC Driver The Best In RC Car & Truck News, Reviews & Video


