The Build – Part 7
The shocks (or dampers) on any car, onroad or off, are probably the most important, and overlooked, parts of the car. Built correctly, they will give you a distinct advantage over those that don’t take the extra time to do so. Take your time here and do it right.
Build Notes:
 Shock builds mean potentially messy oil spills, so make sure you are doing this step on a clean, covered surface. Have plenty of rags (or towels) around should you spill any oil.
 I also suggest you have some sort of shock stand to set them oil-filled shocks while working. I have been using the Duratrax Pit Tech Deluxe Shock Stand and absolutely love it.
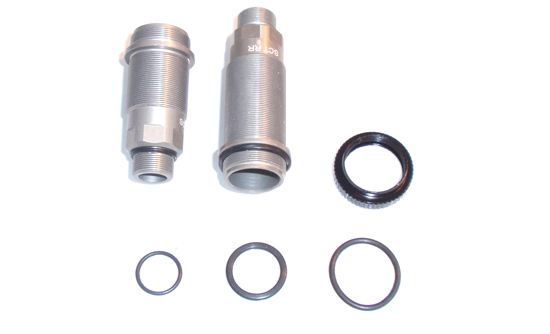
Before we begin, let’s get a little better aquainted with the external shock o-rings. As you can see, there are 3 different sizes; small, medium and large. The small one goes on the bottom part of the shock (as shown) while the medium one goes on the top. The largest one gets fed into the pre-load adjustment nut.
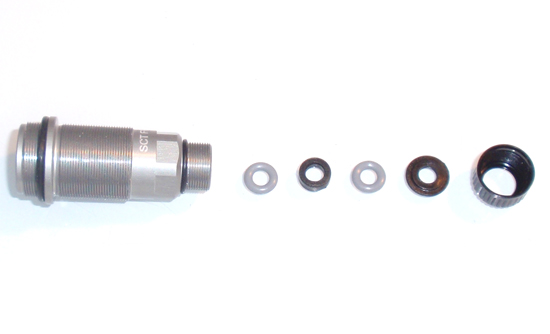
Now that you’ve had your o-ring lesson, let’s start this step by installing the 4 small, external shock o-rings and the 4 medium, external shock o-rings onto all 4 bodies. Once that’s done, build the internal shock cartridge as shown: small, internal o-ring, spacer, small, internal o-ring and the cap spacer. Screw the lower shock cap on, making sure all the parts stay seated and squared up in the cartridge.
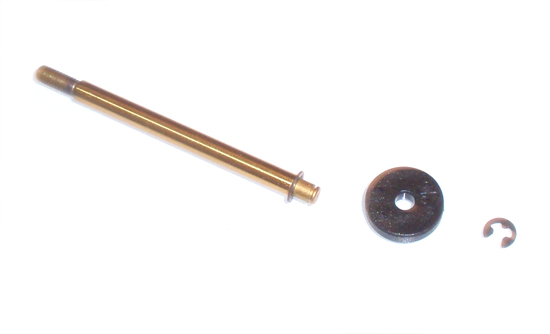
Build 4 shock shafts by installing an e-clip, piston and another e-clip. Note that the front shafts are shorter than the rears and use a #57 piston. The rear shocks use the #55 piston (and attach to the longer shafts).
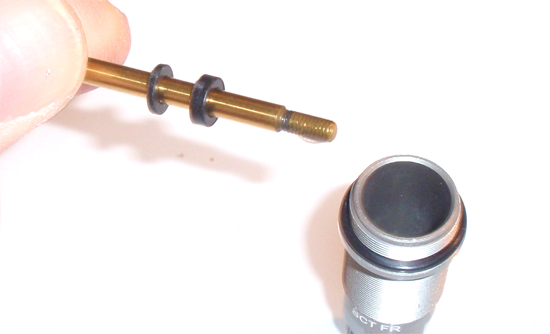
Slide 1 1mm and 1 2mm spacer onto each shaft (both front and rear). Coat the threads of the shaft with a drop or two of shock oil and feed the assembly down into the shock. You want to lightly push it through the lower cartridge so you don’t rip the o-rings. If you feel any resistance, stop and make sure all the parts in the cartridge area are correctly installed.
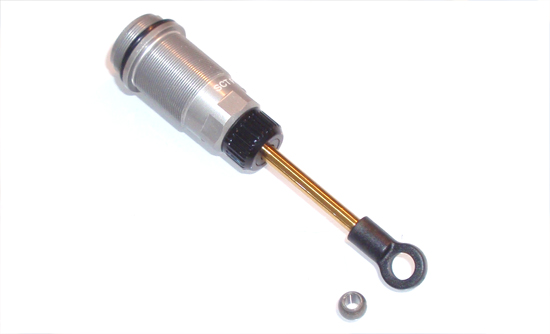
Once the shafts are in the bodies, install the pivot ball cup on the bottom as shown. Press one of the pivot balls into cup. This might be a little difficult, so place the assembly on a table to make it easier to push into place.
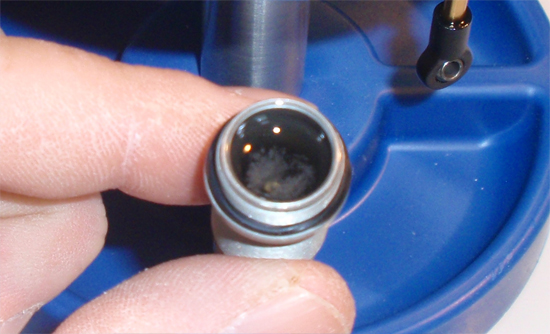
Fill one shock with oil and gently slide the shock shaft up and down. This will release any air bubbles below the piston. You should see a bunch of bubbles floating to the top; place this shock onto your shock stand and repeat with the other 3 shocks.
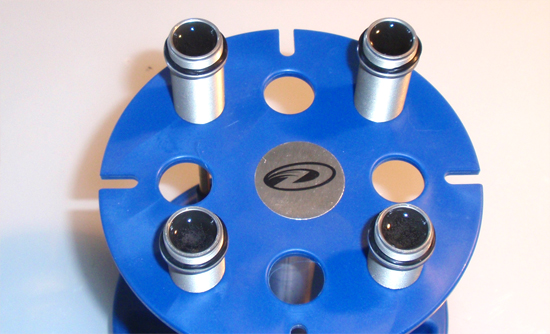
Take a little break as the bubbles float to the top. This is a good time to get a drink, donut or do 50 pushups (10 if you’re out of shape).
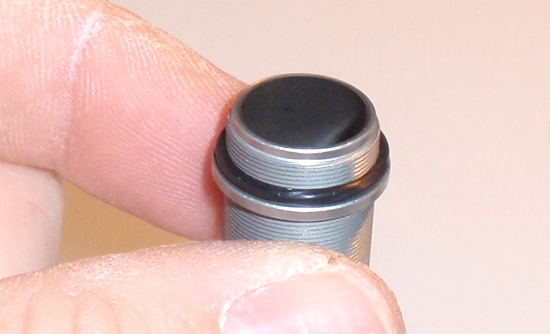
Once the bubbles have disappeared, fill the shock up so that the oil crowns the top (as shown).
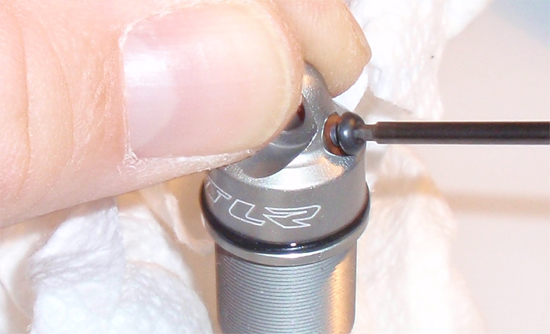
Slowly screw the shock cap on so you don’t spill any oil. Take the bleeder screw, install a small, red o-ring onto it, and screw it into the bleeder hole on the cap (not all the way…just a couple turns). Press the shaft all the way into the body (or a little less if you want a little more pack) and let the oil ooze out of the bleeder hole (you might need to back the screw off a tiny bit for this to happen). Once you’ve ‘bled’ the shocks, tighten the bleeder screw down. Do the same thing with the 3 other shocks, making sure you bleed out the same amount of oil in all 4 shocks.
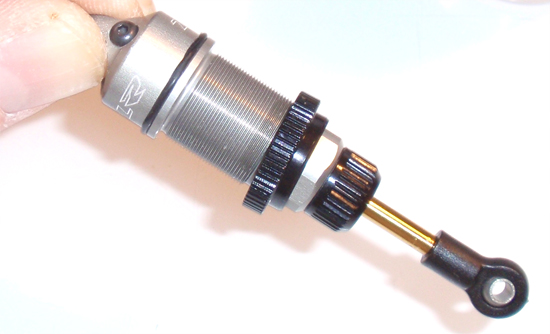
Install the large o-ring into the pre-load adjustment nut. Feed this assembly onto the body and screw all the way to the top.
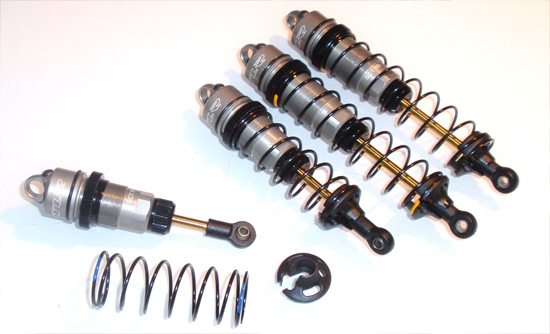
Slide the springs onto the shocks (short spring, front shock; longer spring, rear shock) and snap a lower shock retainer into place.
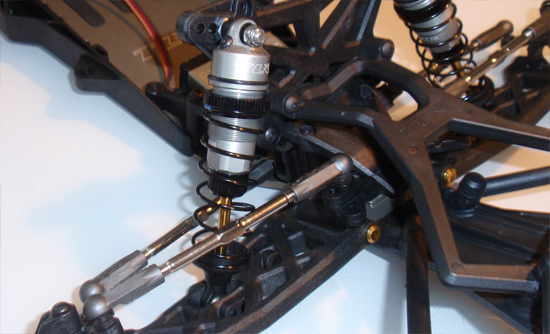
Install the front shocks as shown. It’s easiest if you slide the top on (but don’t fasten) and completely attach the bottom first.
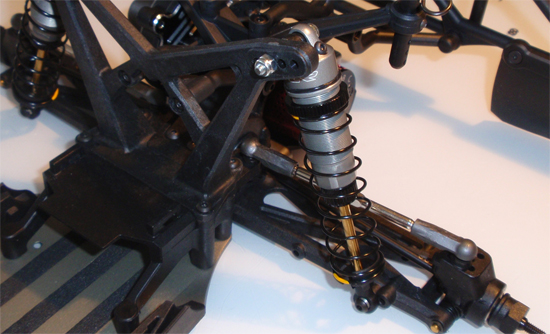
Install the rear shocks as shown.
 Part 8 – Installing additional chassis parts.
 RC Driver The Best In RC Car & Truck News, Reviews & Video


